
A handy pointer tool for Polar Alignment

The 3D printed Polar Alignment pointer tool in action. By aligning the bracket for the phone with the Azimuth adjustment block of the mount, the Compass app on the phone can be used to roughly point the DEC axis to the north, without the risk of dropping out.
Polar Alignment
Polar Alignment with the 10Micron GM1000HPS mount is pretty straightforward. Level the tripod base, roughly align DEC axis north, and run a quick automated 3-point alignment model. The software shows the required adjustments of Altitude and Azimuth, in number of rotations of the adjustment knobs. Adjust the knobs accordingly, re-run the alignment model and most of the time this is sufficient. Subsequently run an automated 12- or 18 point alignment model and you’re good to go for 5-10 min unguided exposures. Thanks to the dual-axis tracking with high-resolution encoders, good results can be obtained even if the polar alignment is a bit off.
This works well, but only if the system is indeed roughly aligned to the north. The Azimuth correction on the mount has only a finite amount of adjustment. And if you’re too far off, you simply can’t adjust enough. Then the whole tripod with mount and telescope needs to be rotated. And rotating a 25+kg setup in the dark is pretty tricky to say the least.
So how to roughly align the DEC axis to the north? Eyeballing is one option, e.g. with Polaris in sight. But if you set up during the day, that does not work. Some people use a fixed position of the tripod with a reference point indicating north in the garden. But I usually place the tripod at a random place, depending on the targets to shoot. To align roughly north, the compass of the mobile phone is a handy companion. But you still have to eyeball the alignment of the phone on the mount. And since the phone has no further support, moving the tripod around can cause the phone to drop (unfortunately this is not just theory……).
Pointer tool design
For this purpose, a handy pointer tool was designed, to both align the phone and keep it somewhat steady at the same time. The tool is designed to cover the whole base-plate of the GM1000HPS. It has a hole for the Azimuth adjustment block to peek through. On top of the tool there is a bracket for the phone, which keeps it nice and snug, pointing exactly forward. Using the Compass app on the iPhone the tripod can now be rotated such that the iPhone, and thereby the baseplate, is pointing exactly north.
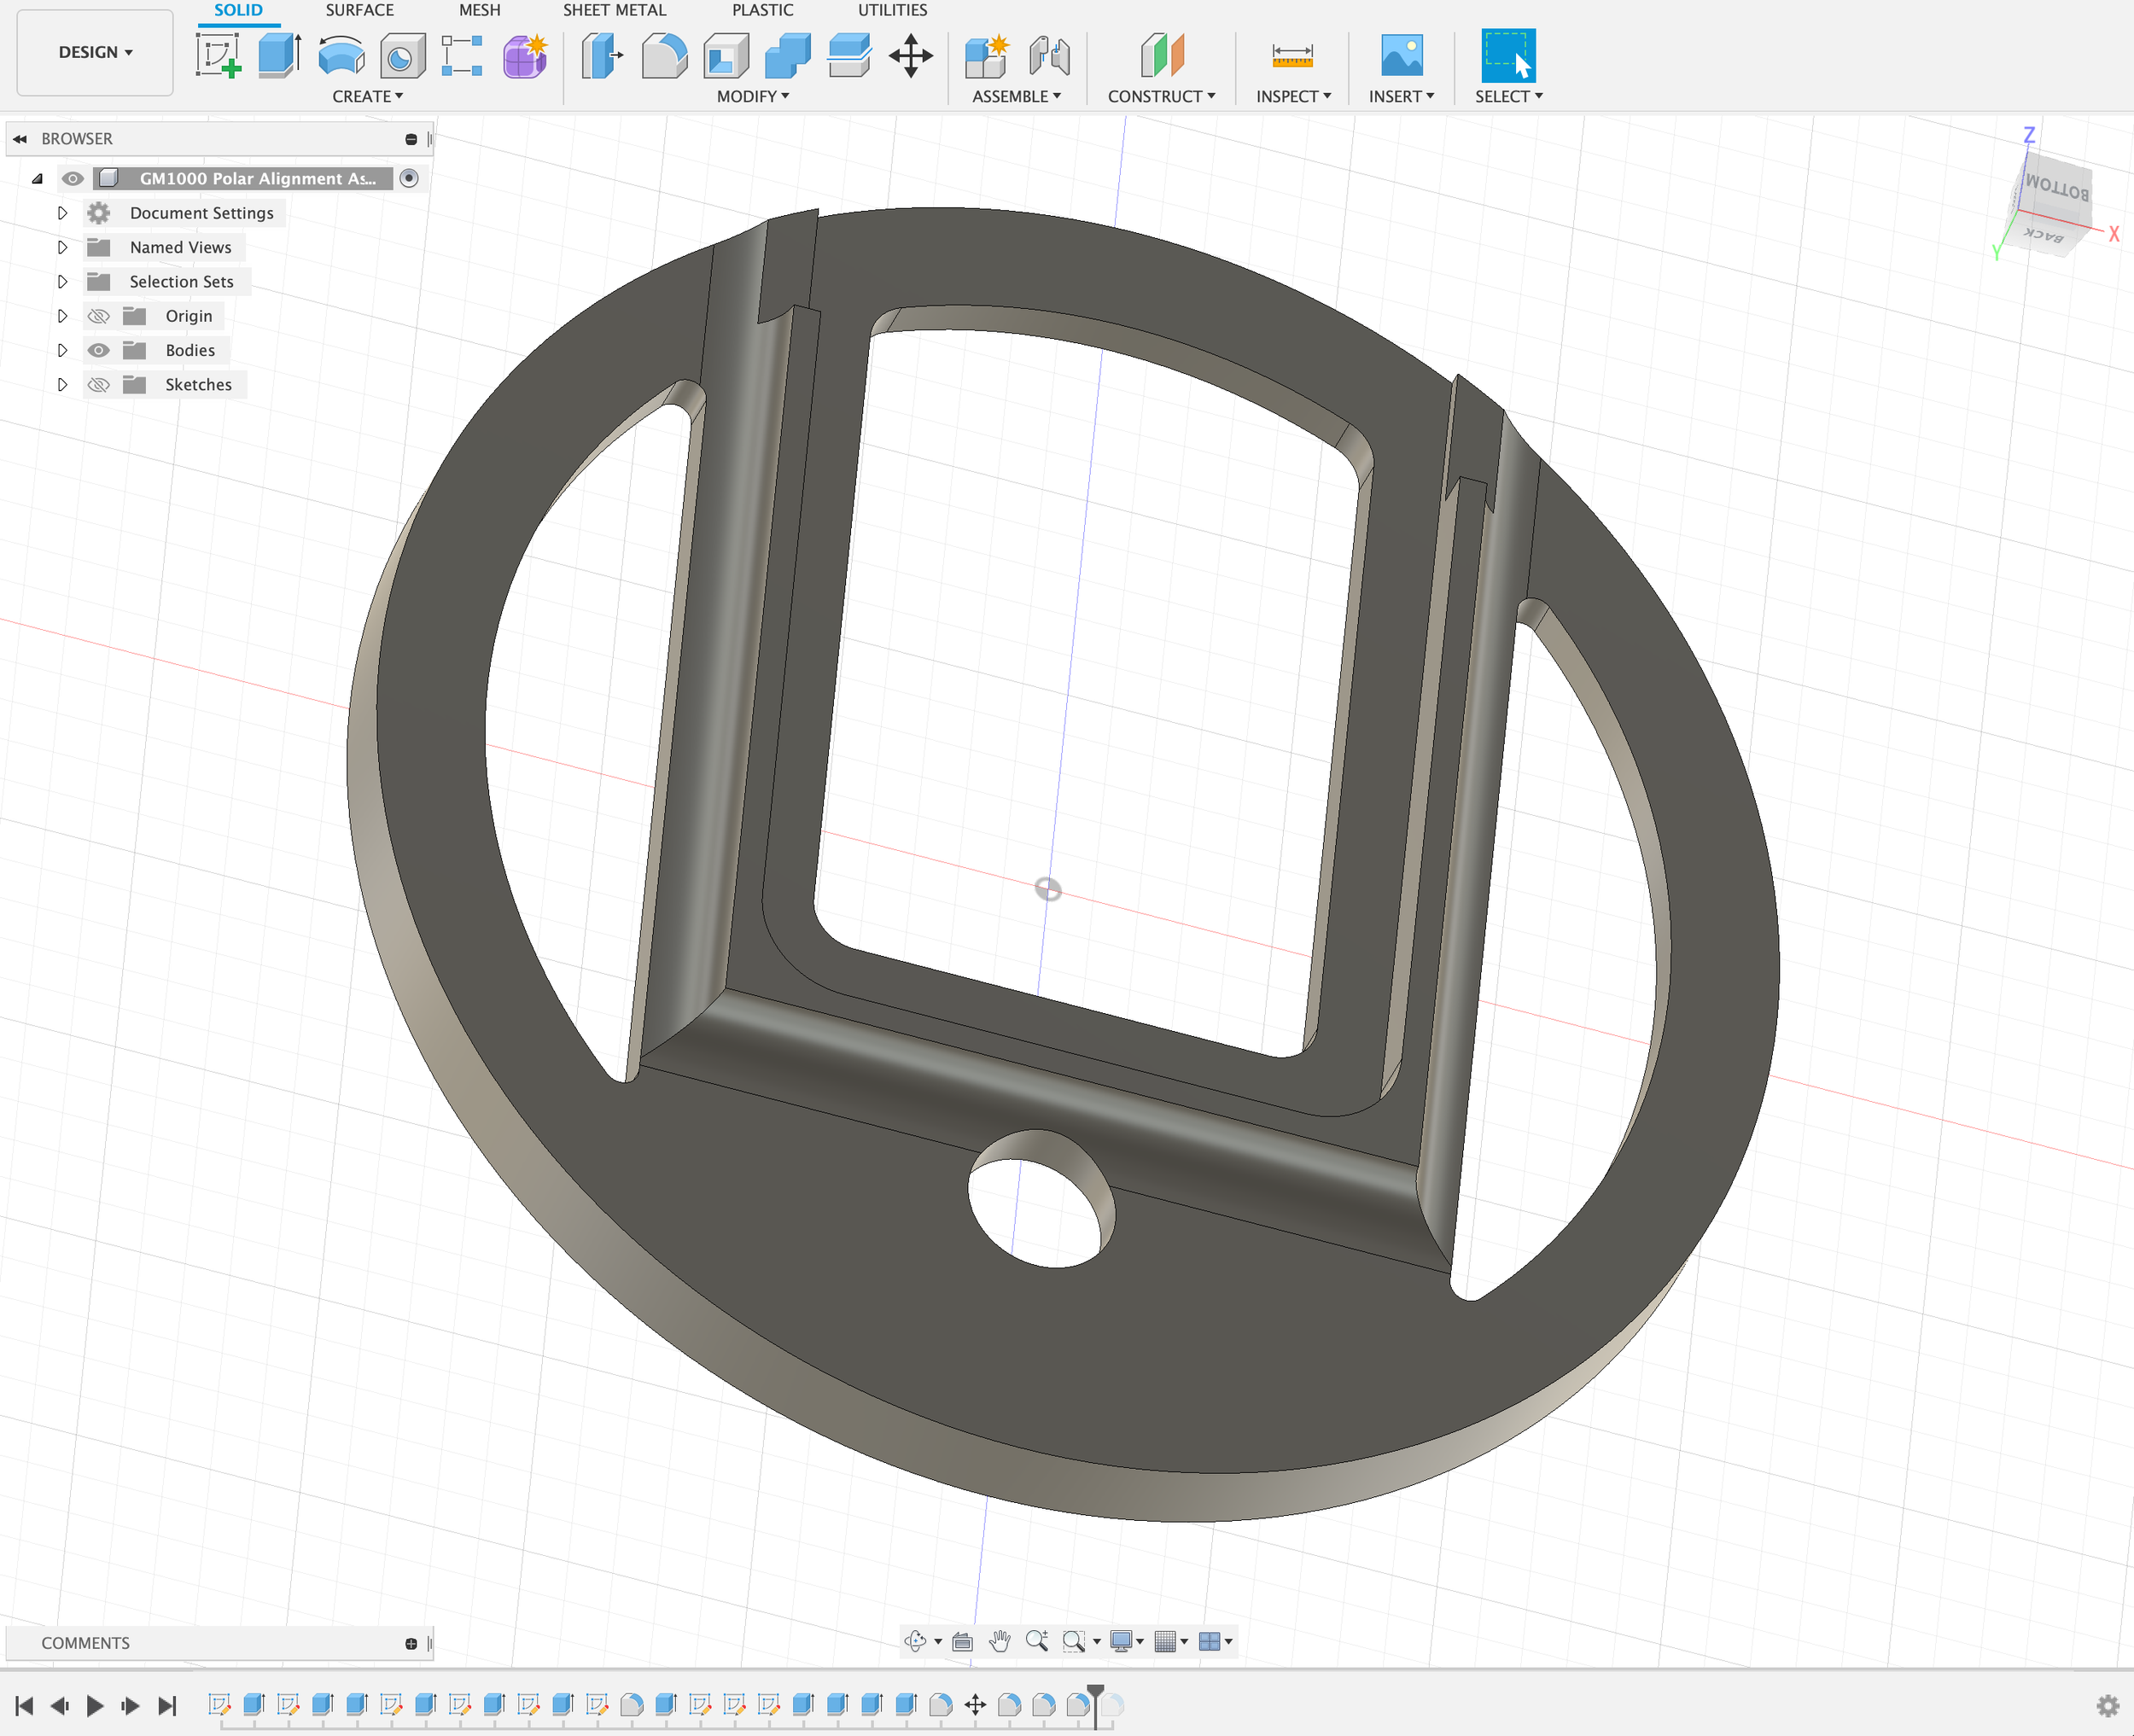
3D design of the Polar Alignment pointer tool.
A 3D design was constructed and several 3D test-prints were run. This allowed for a bit of fine-tuning of the exact dimensions, to ensure a snug fit in all places. In 3D printing, a ‘hollow’ structure like this requires support material to be printed that can be taken out later. Dialing in the proper support settings was very difficult. In the end best results were obtained with layer height of 0.2mm and a Z-distance (distance between support and object) of 0.2mm as well. The support comes out fairly easily and leaves a pretty smooth surface on the underside of the tool. Final version of the tool was printed using a matt-black PETG filament from ColorFabb. This gave a very smooth satin-like finish which fits very nicely with the anodised aluminum of the pier.

Using proper support settings, the tool can be printed lying flat, which greatly increases the quality of the final print. Proper support settings are very critical. Best results were obtained with layer thickness of 0.2mm and a Z-distance of 0.2mm. With these settings, the underside of the tool come out pretty smoothly.
Compass apps on smartphones are not very precise. There are a few things to keep in mind that will help the accuracy:
Ensure using true north, and not magnetic north (in Settings)
Move the phone around in an 8-shaped pattern before measuring
Let the compass settle a bit before making any adjustments. This usually takes a few seconds.
Maximum accuracy is not needed. This will be obtained during actual polar alignment. The most important task here is to get within the bandwidth of the azimuth adjustment, so that polar alignment can be fully done using small rotations of the adjustment knobs and doesn’t require a shuffle of the whole setup.
Adding this little extra comfort and precision during the setup is much appreciated if you have to setup each time. Although not tested for that purpose, but this may also be a sufficient enough polar alignment for daytime observation of the sun for example.

The pointer tool fits snug on the GM1000HPS base-plate with the azimuth adjustment block peeking through.