
Moving from one Remote Hosting site to another
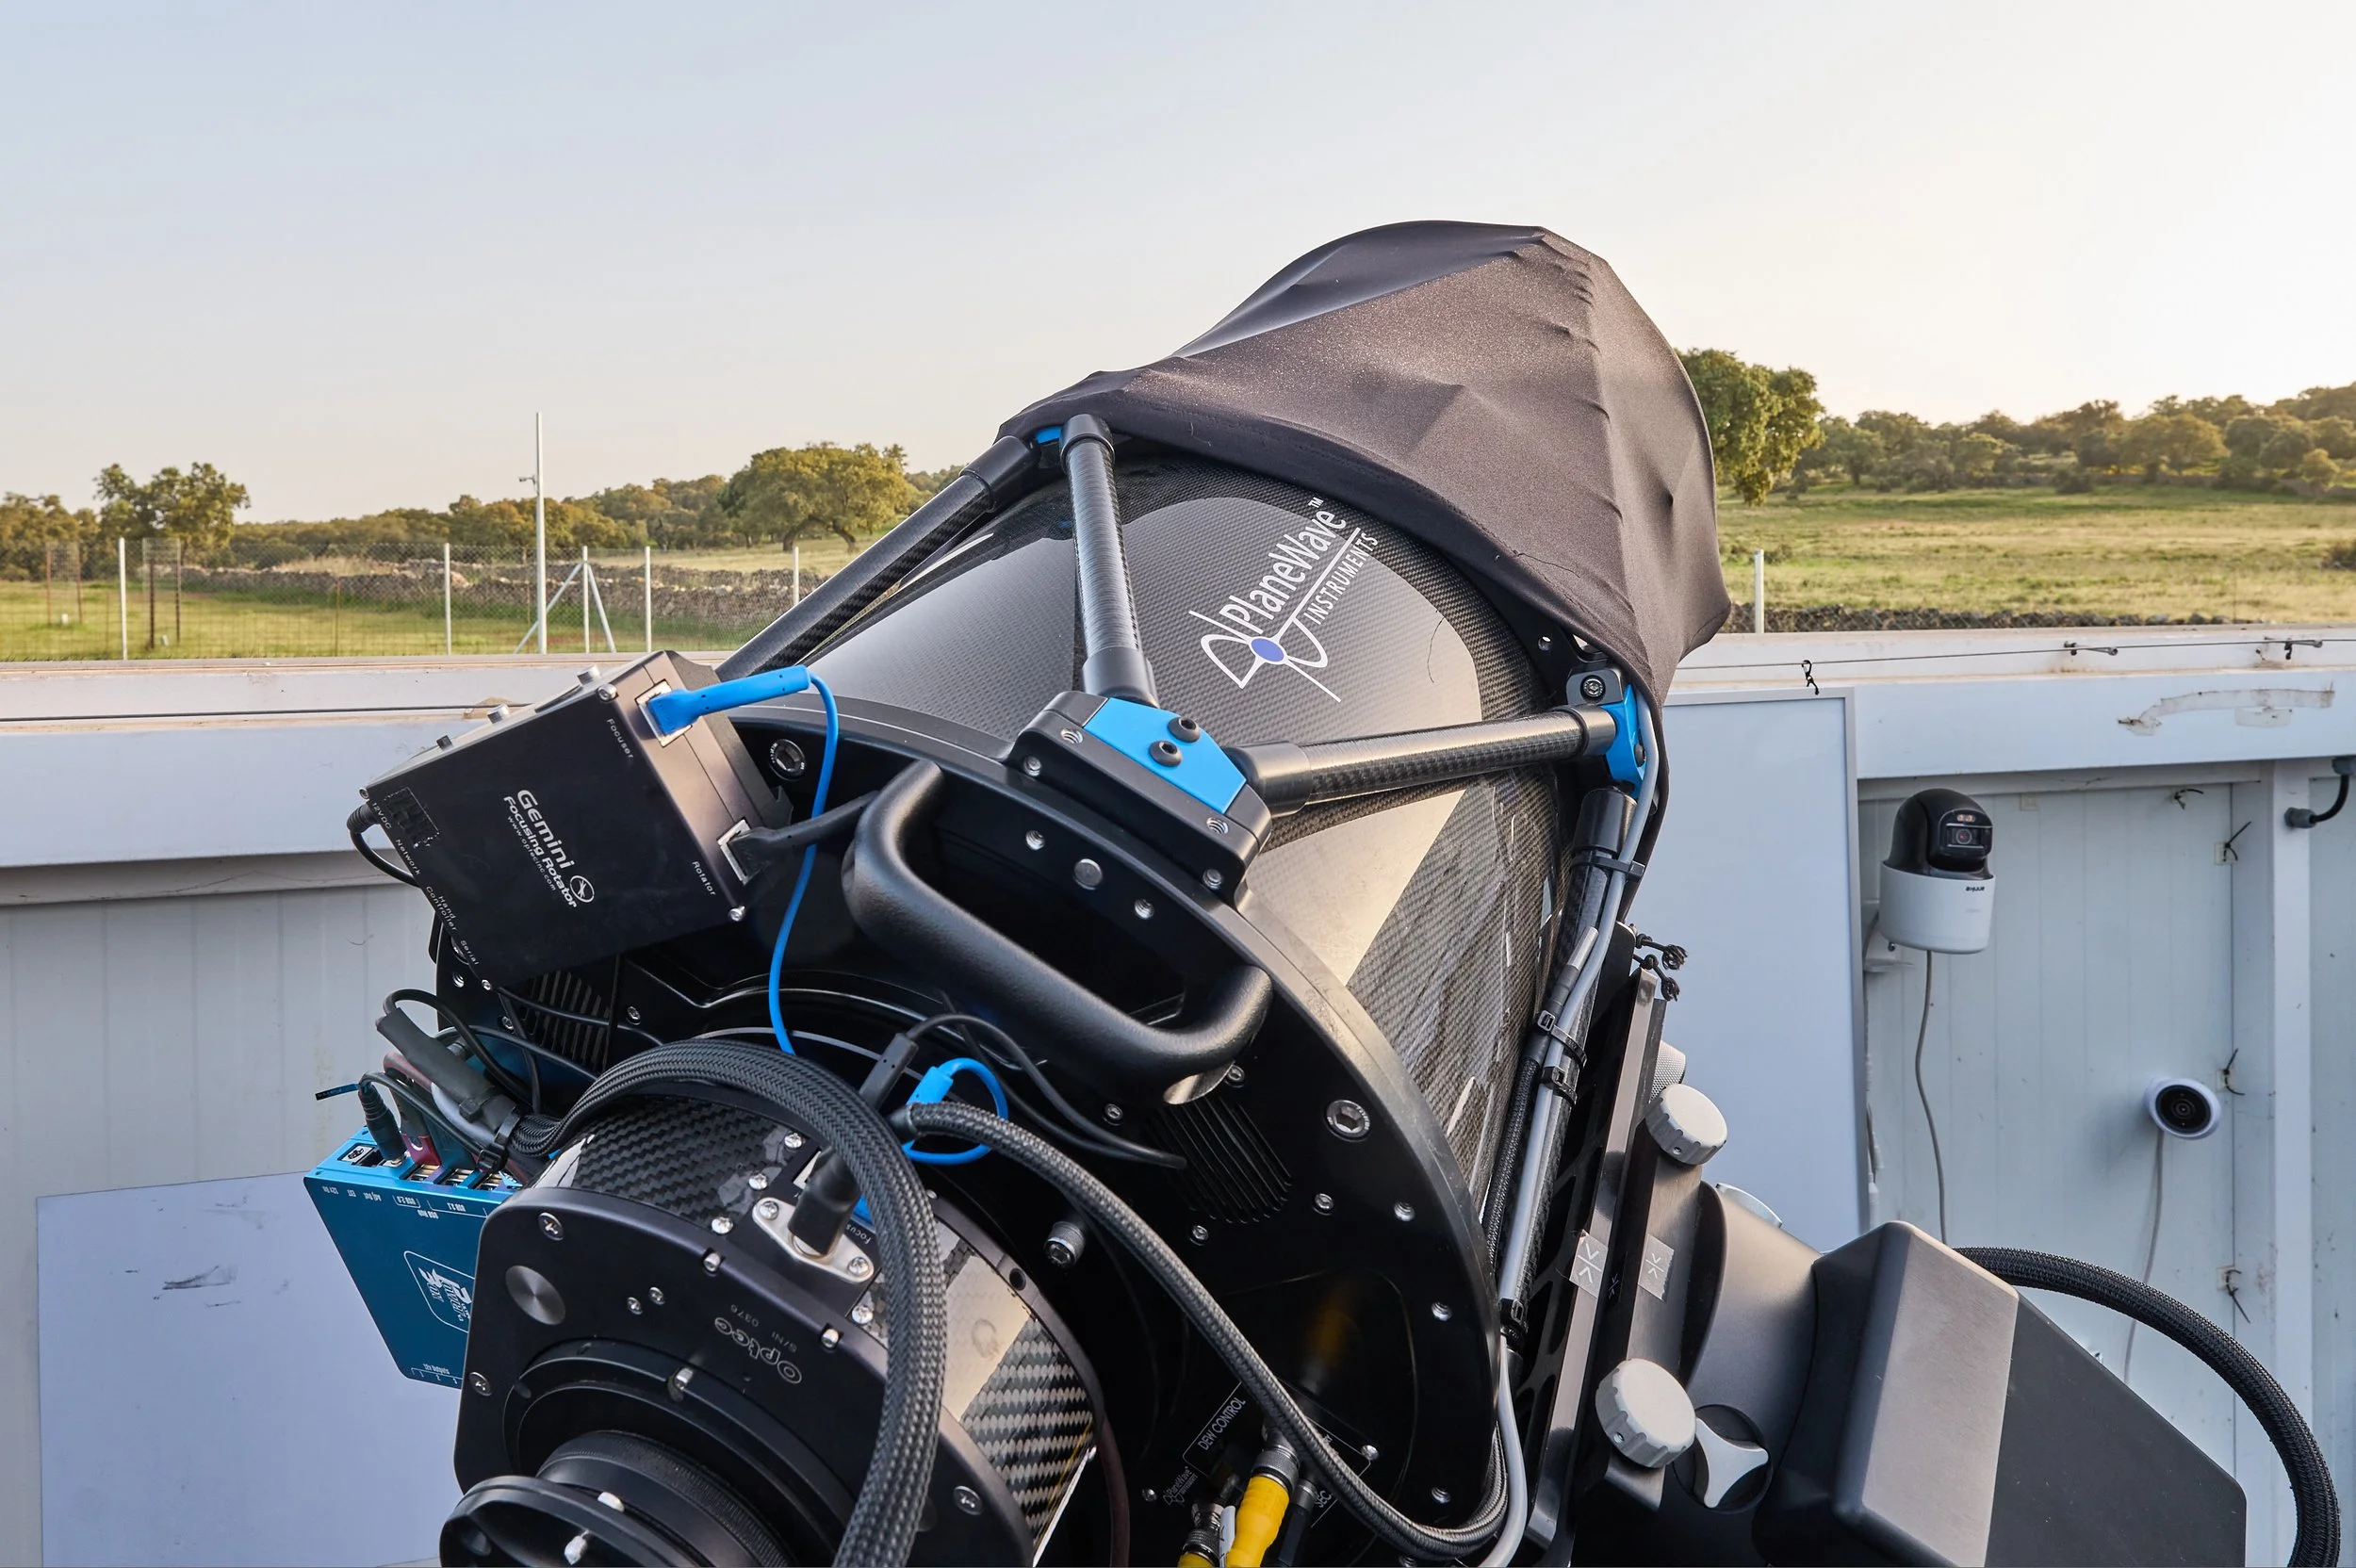
The rig found a great new accommodation at the Roboscopes site near Fregenal de la Sierra in Spain
It was 15 February 2026 when I received a message from the site that hosted my telescope. As per 1 April the site would close and I was asked to come and collect my instrumentation. The message did not come completely unexpected. Mid last year, one of the owners and key person living on-site had suddenly passed away. A very sudden and very sad event. The staff that stayed behind has done their best to keep things going, but in the end it turned out to be too much. So I now had six weeks to find a new site, plan for a visit to Spain to transfer the equipment, and hope that the timing of it all would work out such that not too much imaging time would be lost due to the move.
Site selection
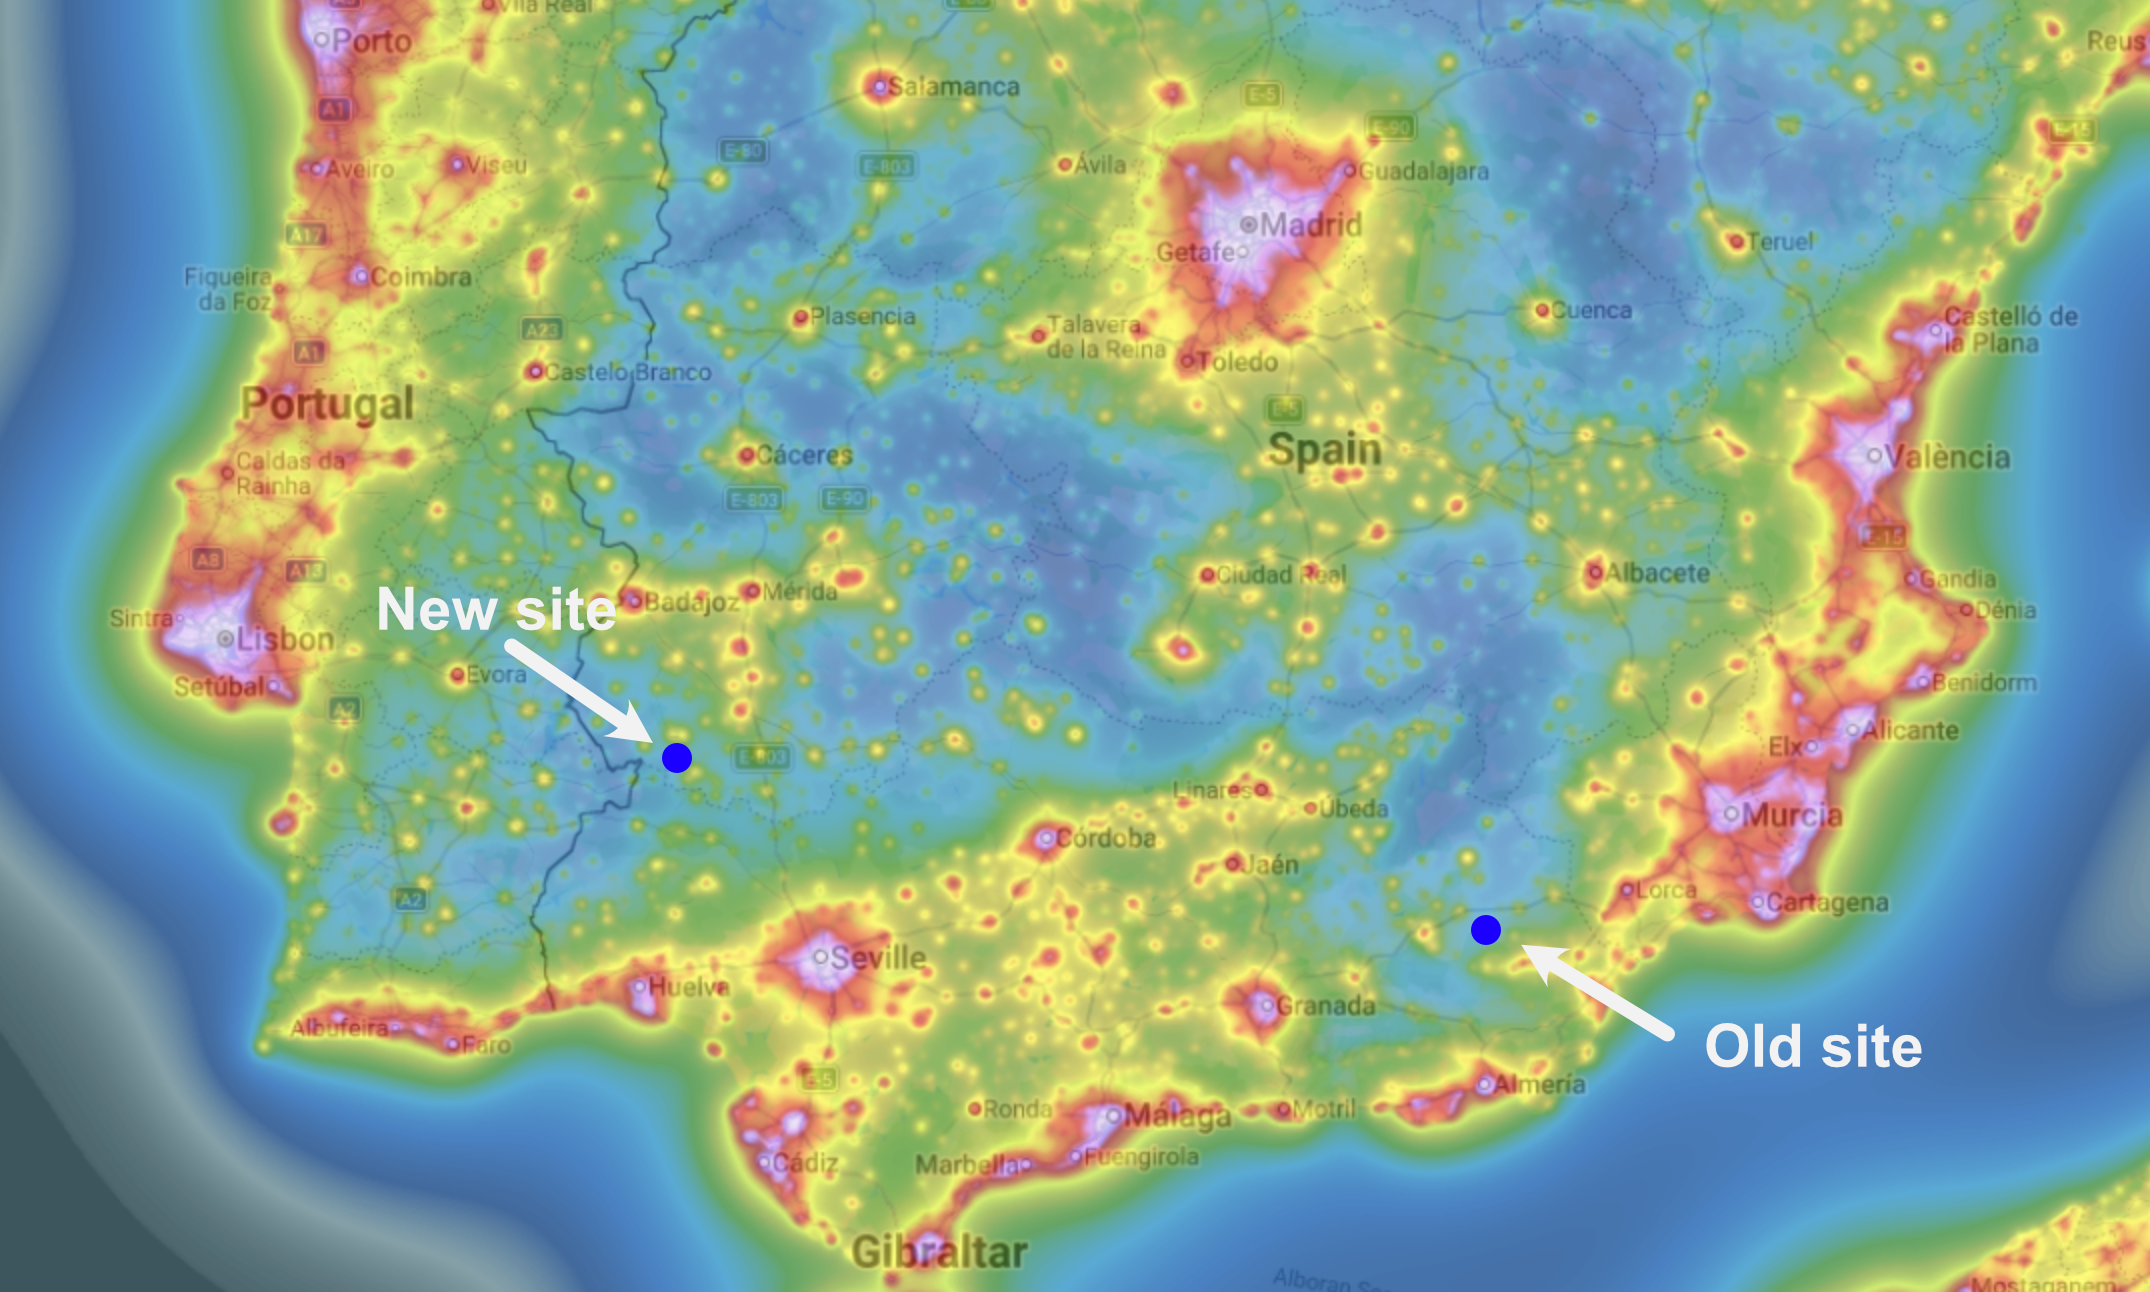
I went back to my original selection criteria for a remote hosting site. After two years of remote imaging I felt comfortable going to a site more remote with longer travel, in exchange for even better skies. But one of the learning points of the current situation was that things change, also in the world of remote hosting sites. Sites can close, ownership can change, conditions get different, etc. So I chose to look for a site on the Iberian peninsula, just like three years ago. The internet was researched again for any changes and/or new places. There were indeed a few changes, and the current list of sites is presented in the table below.
All sites were contacted and most responses came in pretty quickly. Several places did not have space available immediately, but expected something to appear within several months, up to maybe half a year. This would not be an ideal scenario. Two sites did have space available now. After individual calls with each of them to discuss options and get to know each other, it was time to make a final decision.
| Name | Website | Country |
|---|---|---|
| AstroAro | www.astroaro.fr | Portugal |
| Astrocamp | www.astrocamp.es | Spain |
| e-Eye | www.e-eye.es | Spain |
| Roboscopes | www.roboscopes.com | Spain |
| Pixelskies | www.pixelskiesastro.com | Spain |
| Trevincaskies | www.trevincaskies.com | Spain |
| Eye in the Sky | www.telescope-hosting.com | Spain |
Roboscopes
I chose Roboscopes. This is a site primarily known for their managed hosting and hourly rental model. But they do have some spots for regular, unmanaged remote hosting. This was the type of setup that I was looking for. Roboscopes is in the process of expanding with a new site in New Mexico in the US and they are bringing over some of their equipment to that location. As a result a pier became available for remote hosting, and that was the one that was offered to me.
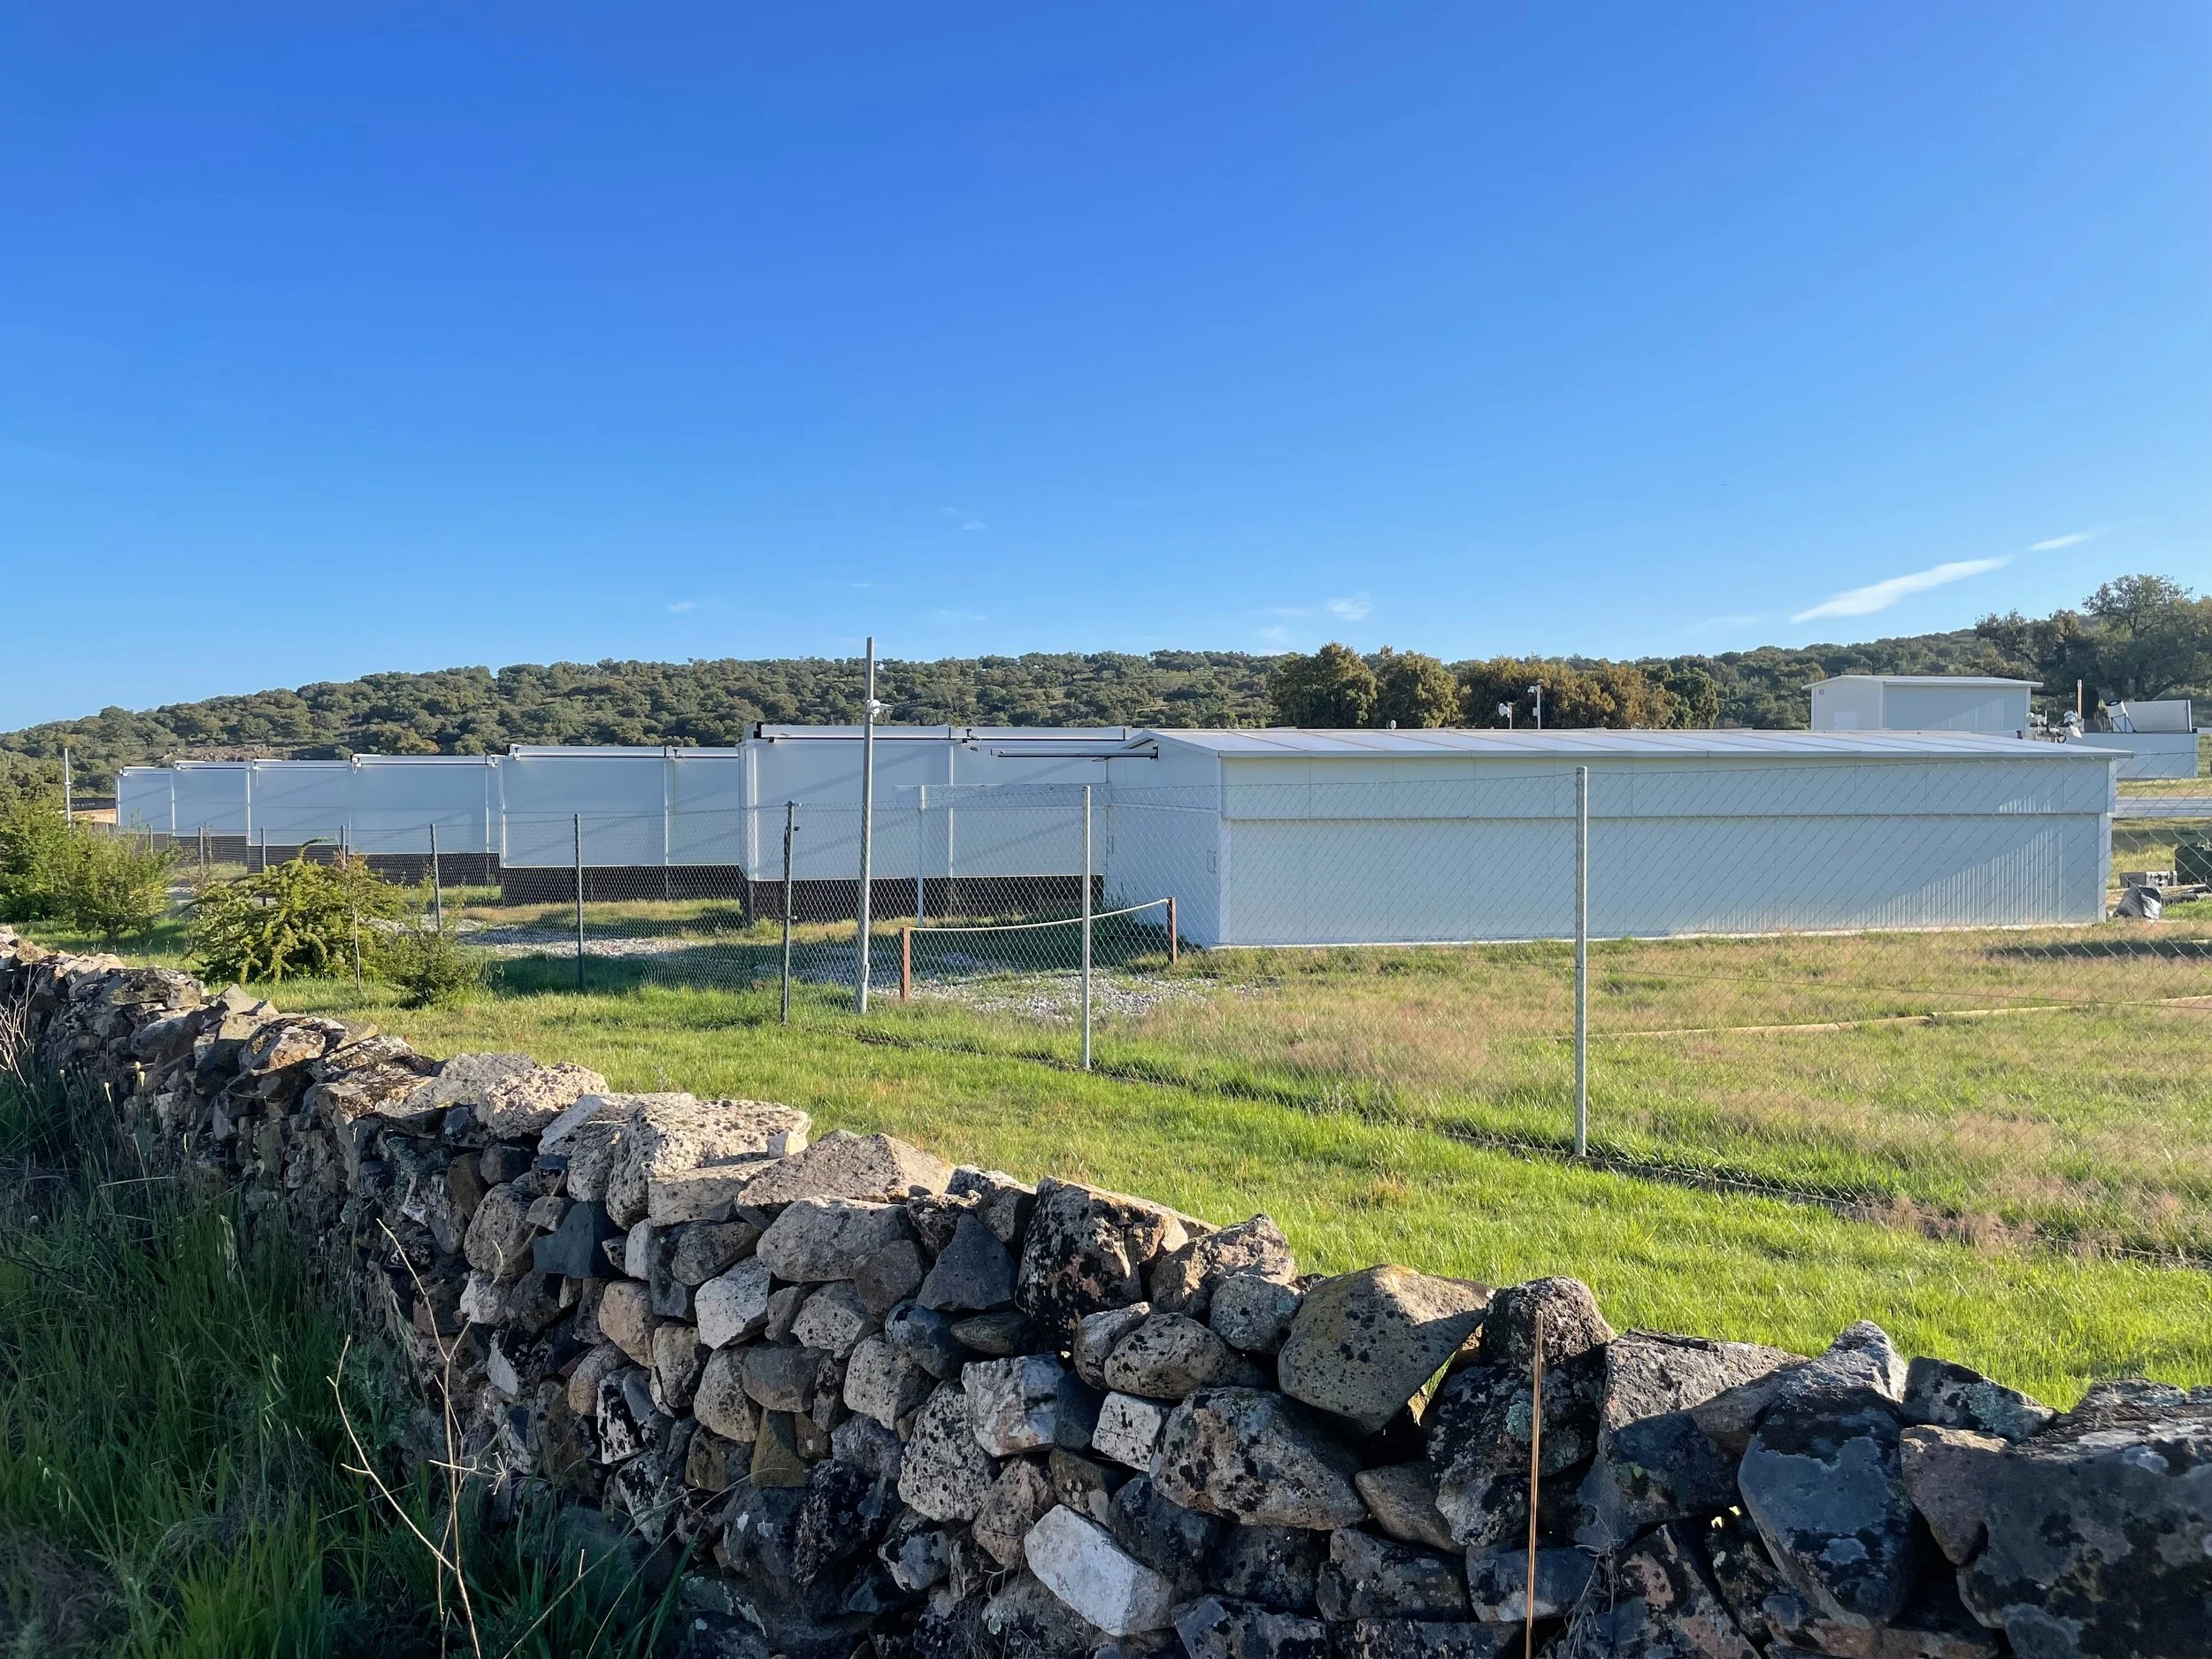
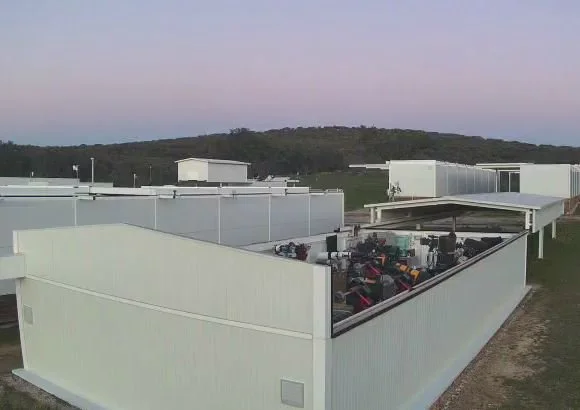
The Roboscopes observatory is a multi-pier building with one big roll-off roof that is centrally managed. At the moment there are 19 piers in the building. The site is located near Fregenal de la Sierra, a small Spanish village within the province of Badajoz, Extremadura. The observatory is built on the premises of another remote hosting site: e-Eye. E-Eye is the largest remote hosting site in Europe, with well over 100 telescopes. The Roboscopes team is based in the UK and Switzerland and travels several times a year to the observatory. Acute technical support is provided by the e-Eye staff.
Planning the trip
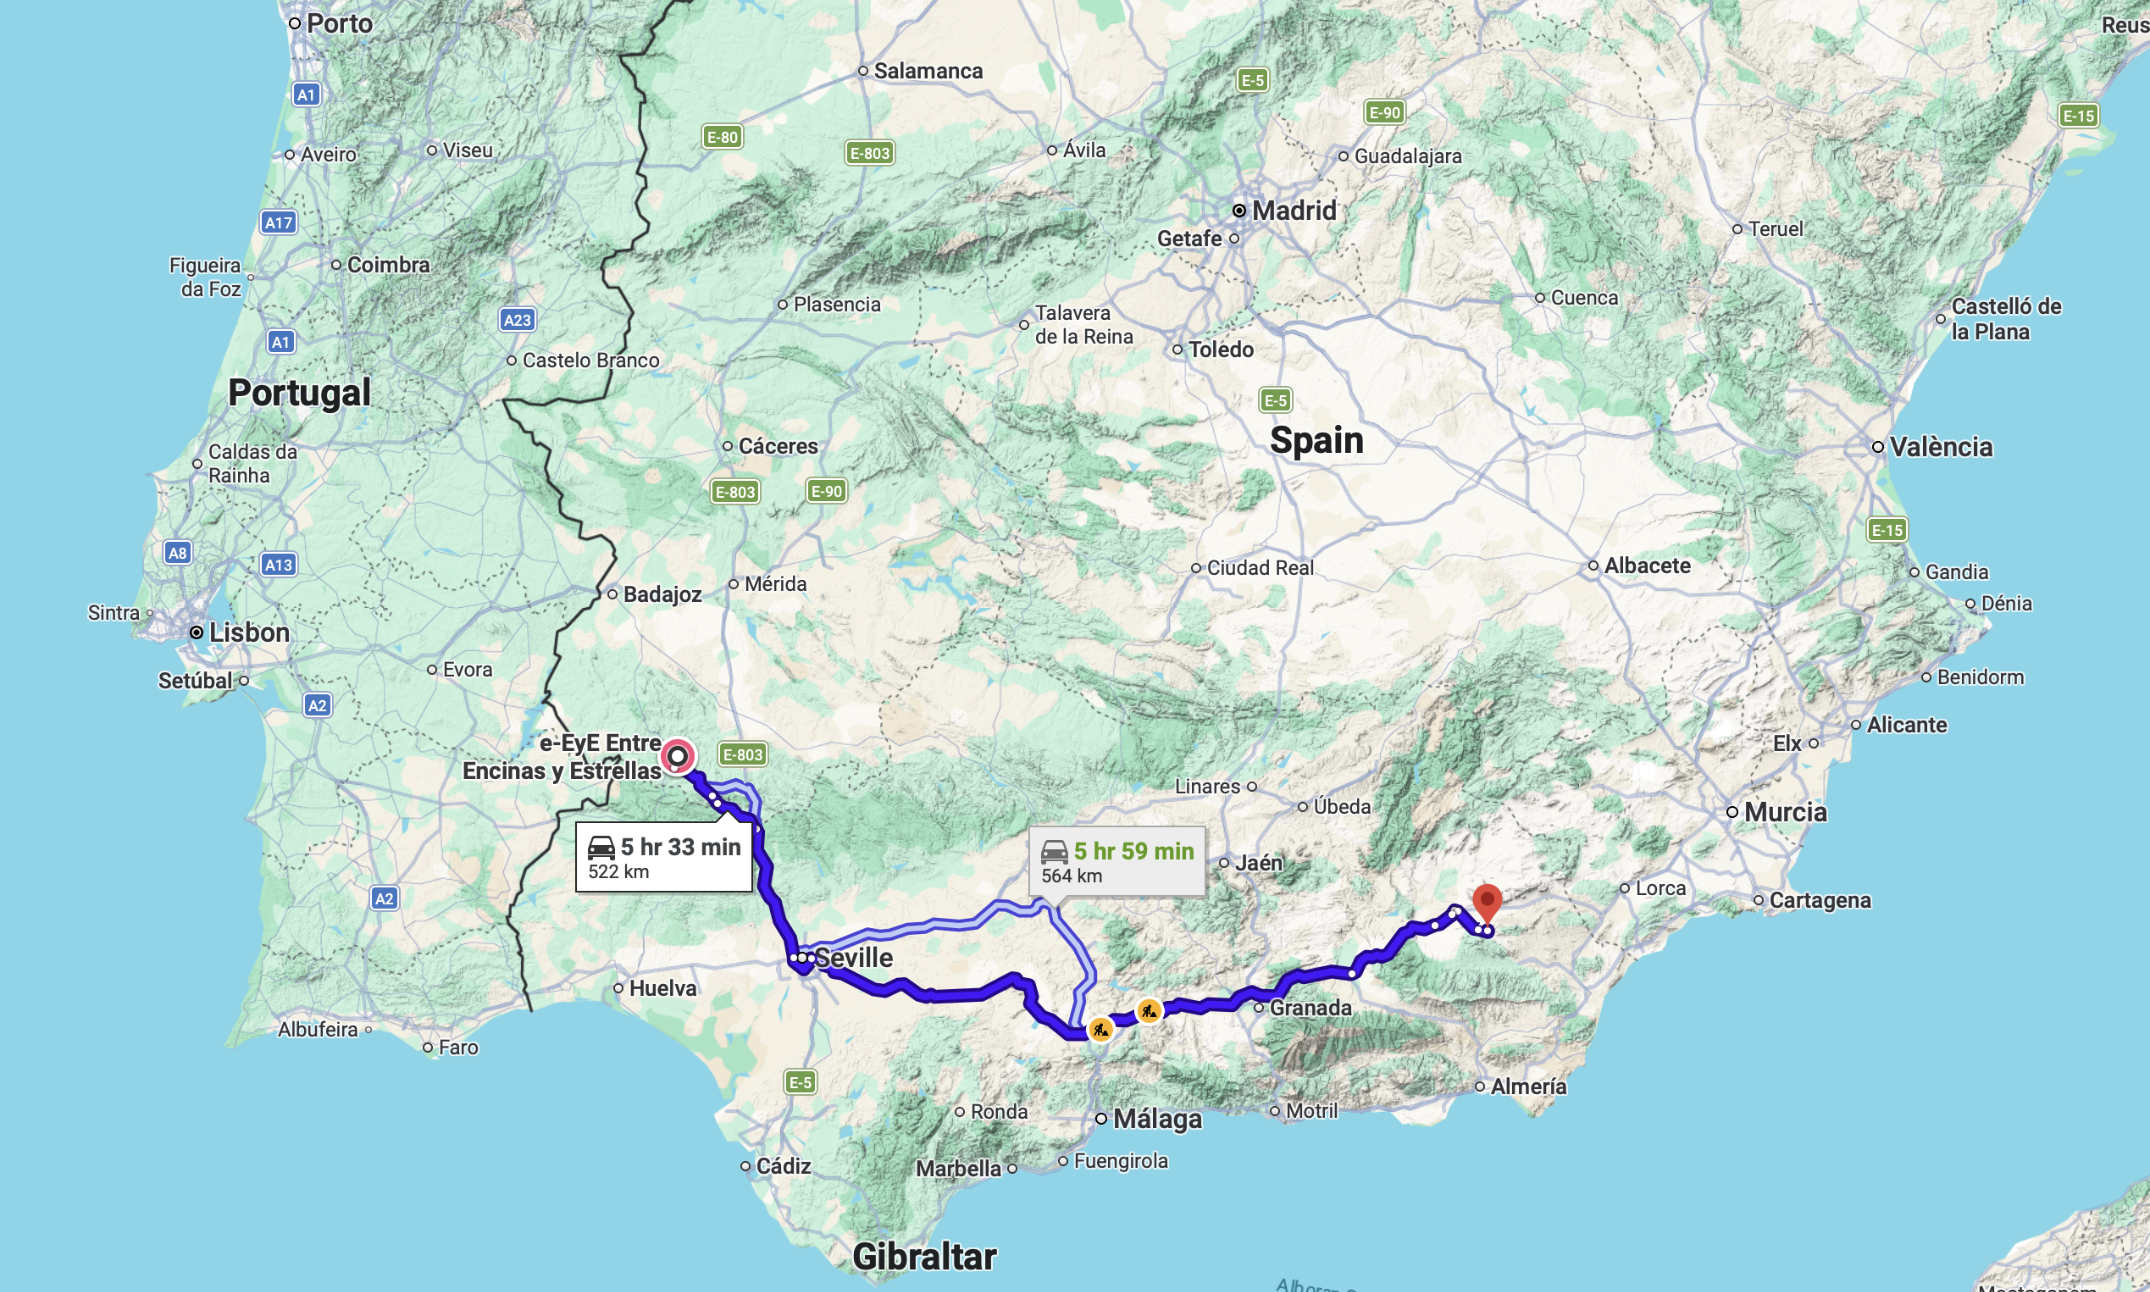
As it turned out, the team of Roboscopes had planned for a site visit in early April. That timing could not be better for me, so I started planning the transfer. Since all my equipment was already in Spain, it made no sense for me to take on the two-day drive from home. Instead, I decided to fly in, rent a car, pick up the scope from the old location, drive to the new place and fly back from there. In the end we added a family vacation to the trip as well, so the itinerary was a bit more complex.
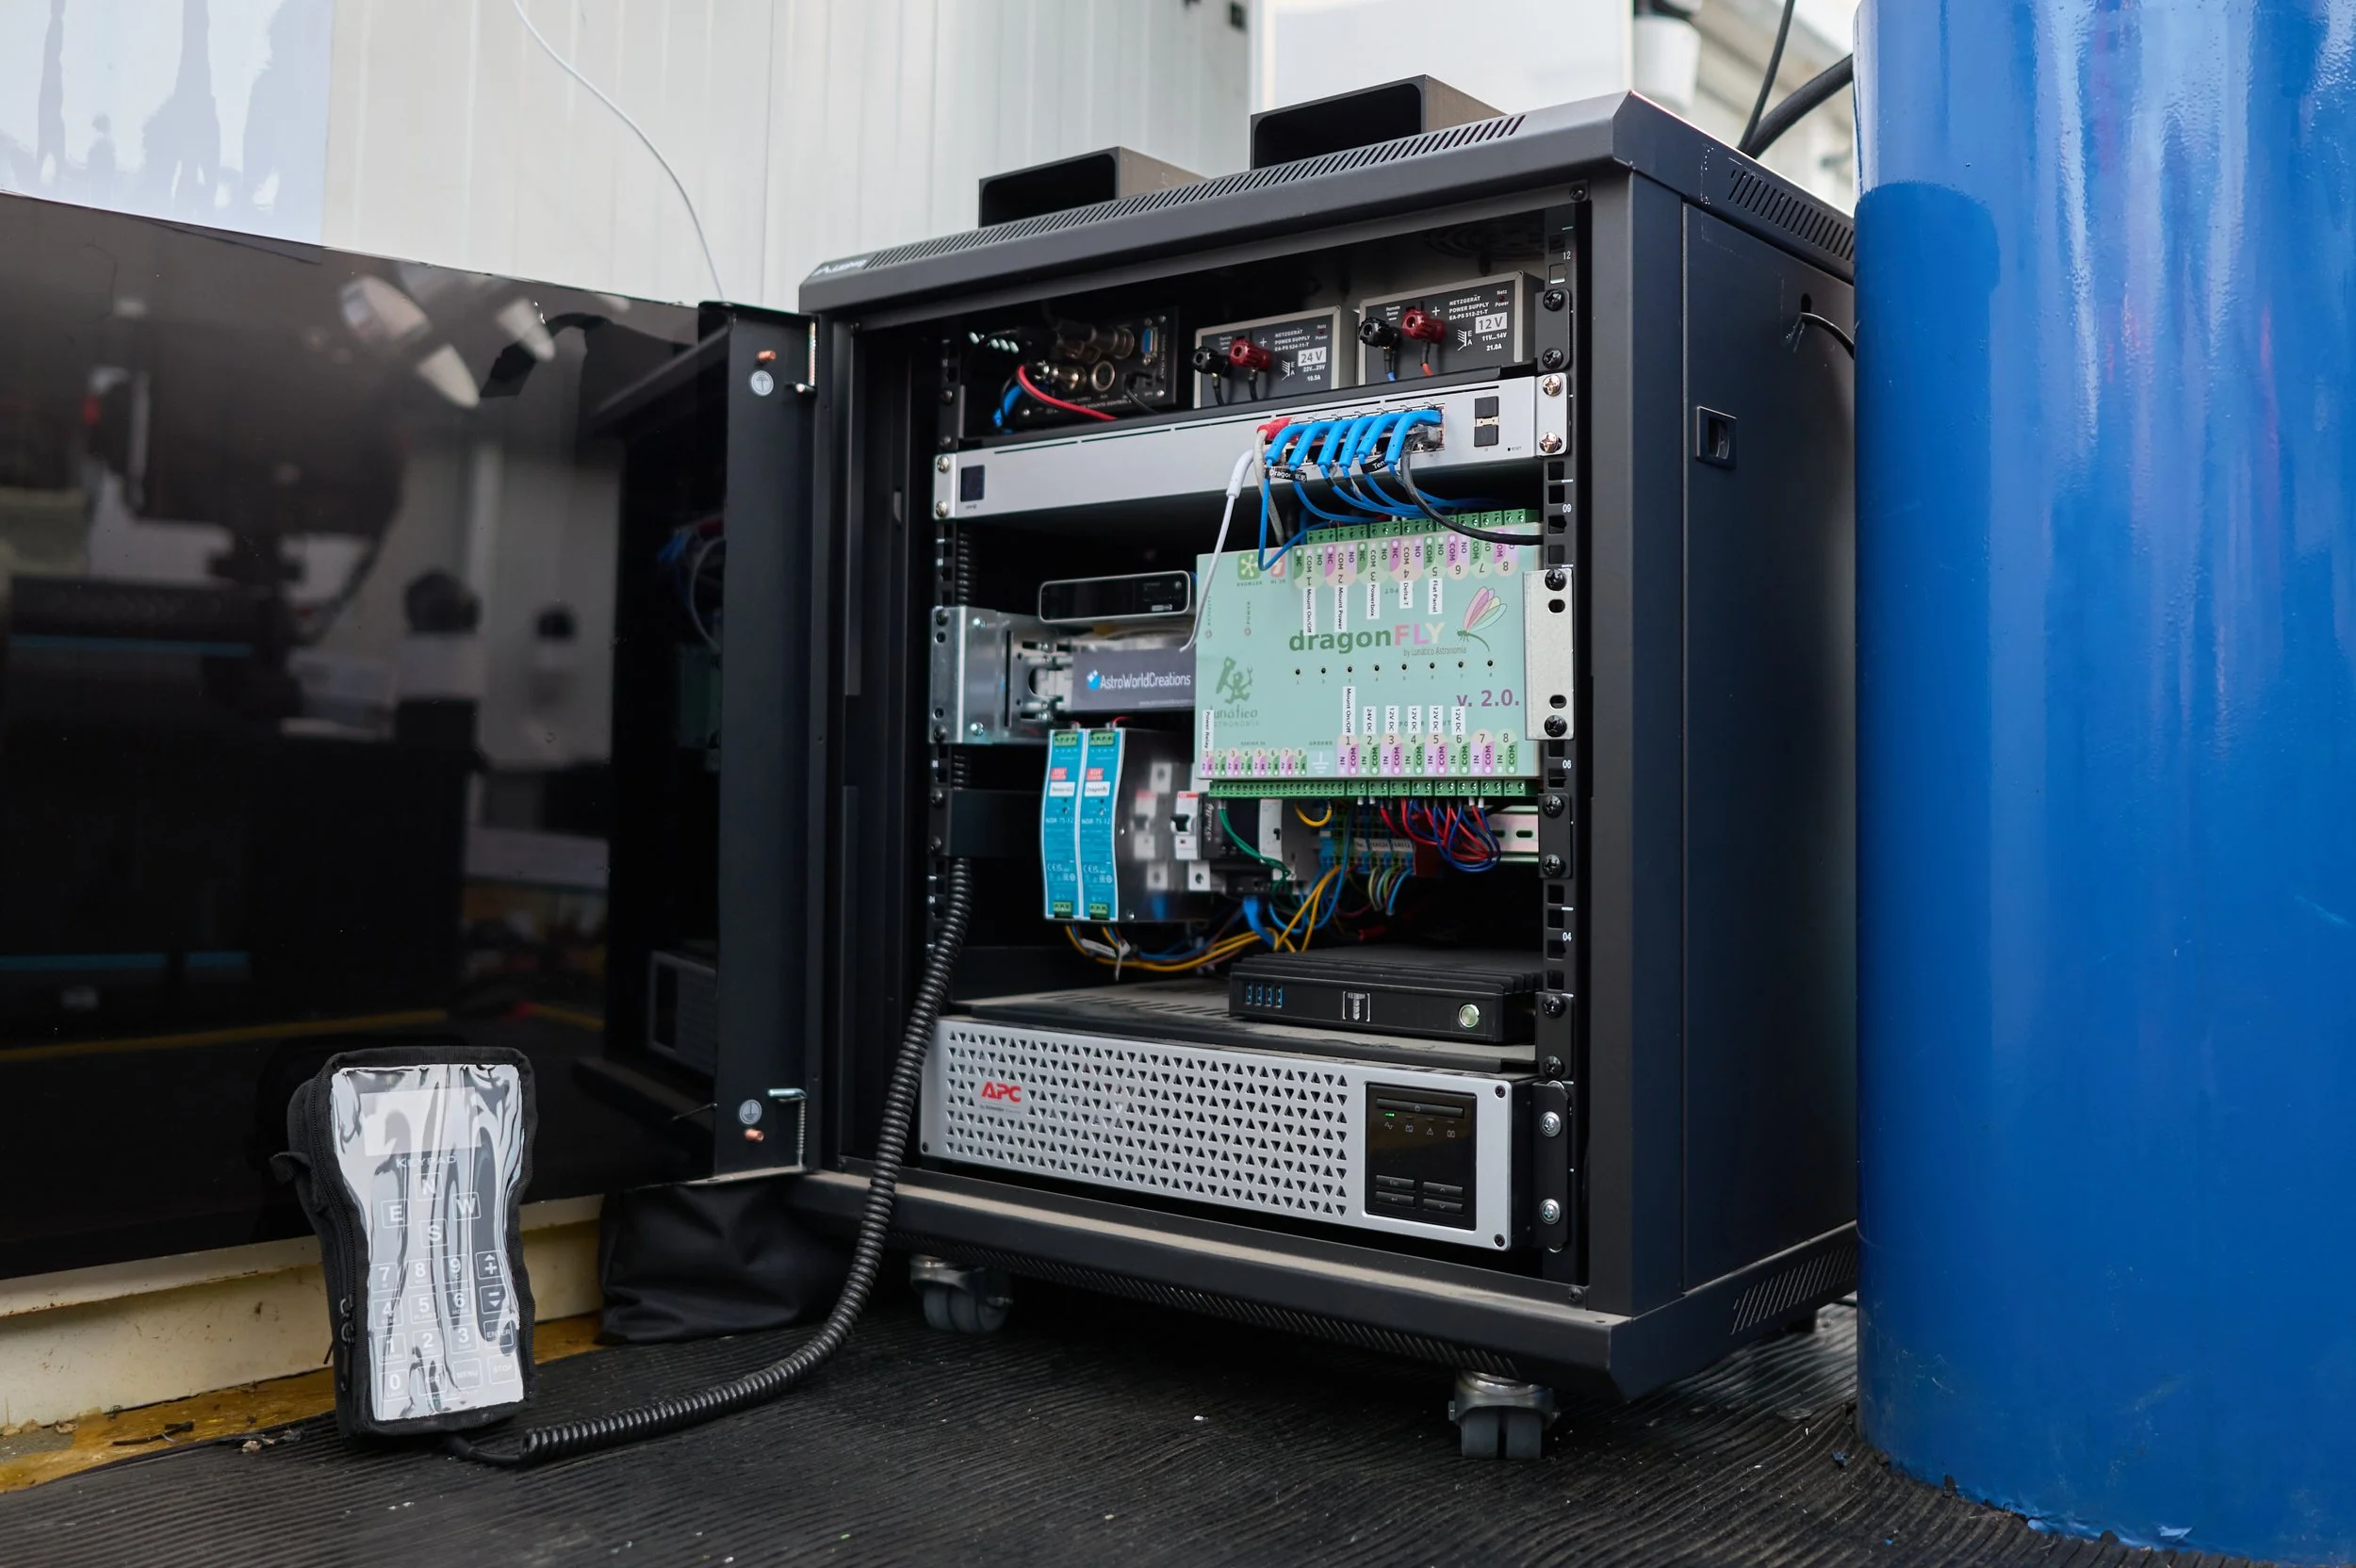
It was difficult to estimate how much work would be involved in taking the system down and building it back up again. But one thing was for sure. If I could transport the cabinet with all the electronics in one piece rather than taking it all apart, that would save a lot of work and would mean a massive help in minimising the chance for error. So the rental car needed to be big enough to make this happen.
Collect equipment from the old site
The trip started with a flight out to Alicante on the evening of April 6. At the car rental, the measuring tape demonstrated that the car was big enough to hold a 45x60x70cm cabinet case. After an overnight stay in Murcia, the next stop was at a DIY store and Asian Market to get a few rolls of bubble wrap and appropriate boxes for packing and transportation.
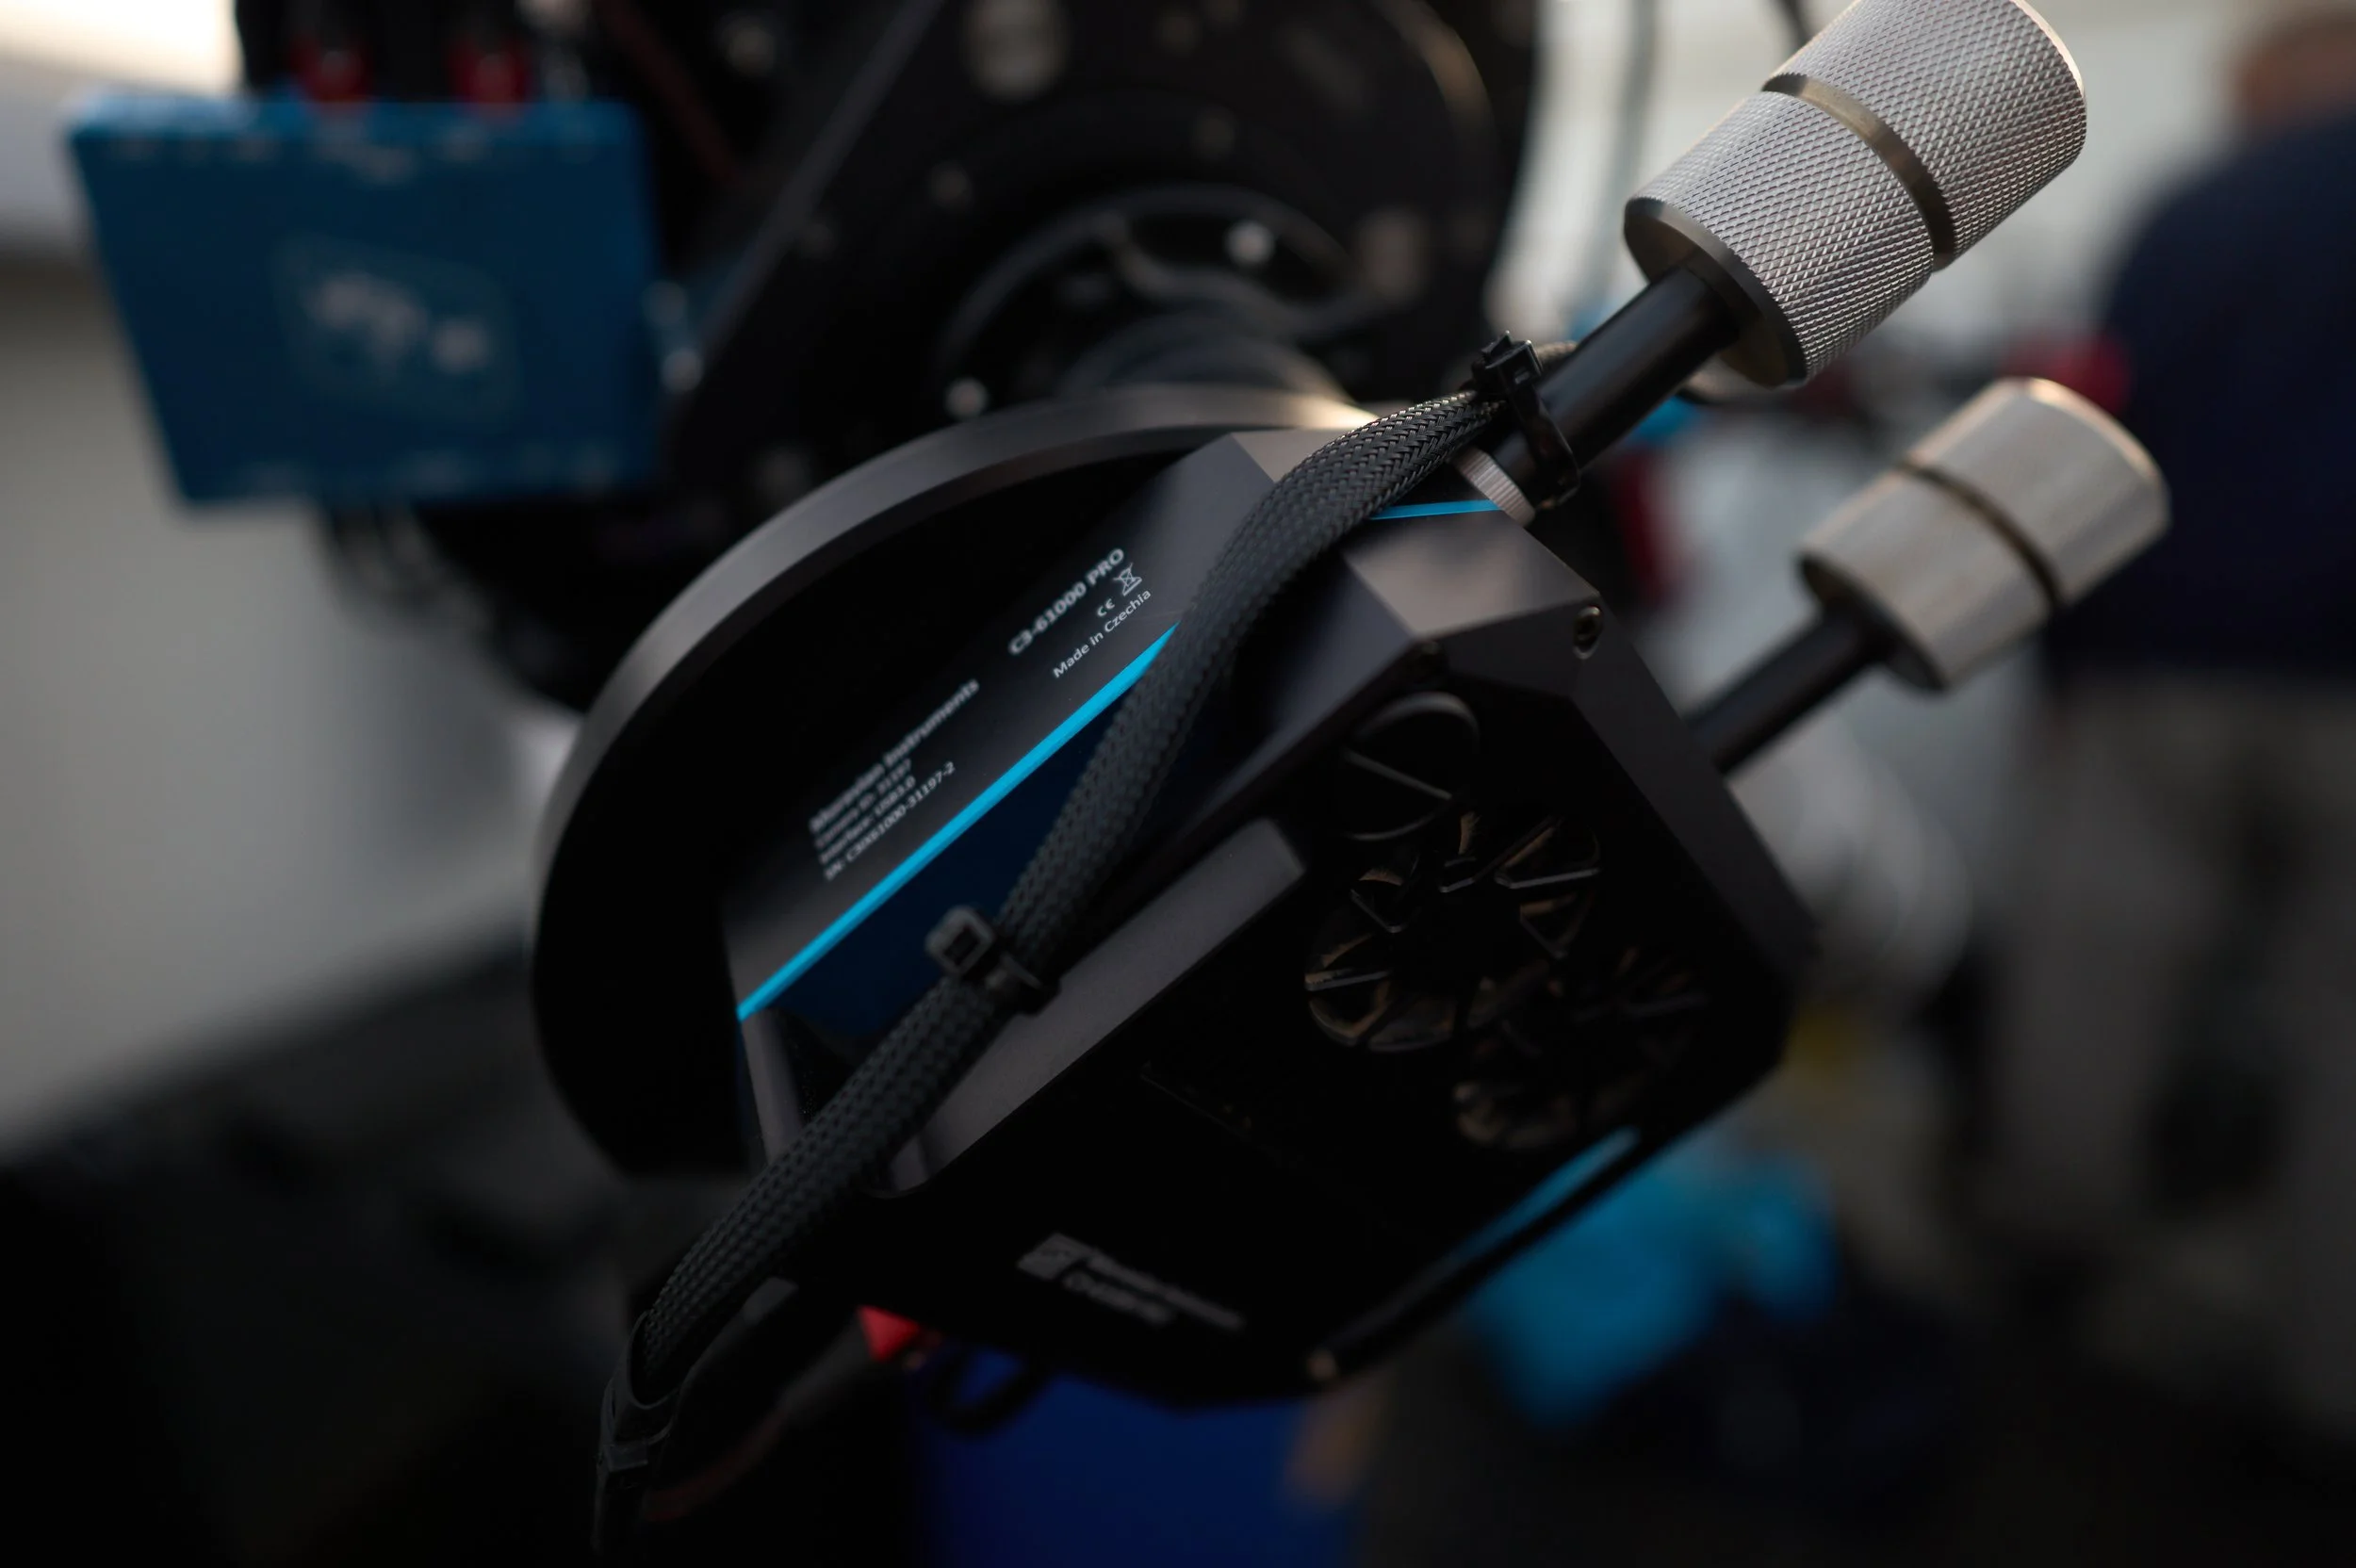
Just after mid-day on April 7, I arrived at ICAstronomy and received a warm welcome by Sam and Steve. The telescope looked in a pristine state. Clearly they had been doing a great job in keeping it all clean and tidy. Several systems had already been taken down and I started taking down mine. When I installed it two years ago, I knew very well by head how the wiring was all setup. Now, two years later, that was not always that obvious, so I took extra photos and added labels, just to make sure that the re-build would exactly match the current setup. Steve helped me to get the heavy things in the car. The cabinet was a perfect fit, no need to take anything apart. Pfff… After about 2.5h all was packed and ready to go. I thanked Sam and Steve for all their support and we promised to stay in contact. Then I started the journey to the new site which was a 6 hour drive. That night I stayed over in Sevilla, about 2 hours before my final destination.
Arrival at the new site
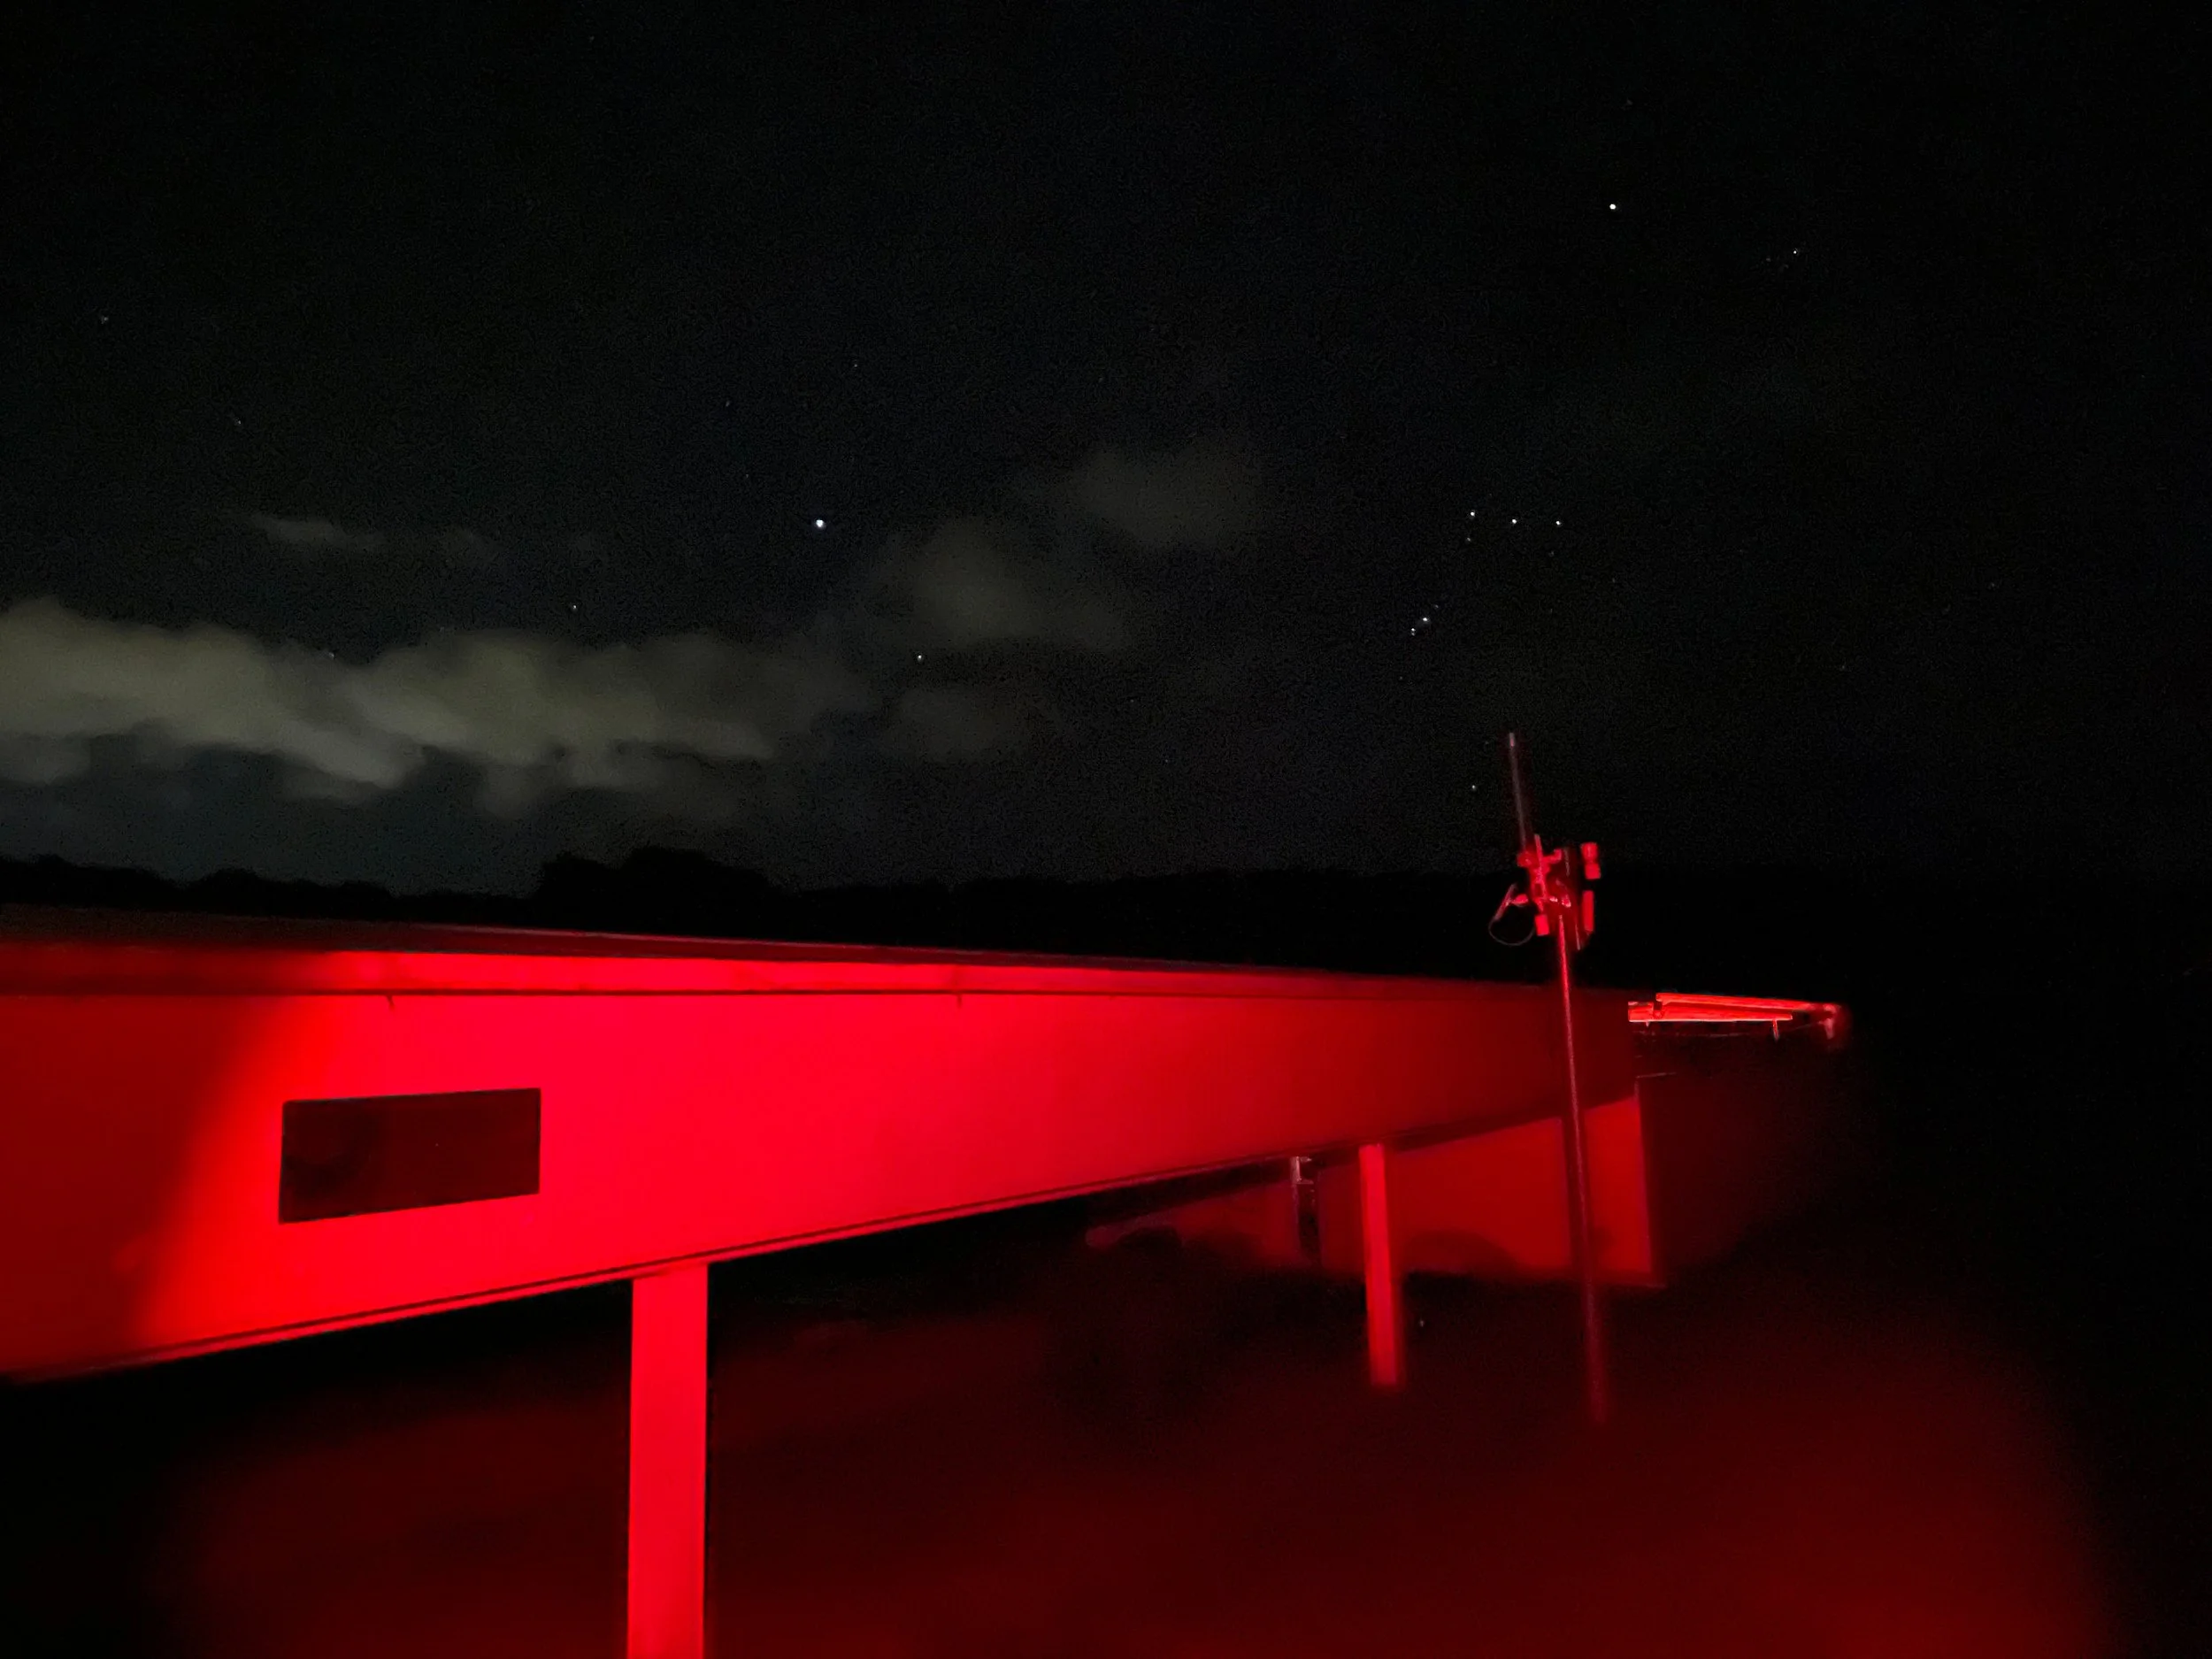
The following day just before noon I drove through the streets of Fregenal de la Sierra and just minutes later I arrived at the site. The e-Eye site has beautiful accommodation and that is where I would stay for the next couple of days. I received a very friendly welcome and was shown to my room. All looked great. Then on to the observatories which are just a few hundred meters away from the accommodation.
At the observatory, I met with the team, who were busy doing their planned changes. At this point it was just Steve and Peter. Later Manuel would join us as well. It was an absolute joy to work with them over these days. They are a great team and while it’s their business, it feels very much like they are doing their hobby. And they throw in a good dose of humor in the process. They are all astrophotography experts, and have created and published the most amazing images.
Installation
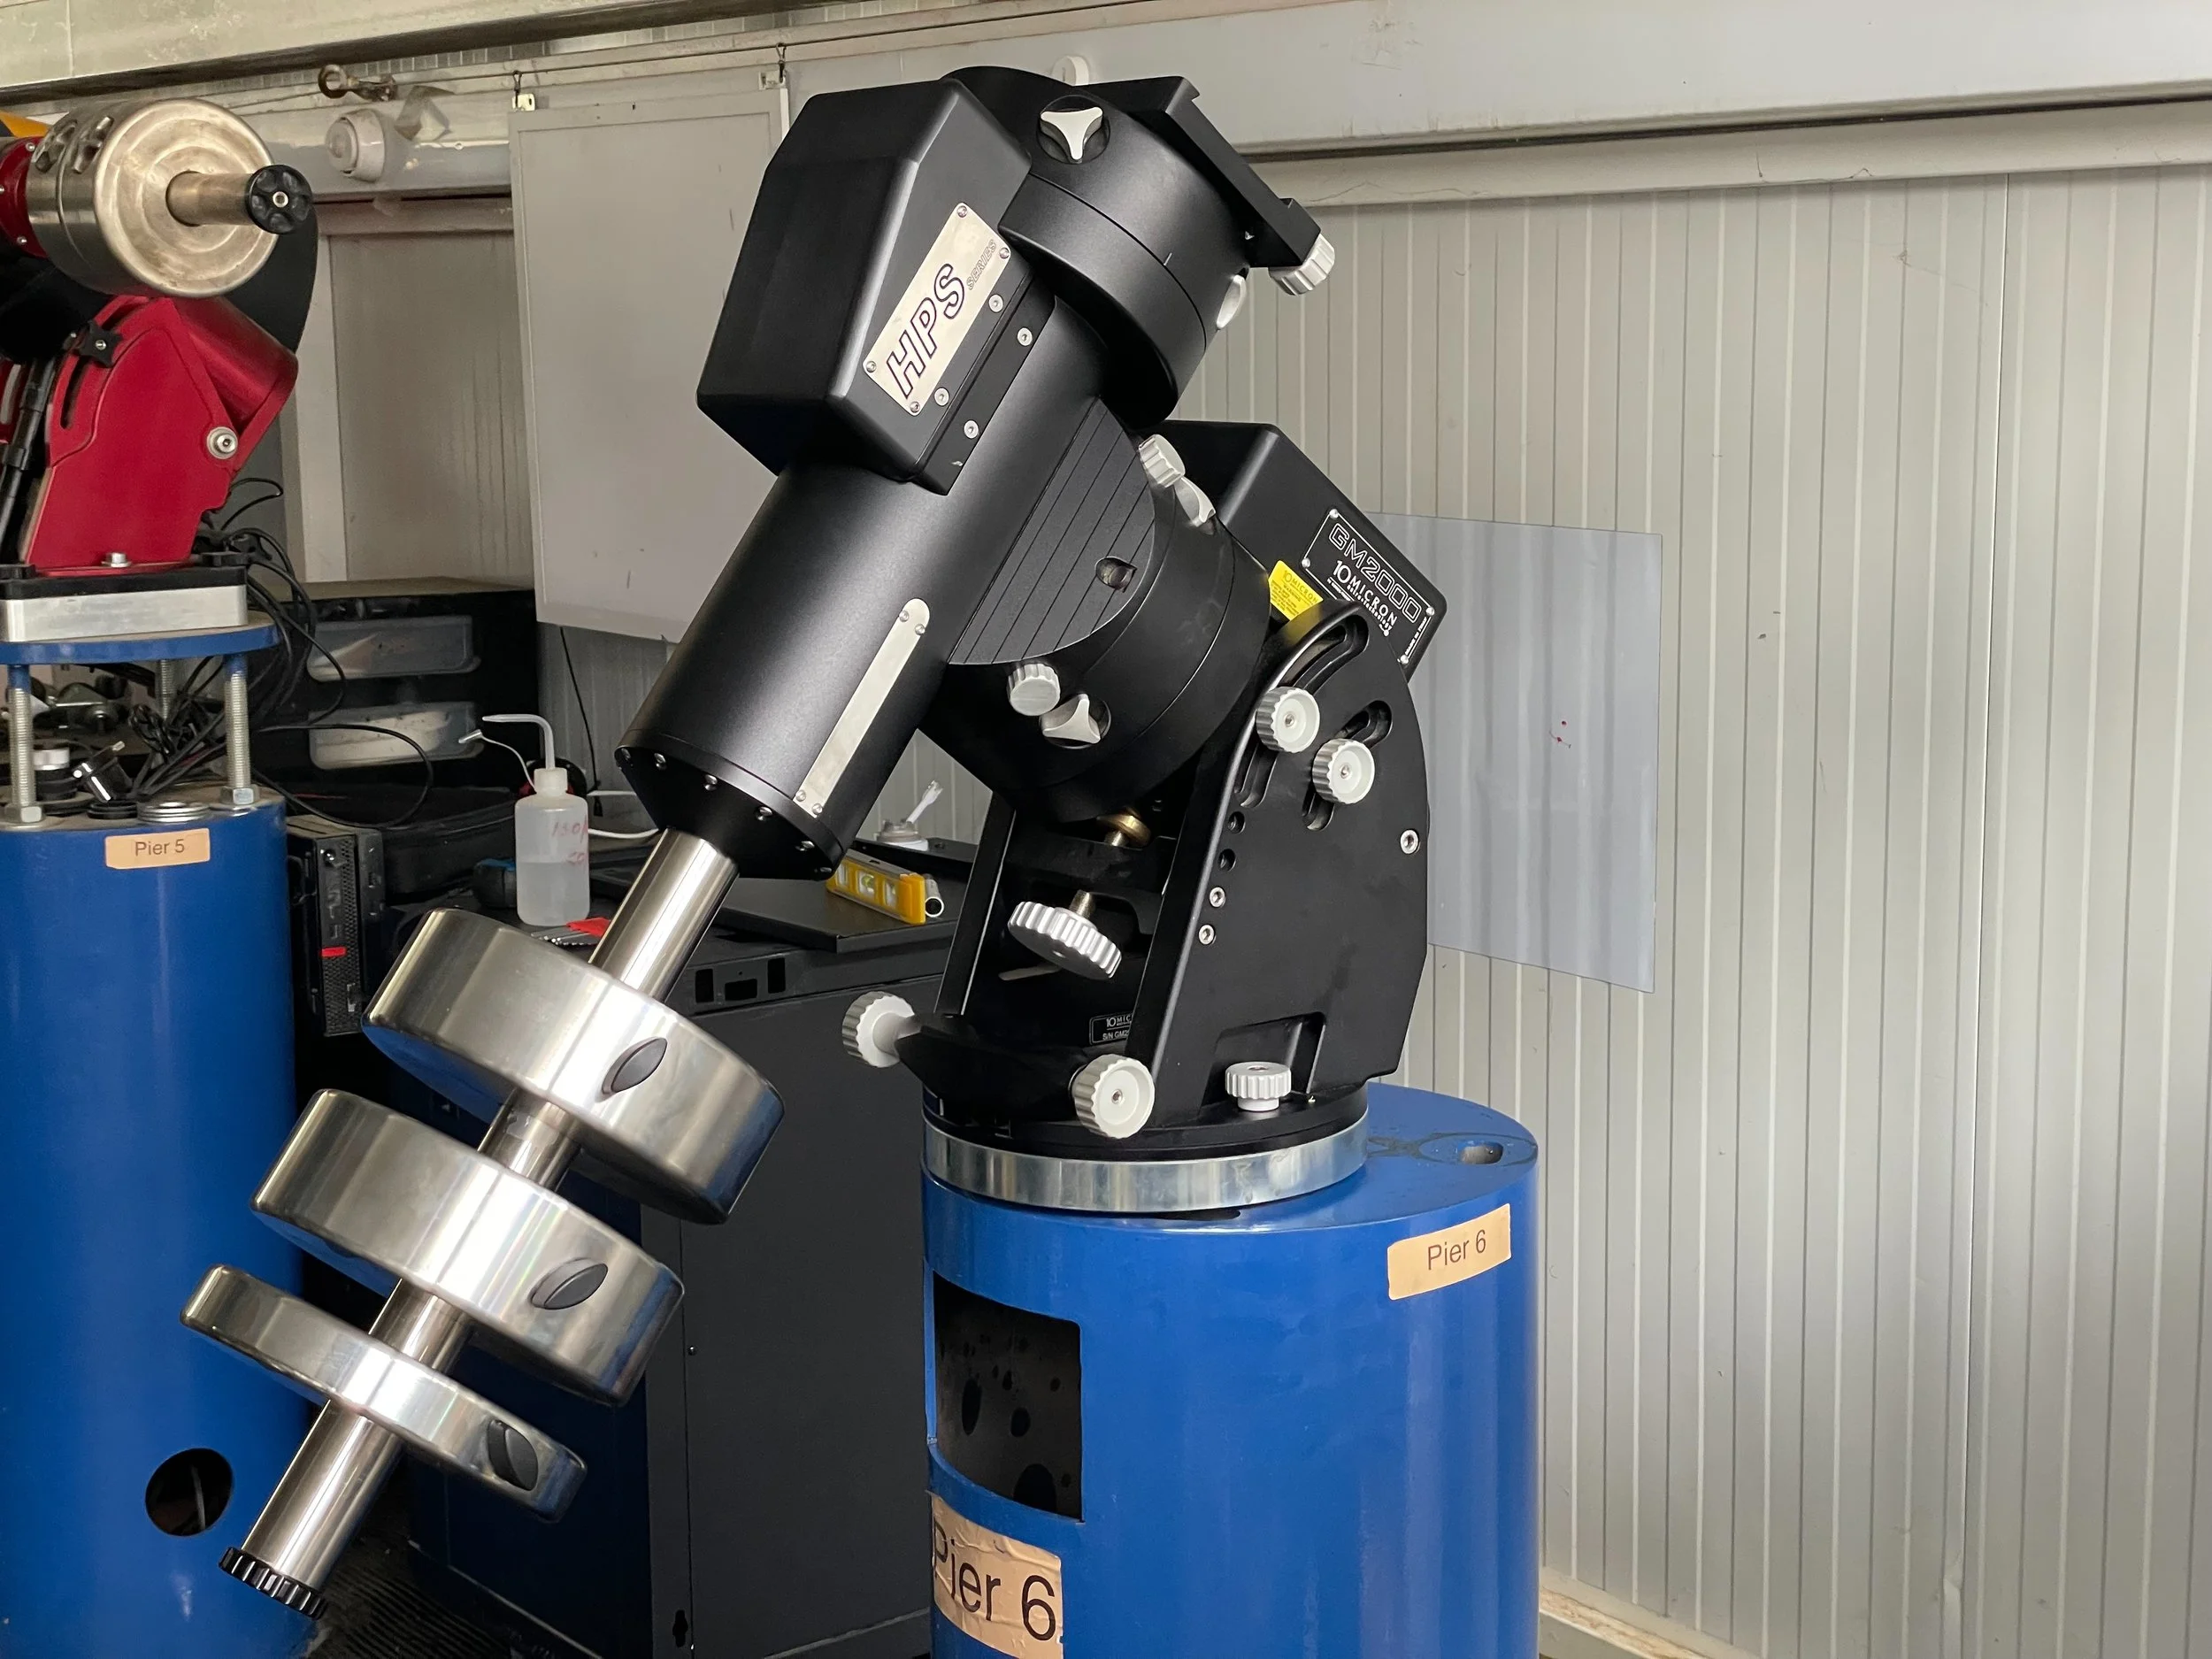
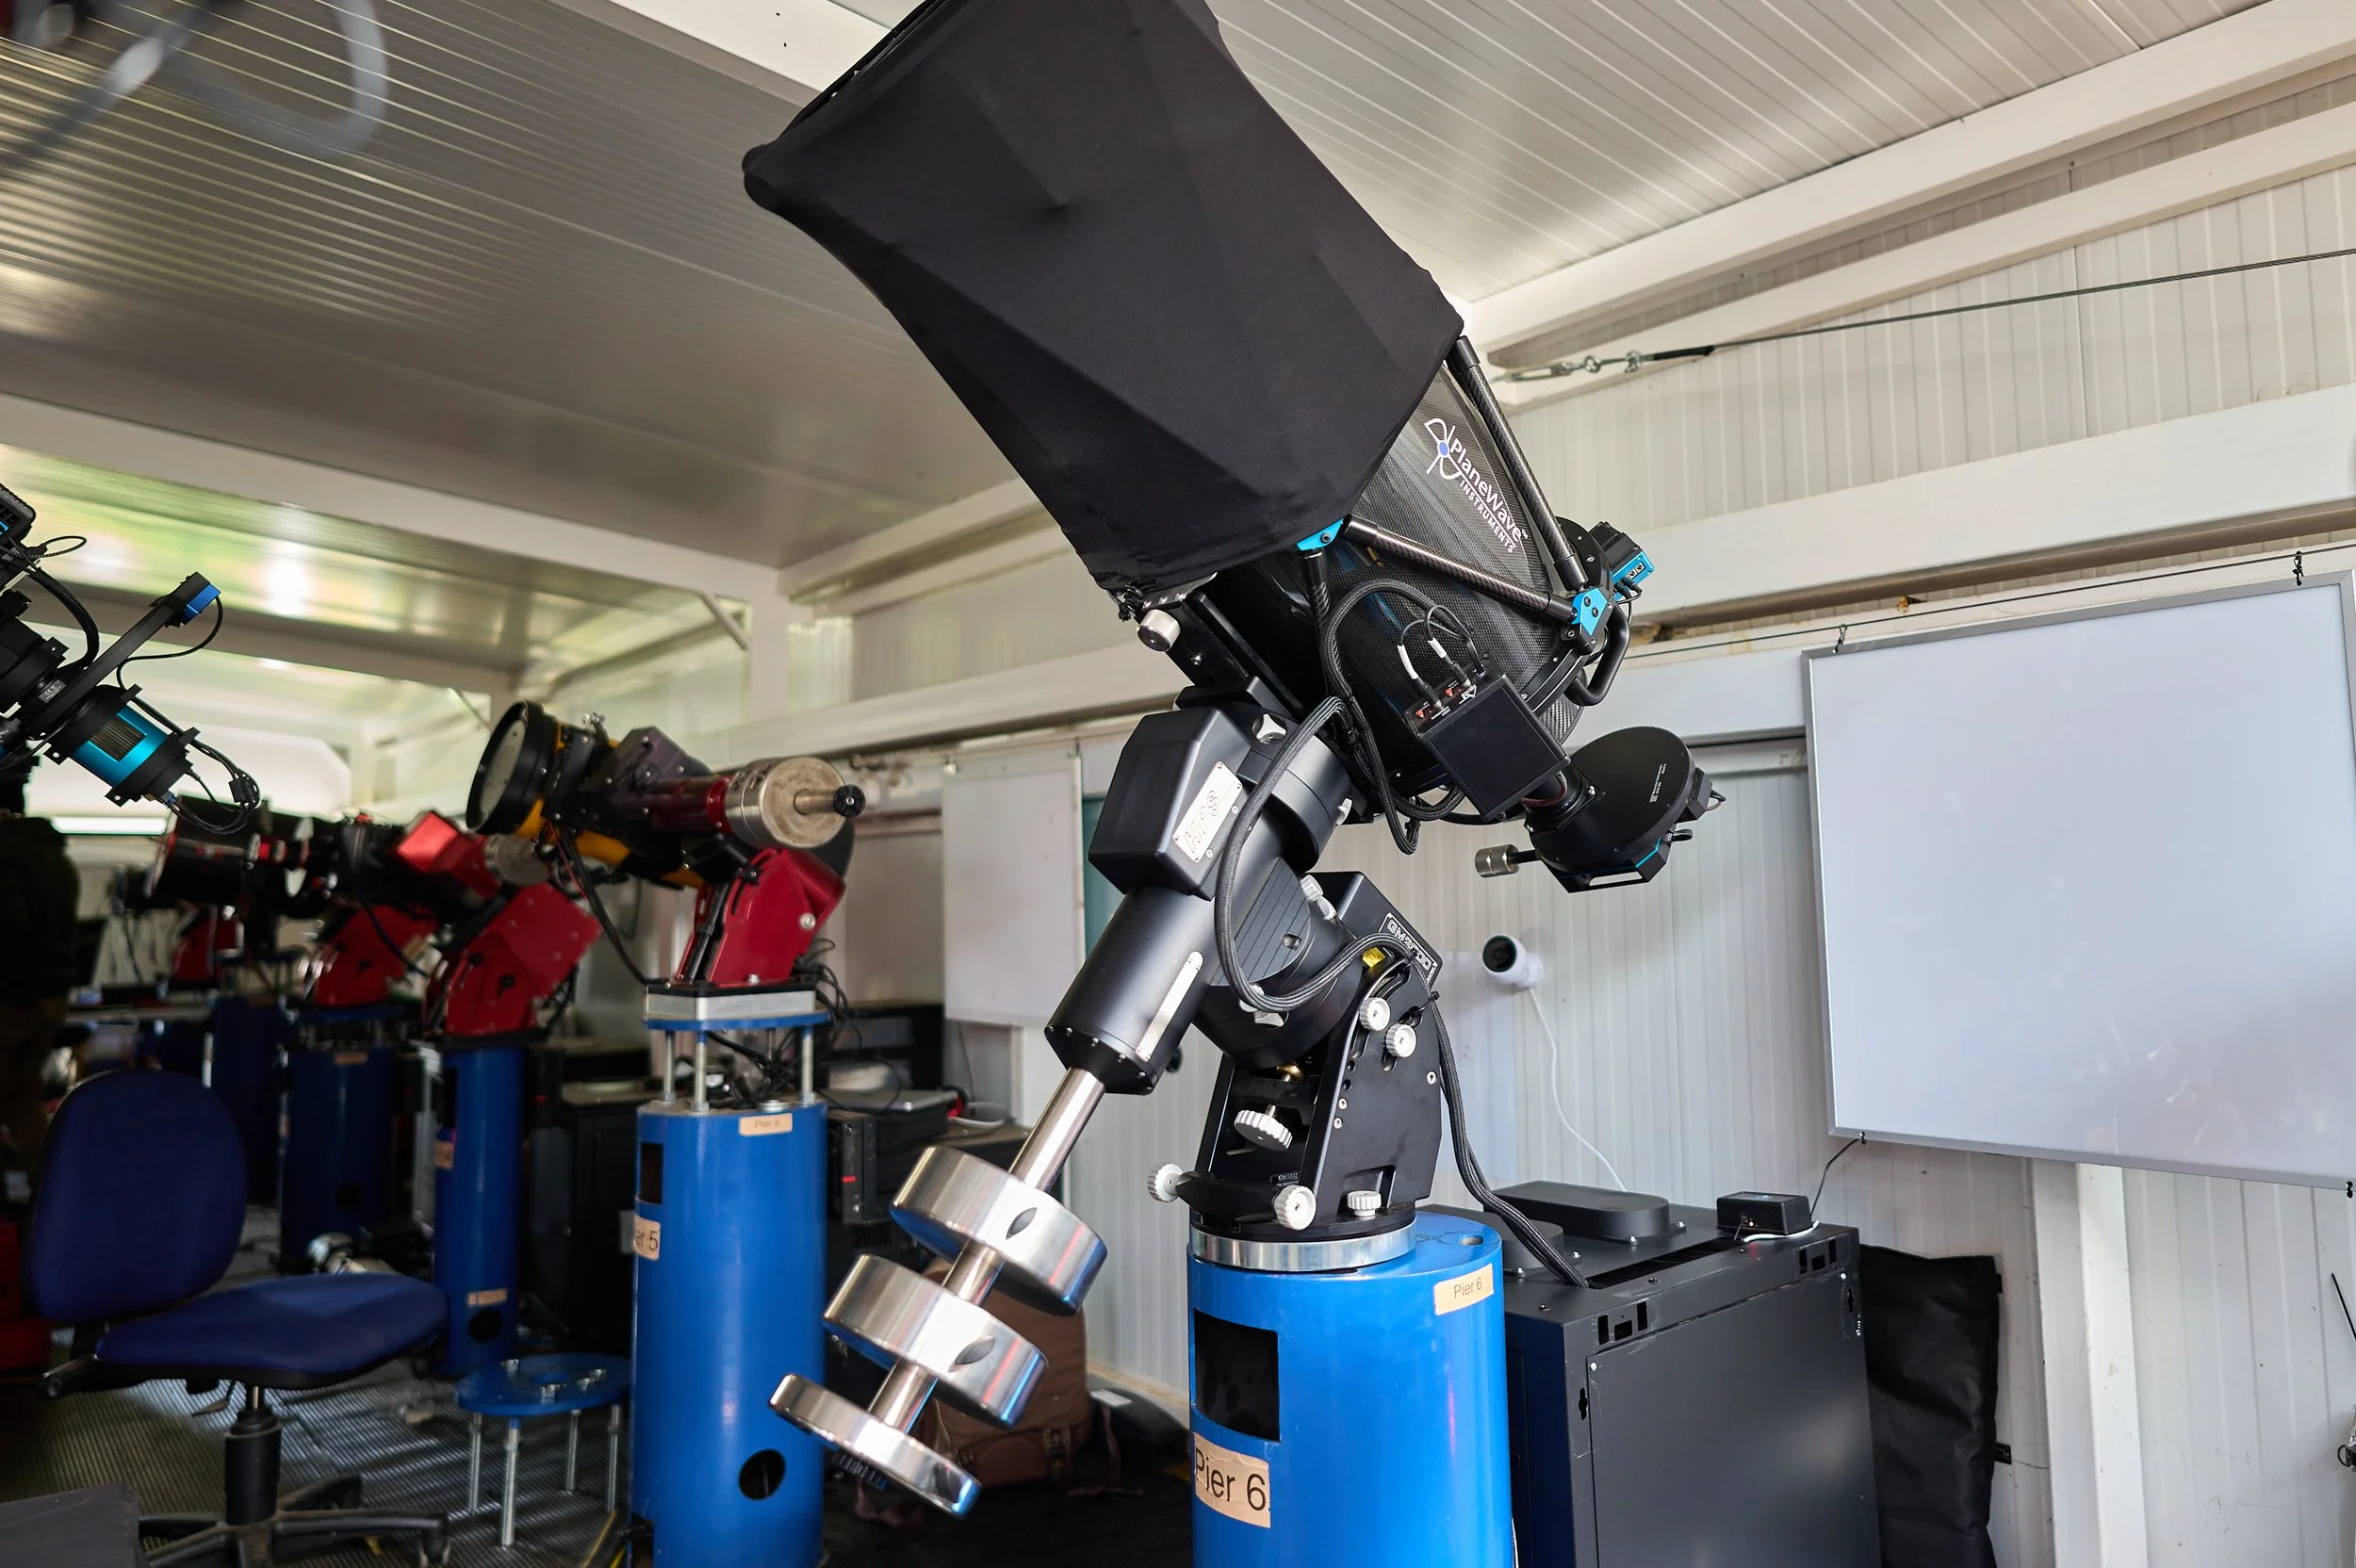
They had prepared everything very well. The rig on Pier 6, which is where my setup was planned, had already been removed, so we could start installing very quickly. Every mount base is different, so no surprise we had to do some drilling into the pier to get the mount bolted onto it. Steve happily pulled out the magnetic drill-press which was the ideal tool for the job. Within no-time we had the necessary holes drilled and started to build-up the rig. After placing the mount, counterweights and telescope, we did some rough balancing and checked the height. Unfortunately it was just a few centimeters too high. With a centrally managed roof, you want to make sure that regardless its position, the telescope should never touch the roof as it closes. The problem was solved by removing the levelling plate between pier and mount. It made for an even sturdier base for the telescope. The pier itself was almost 100% level, so just a few steel shims on one side of the mount base was enough to get the mount completely level. Building it up again with telescope, and this time there was enough space between the scope and the roof at all times.
From here it was the standard build-up of the rig, in reverse order of how I took it all down just 24 hours before. Camera and focuser on, control boxes added, cabinet in place and connecting all the cables. Finally plug in the power and internet and see what happens. Turned out all was fine and worked as intended.
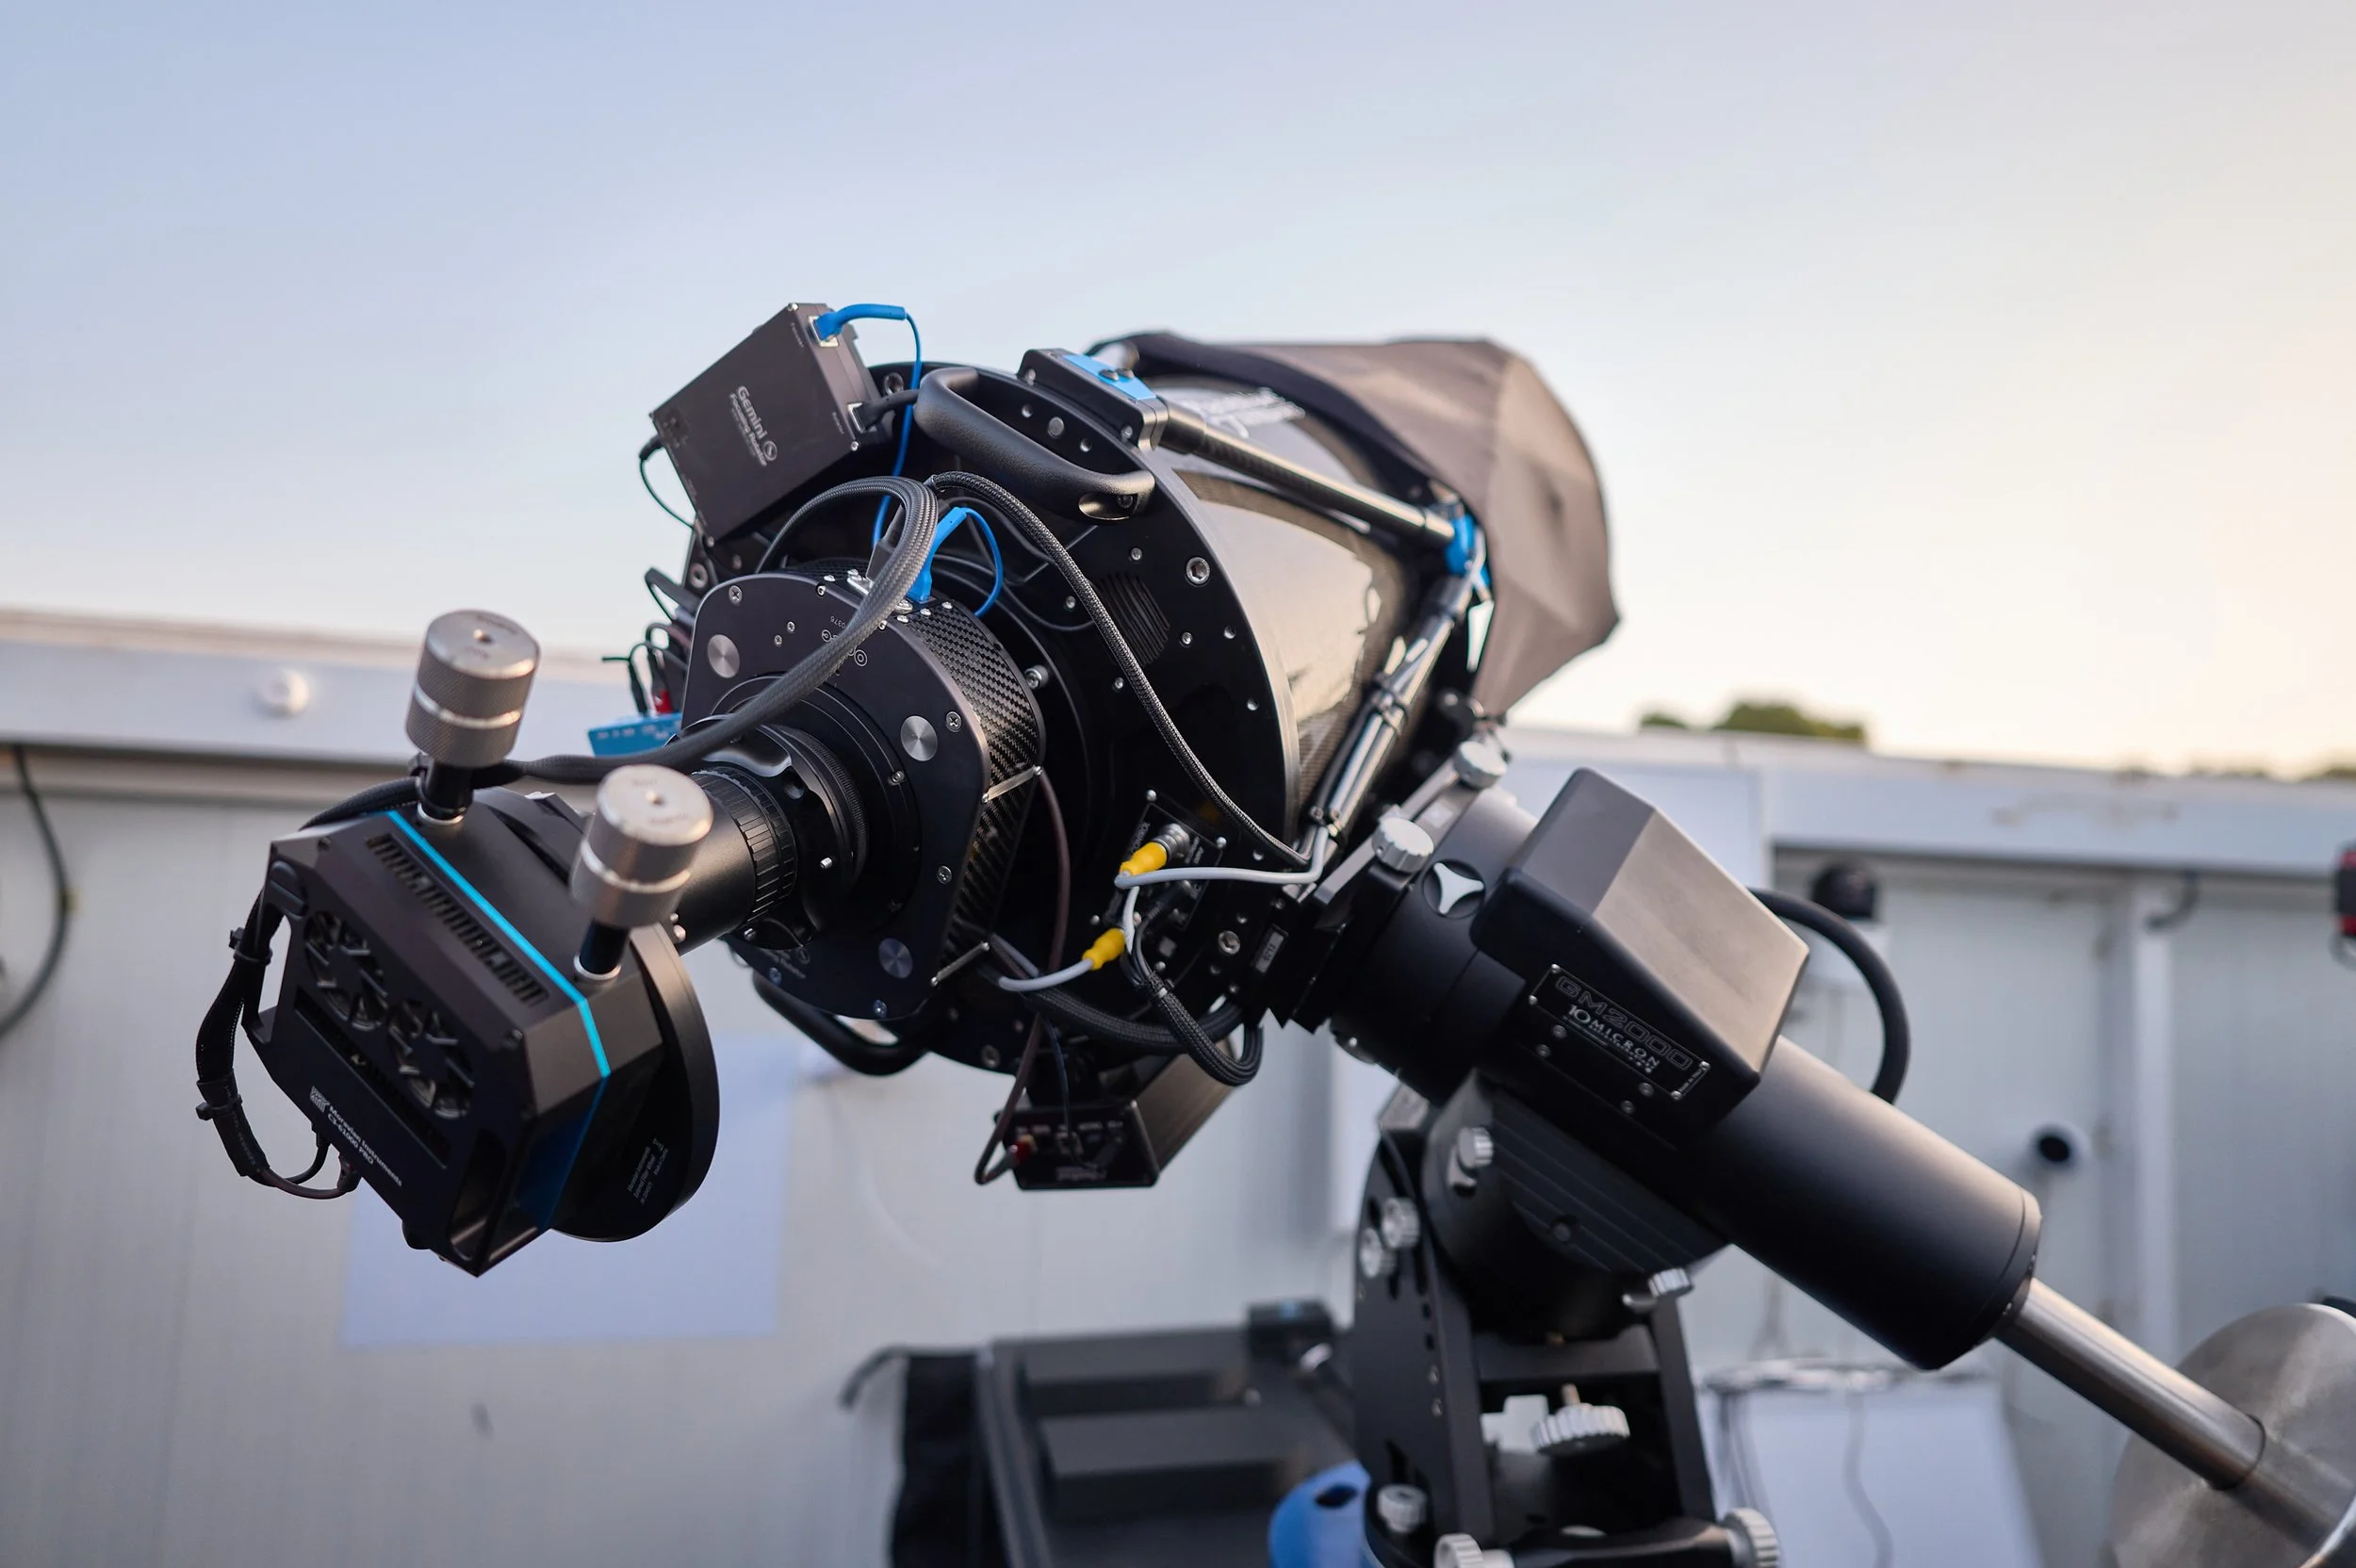
Balancing the scope was made easier using the Smallrig 200g weights with integrated 1/4” connector. To give just a little bit extra clearance to the roof, the telescope had been lowered in the saddle by a tiny bit, for which balance had to be corrected. Running the internal balancing routine of the GM2000 mount revealed the final result: 0% deviation in either direction.
When installing the scope, Steve and Peter aligned the mount by eyeballing it, using some reference points they were familiar with in the observatory. How well of an estimate that was, turned out in the evening when I ran the regular polar alignment routines using the Mountwizzard4 software for the mount. Overall the polar alignment was only 7 arcmin off! Just a few small tweaks on the altitude and azimuth axes got polar alignment quickly within the target of \< 2 arcmin. It’s great to have instrumentation that can measure such things with high precision, but a practiced eye is certainly a valuable tool as well. We had a nice dinner in town and called it a day.
Horizon profile at the old site (white) and the new site (green). There is a bit more clearance at the new site, with most of the horizon roughly at 8°.
Completing the install
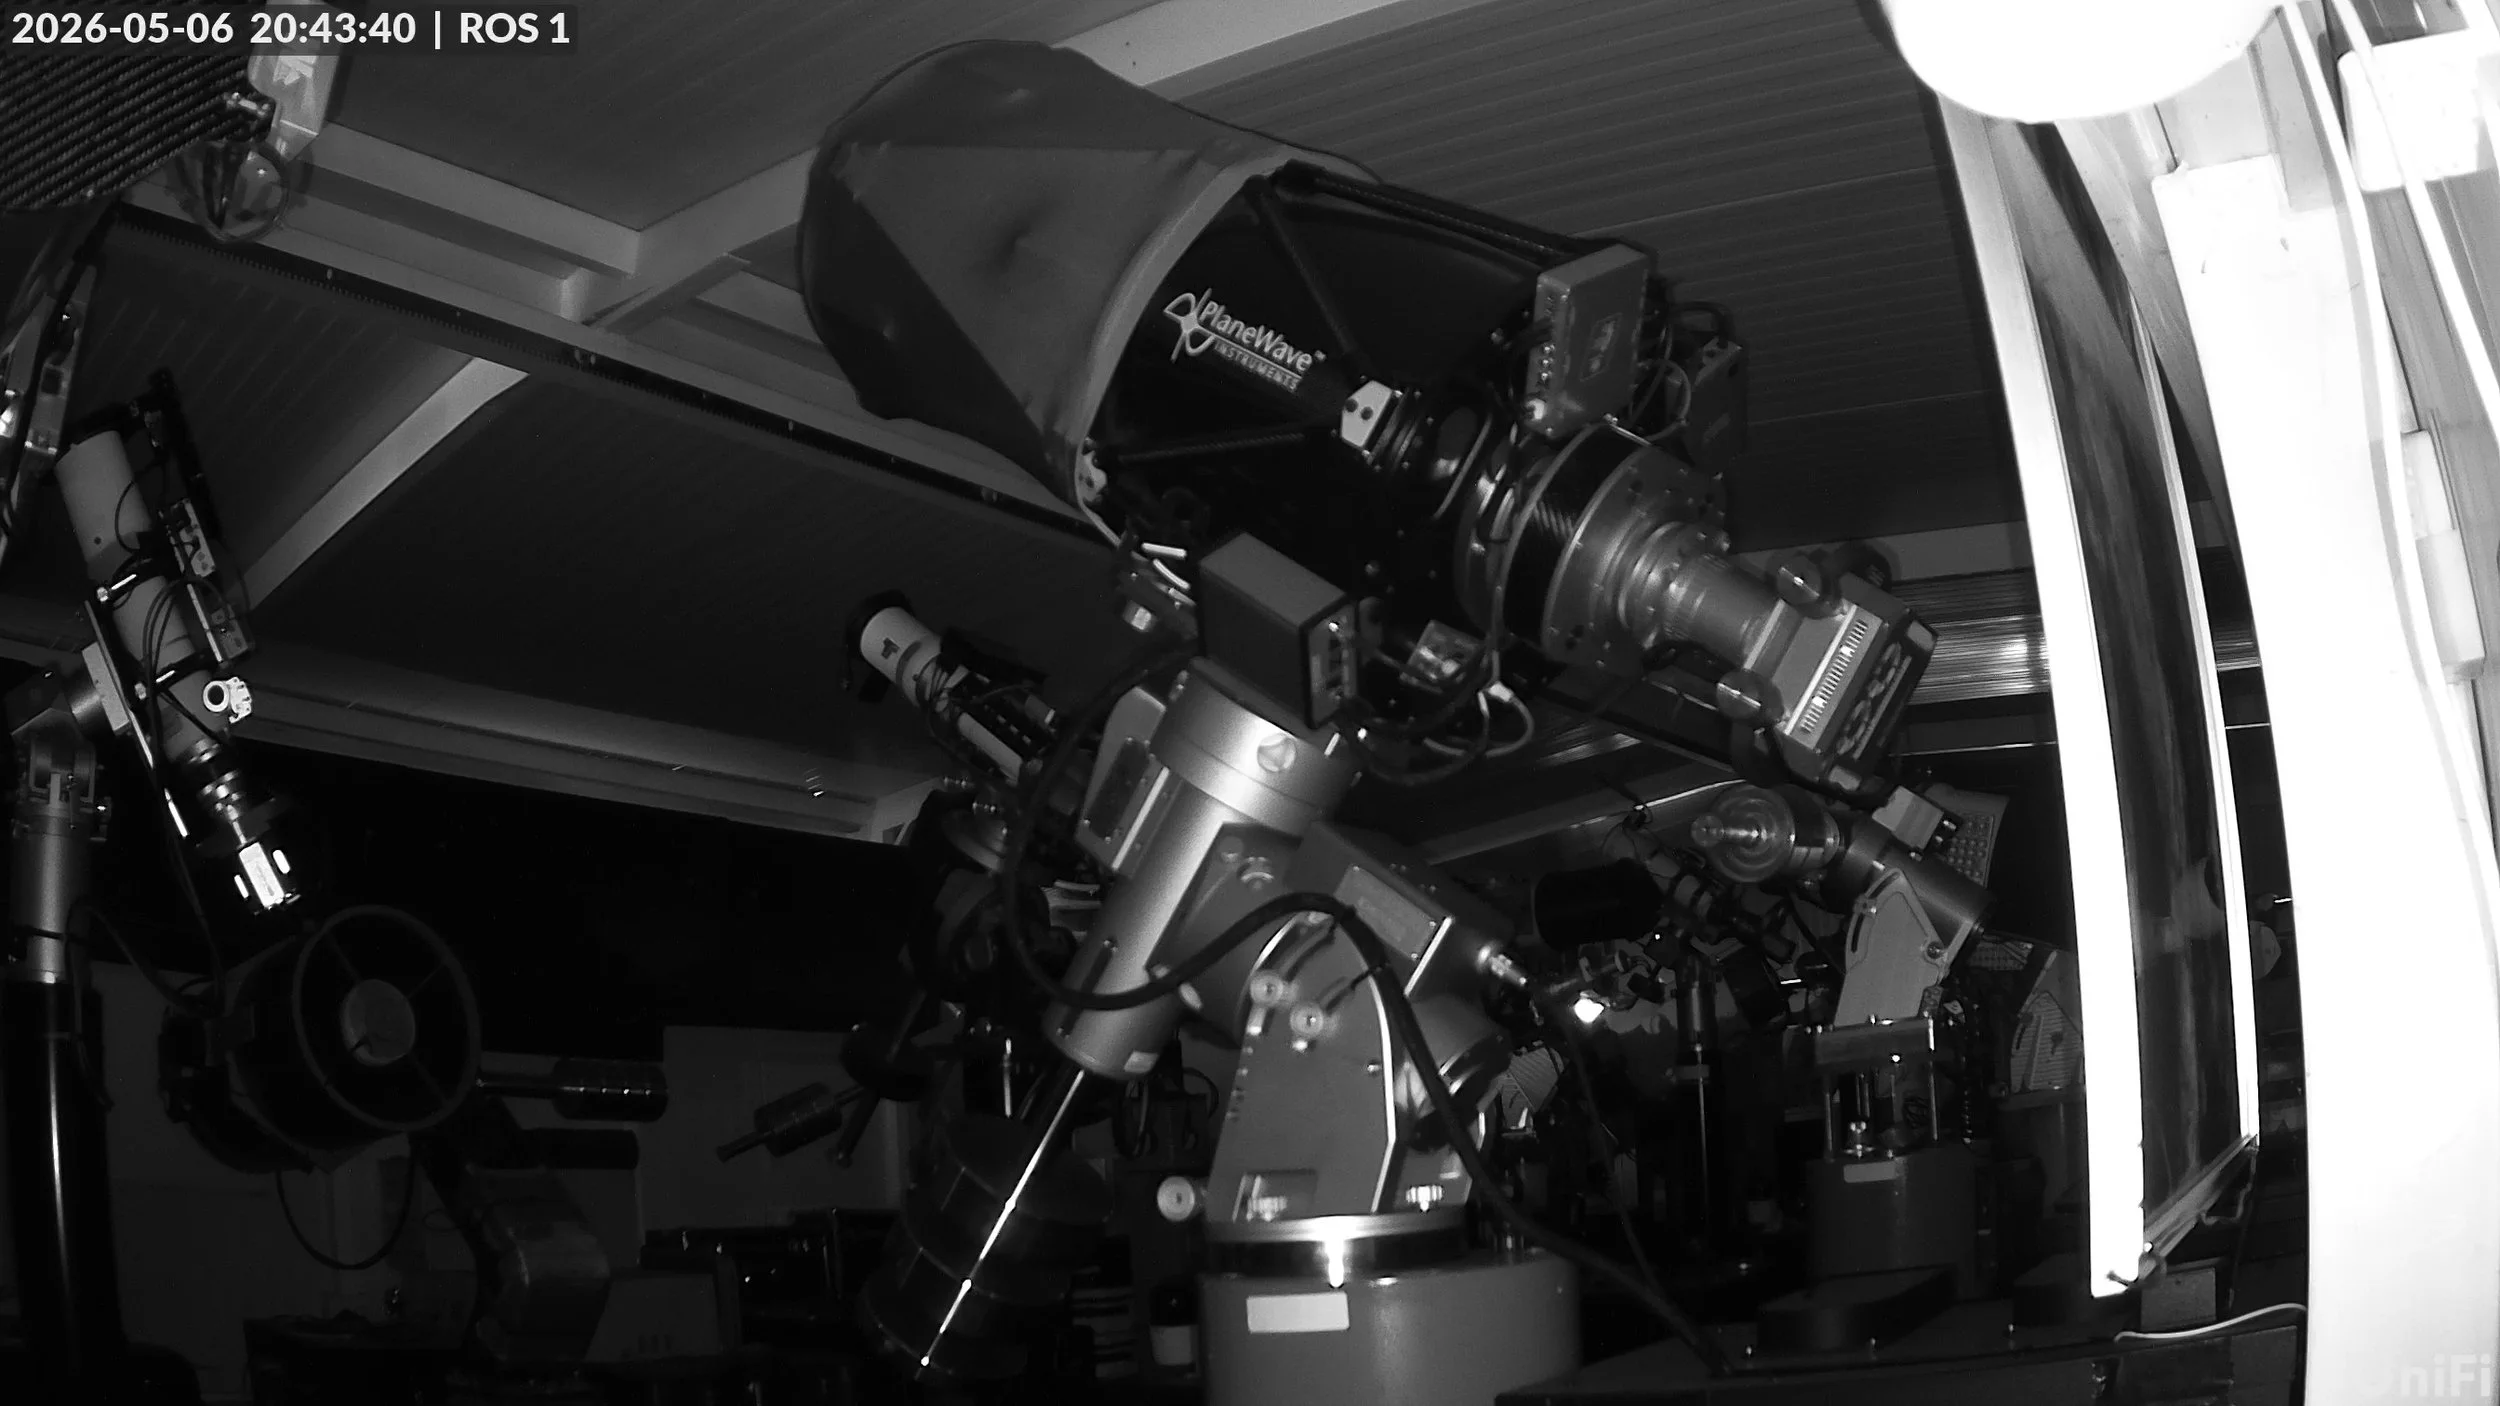
The following day was mostly about the finishing touch. The flat panel was installed. In the observatory there is a very practical metal wire running alongside the full length of the outer walls. Flat panels can be hung on there with some small clips. Sliding it in front of the telescope finishes the install. The two cameras were installed, so that there is always visual surveillance when needed. The observatory is loaded with cameras anyway. One of them oversees the whole observatory and each day you can watch a timelapse video of the previous night. Feel free to check it out here.
I made some custom horizon profiles for Voyager, Mountwizzard and Astroplanner, based on data that I collected at the start using Theodolite as described here. Small updates were made to adjust IP-addresses and file locations throughout my software stack. Access to the environmental conditions and roof status works a bit different here than in the other place. Everything is summarised into one single boltwood file that is constantly updated. So no graphs from last night, or SQM values, etc. They are still working on that, and more of this oversight info will become available to the users.
After tidying up the cabling, most of the hardware and software install was completed.
Collimation
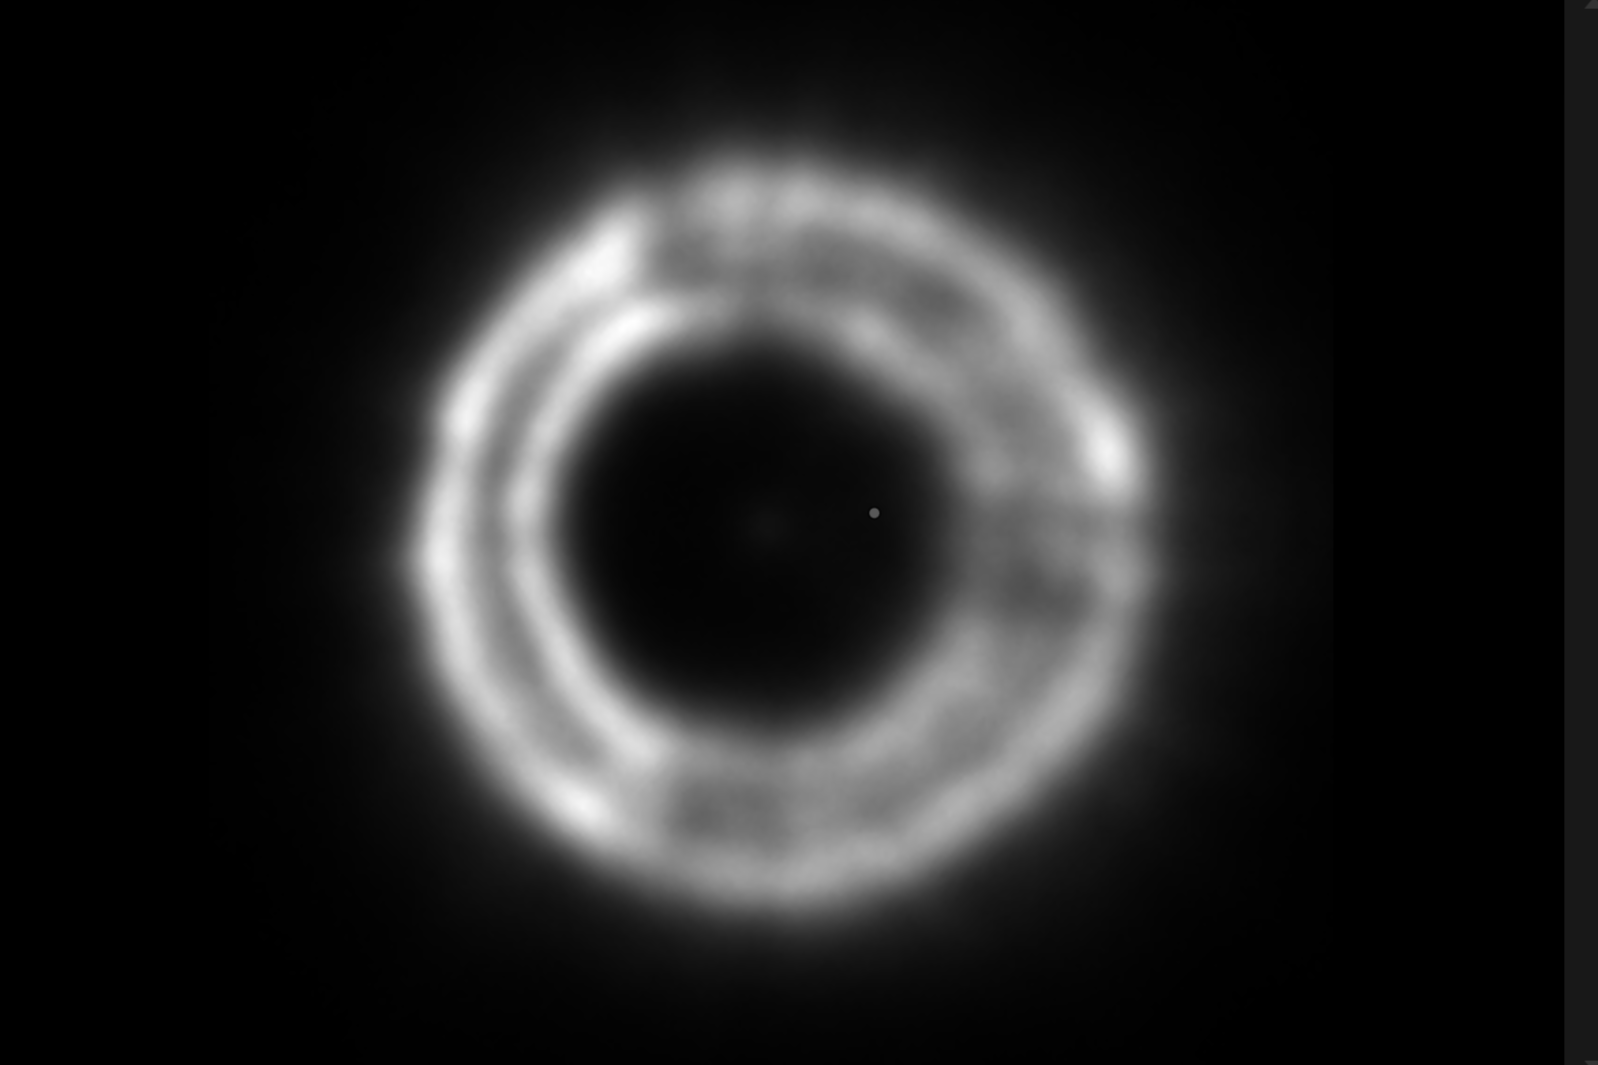
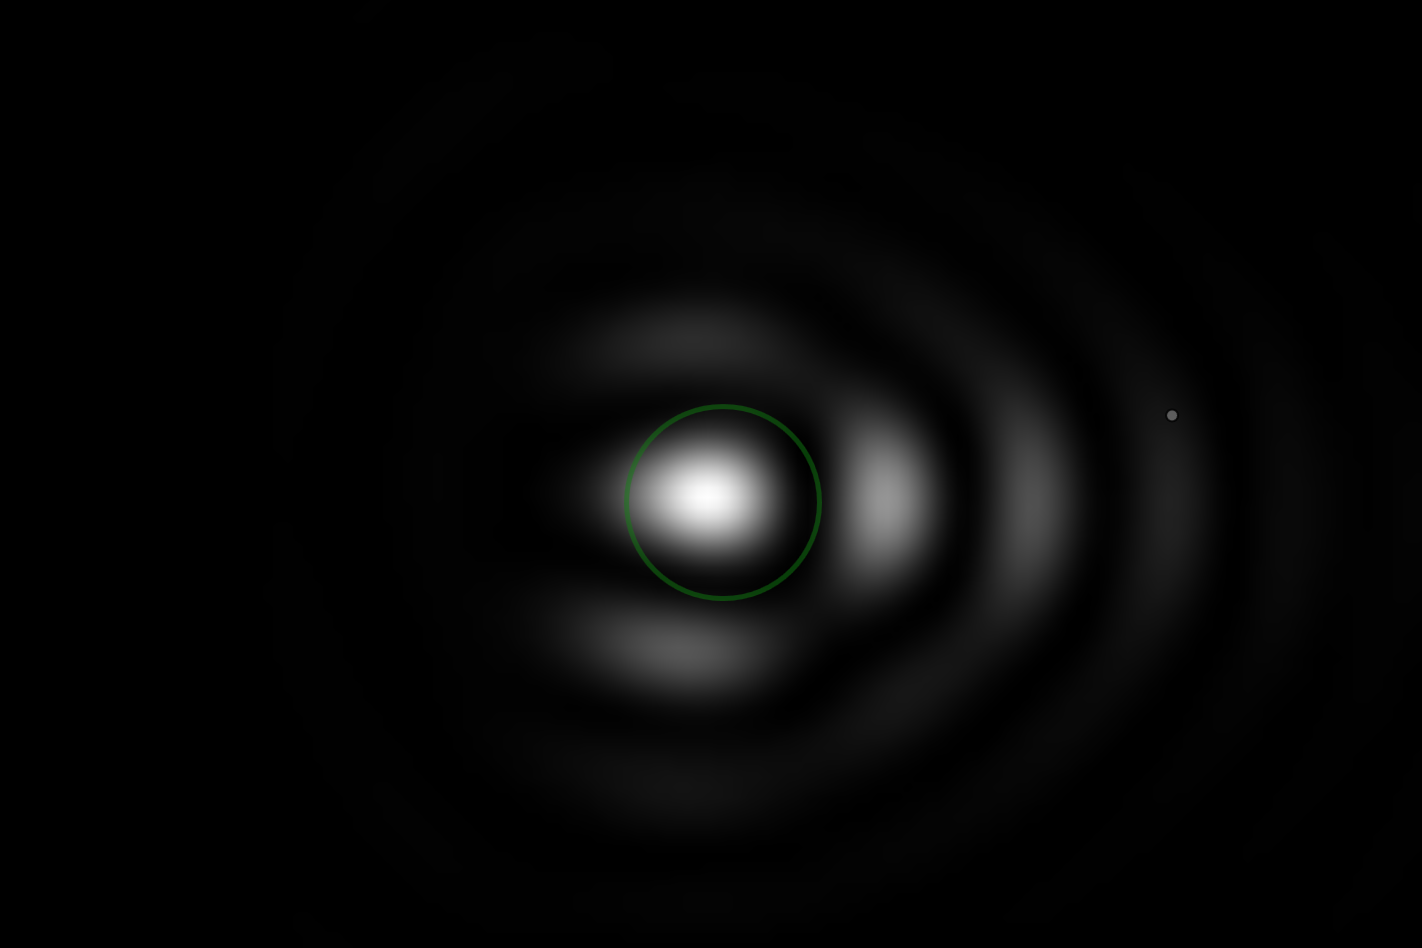
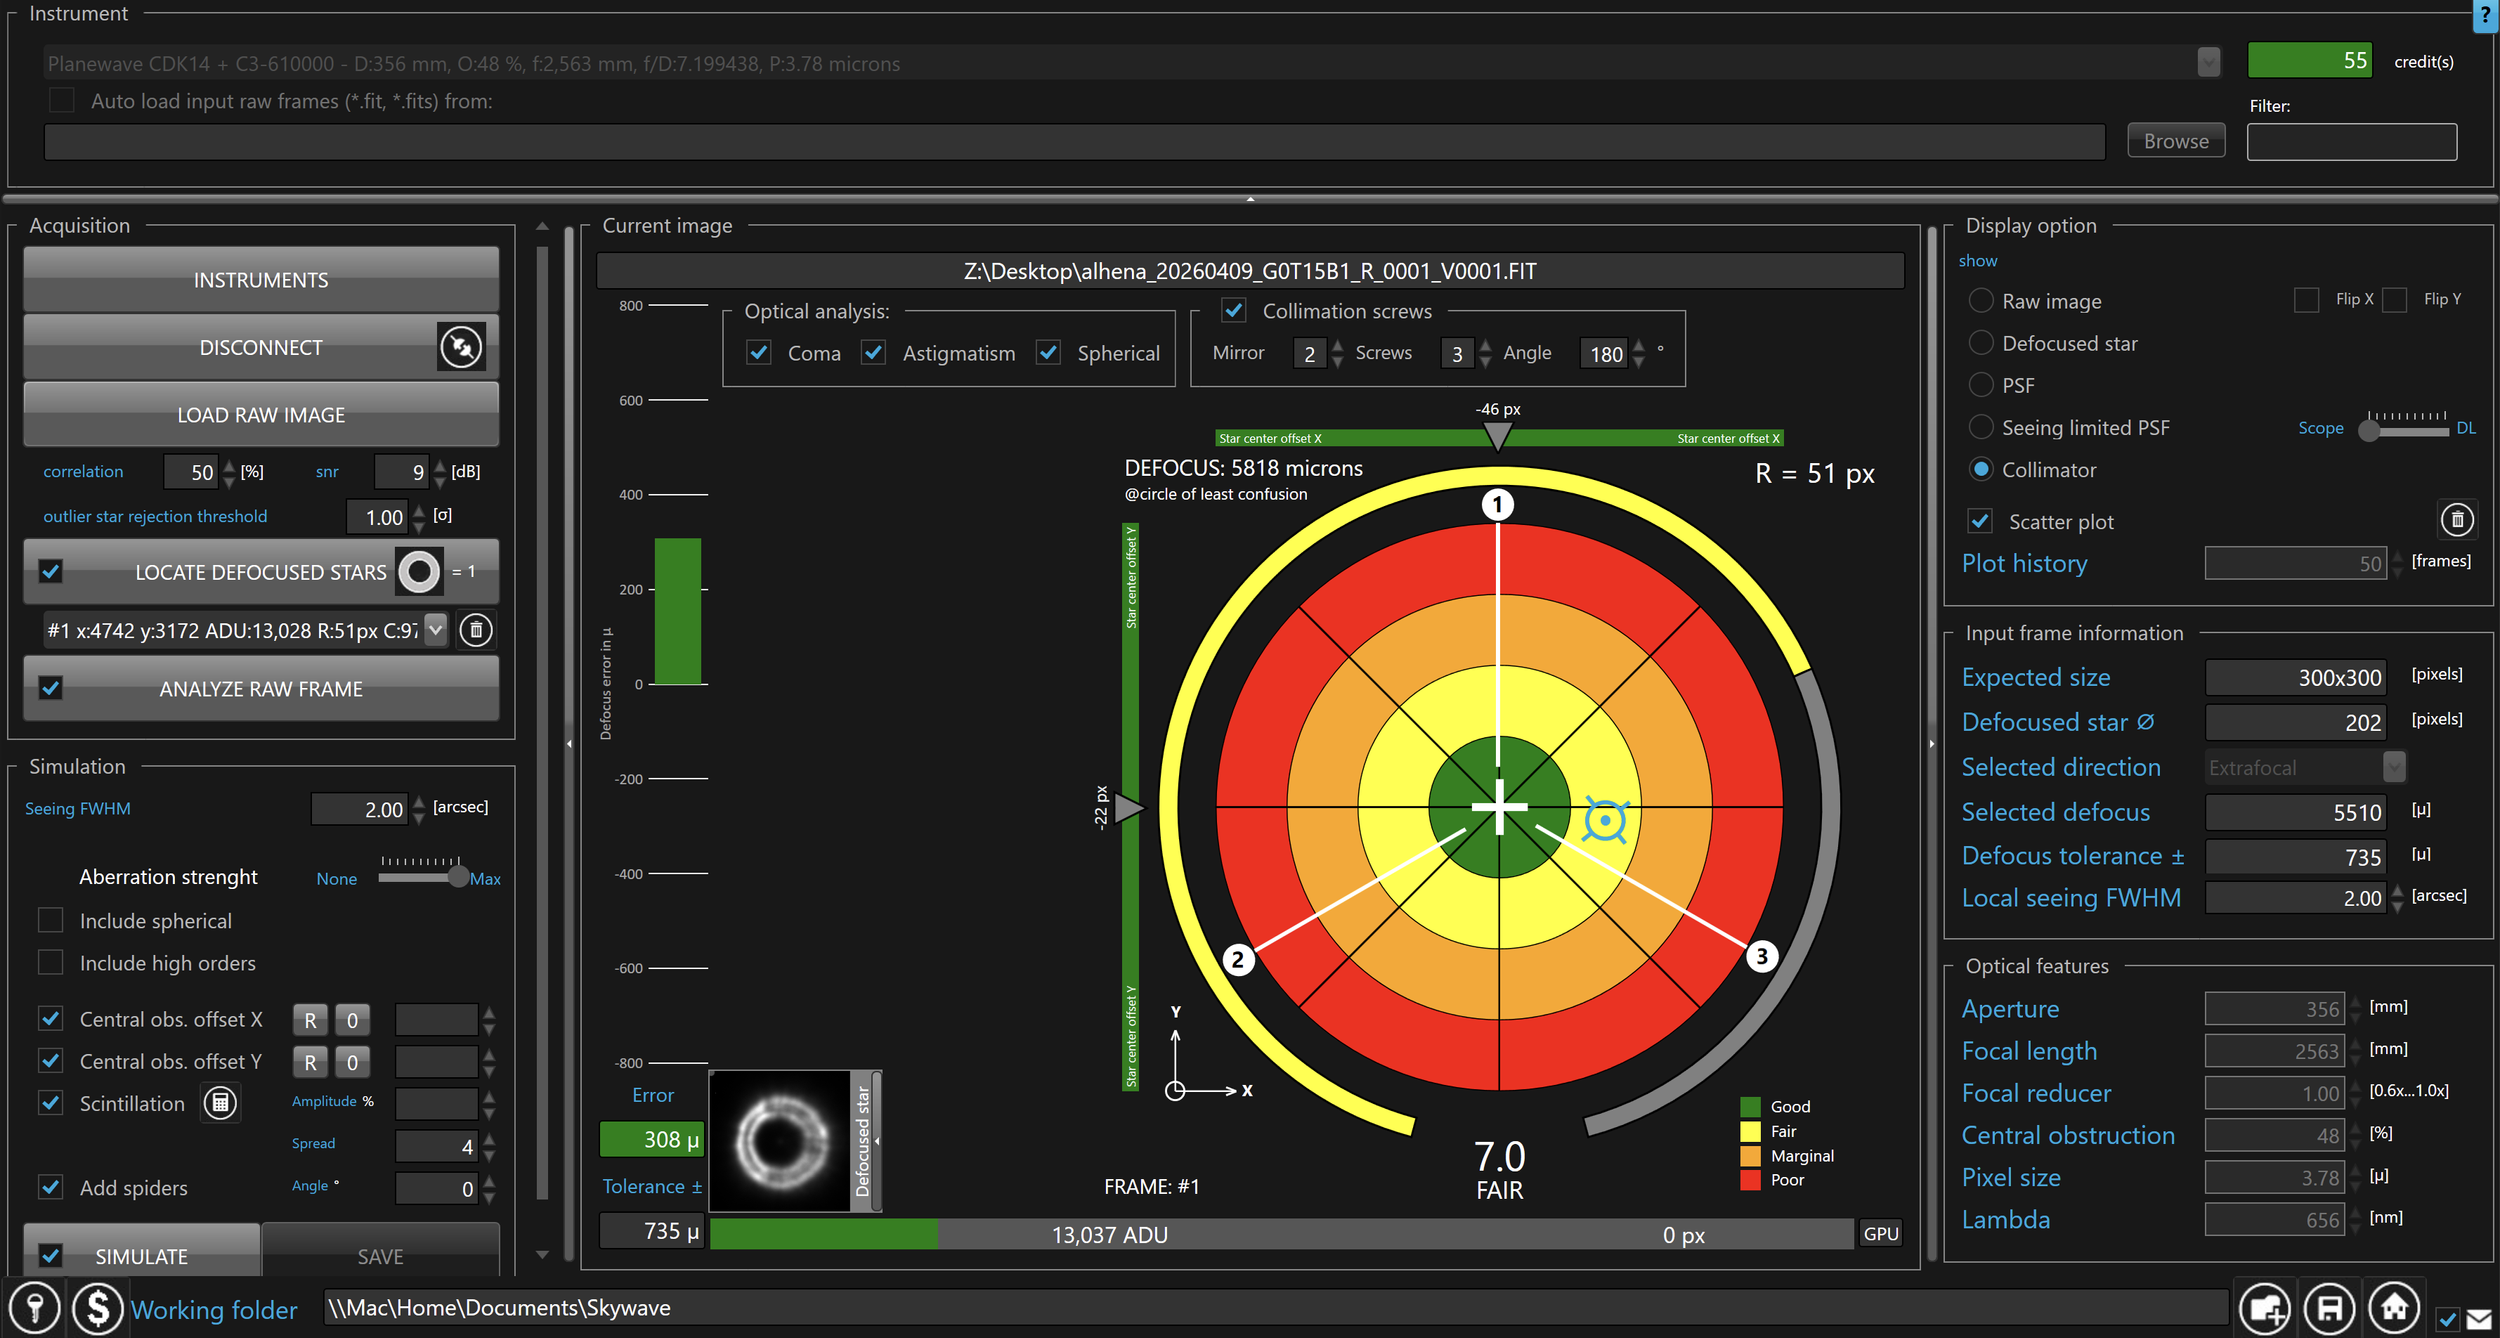
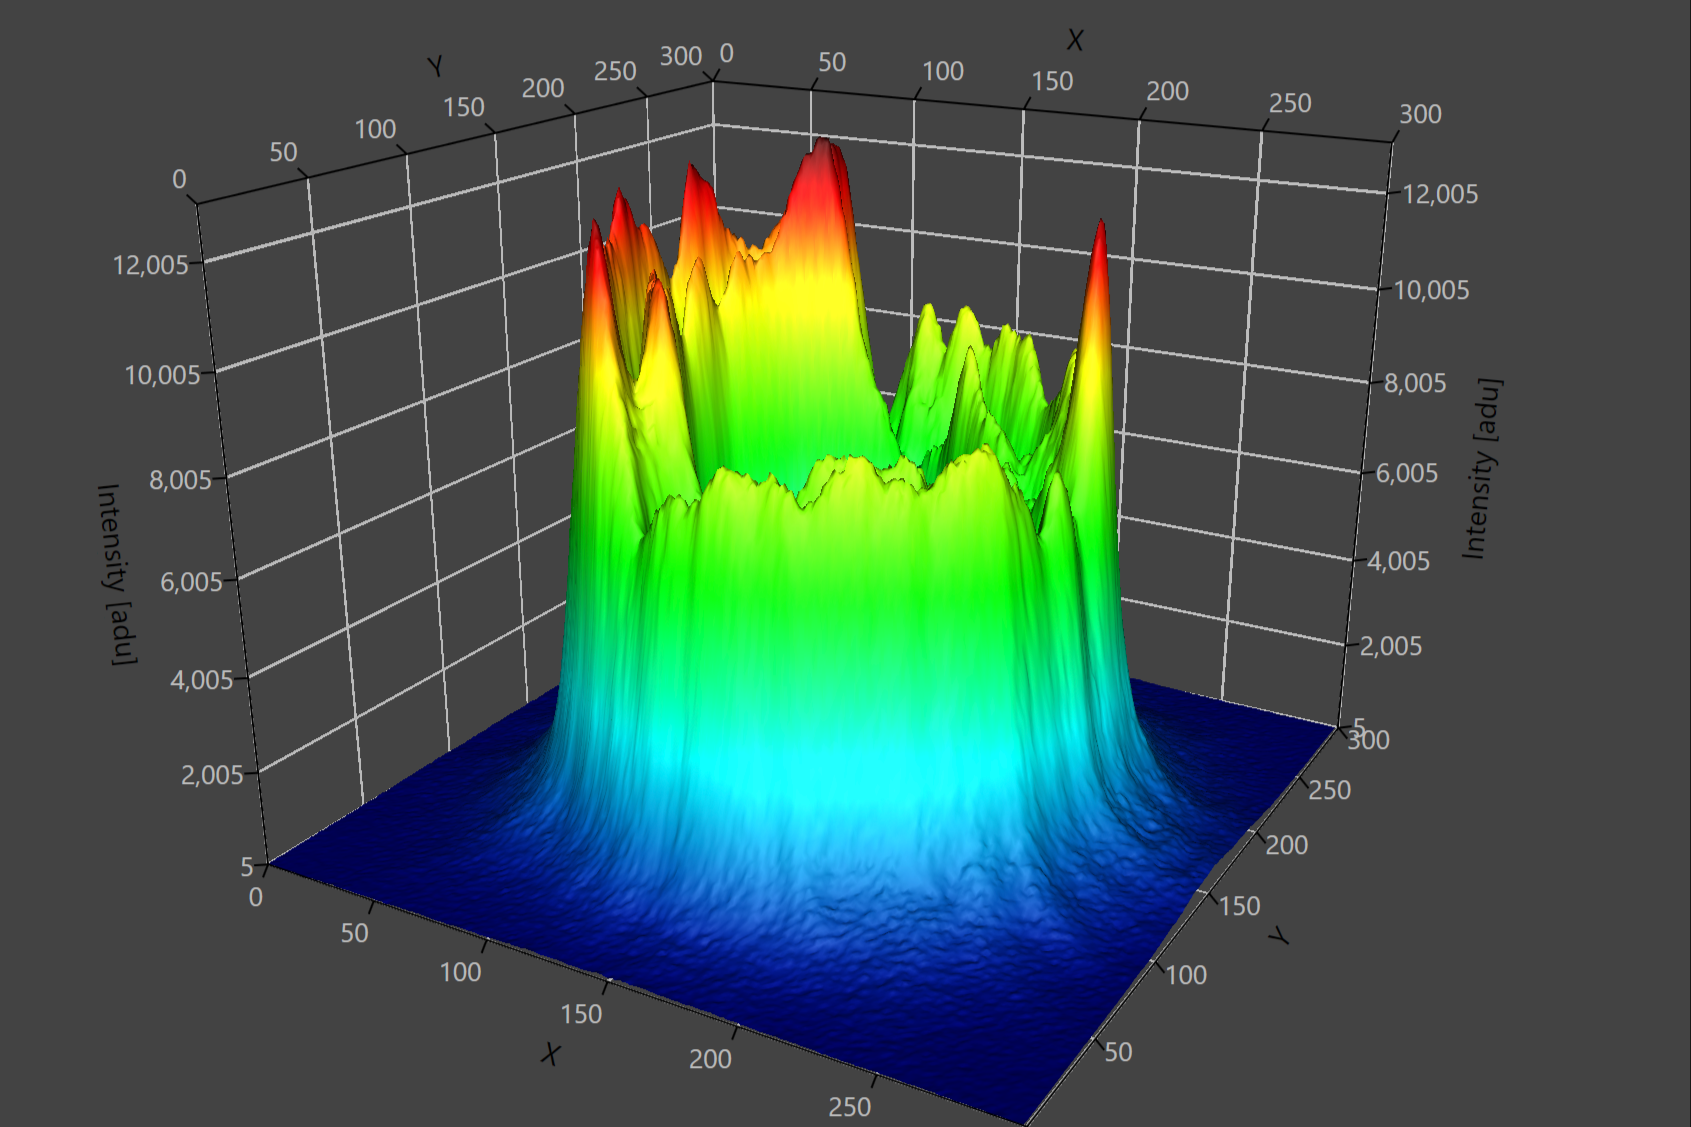
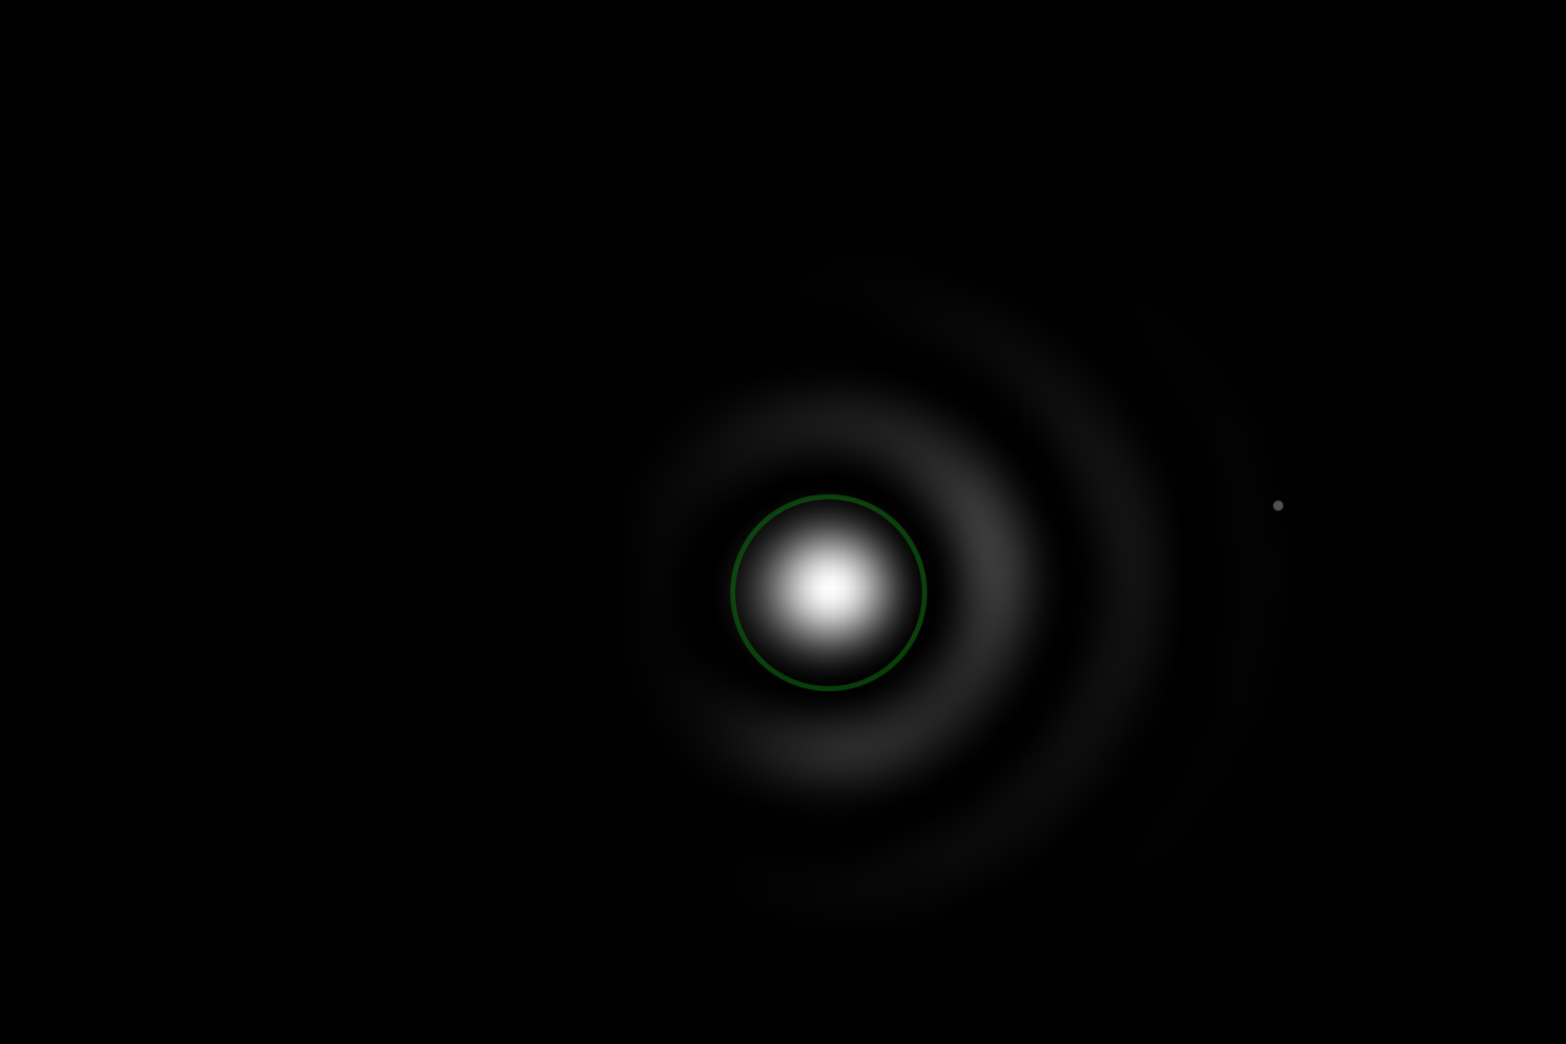
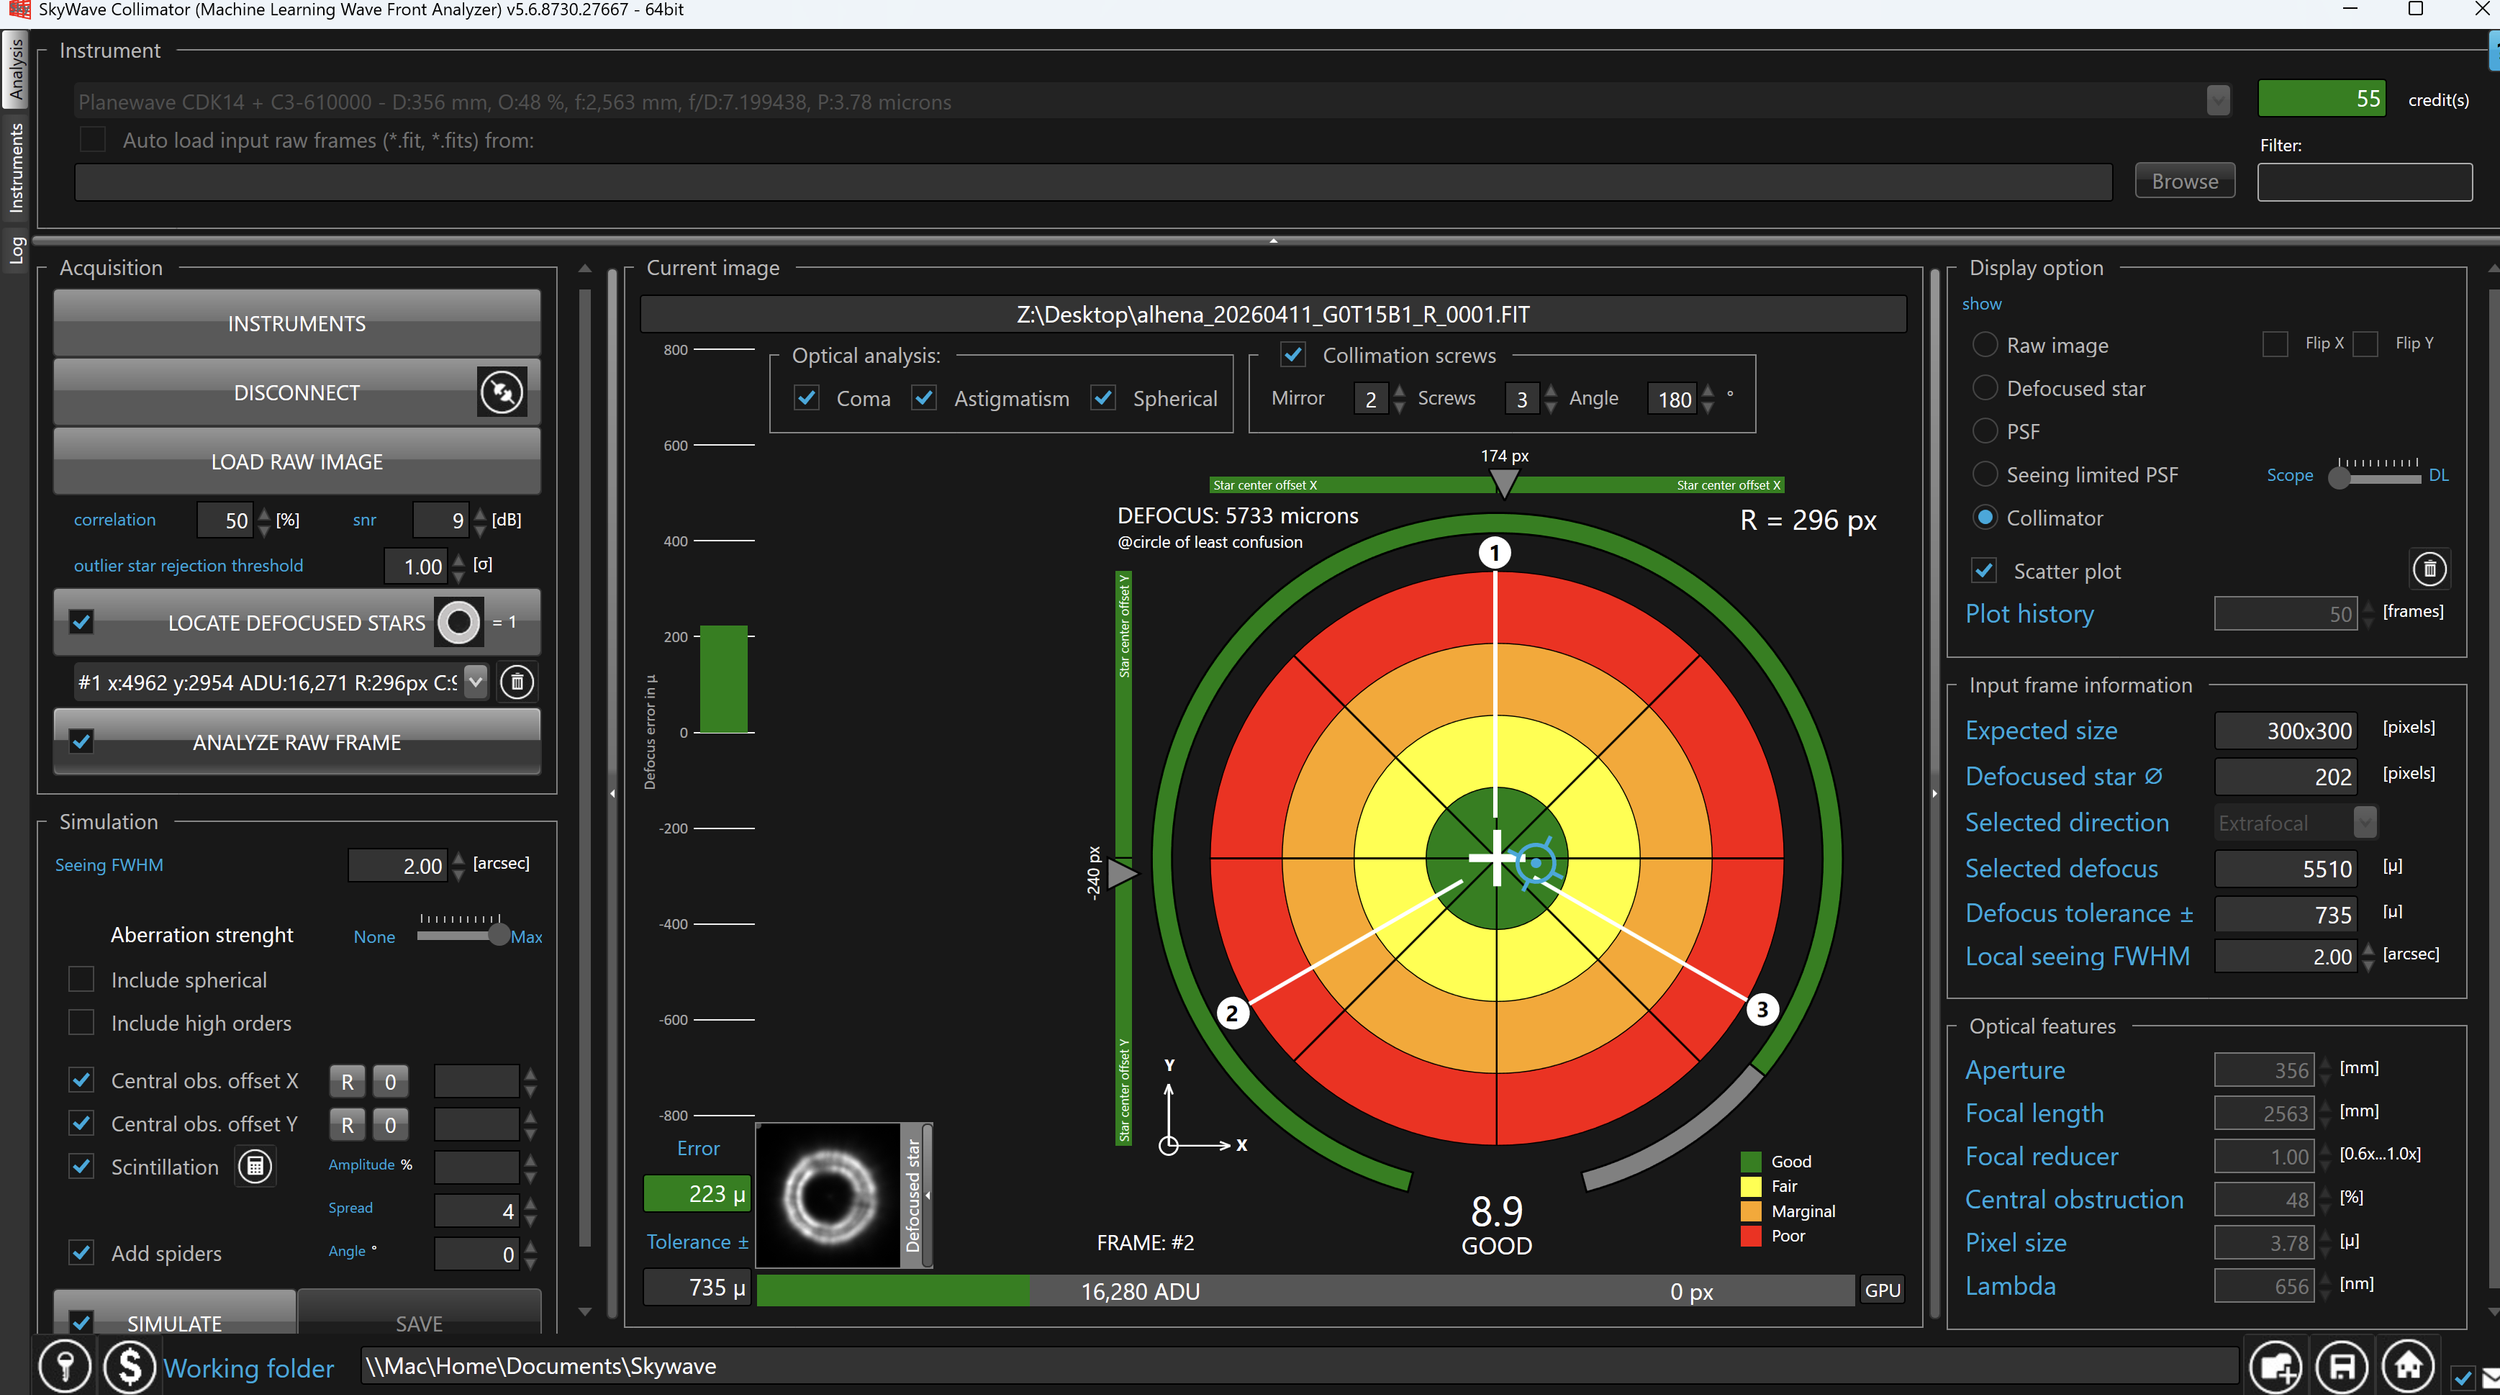
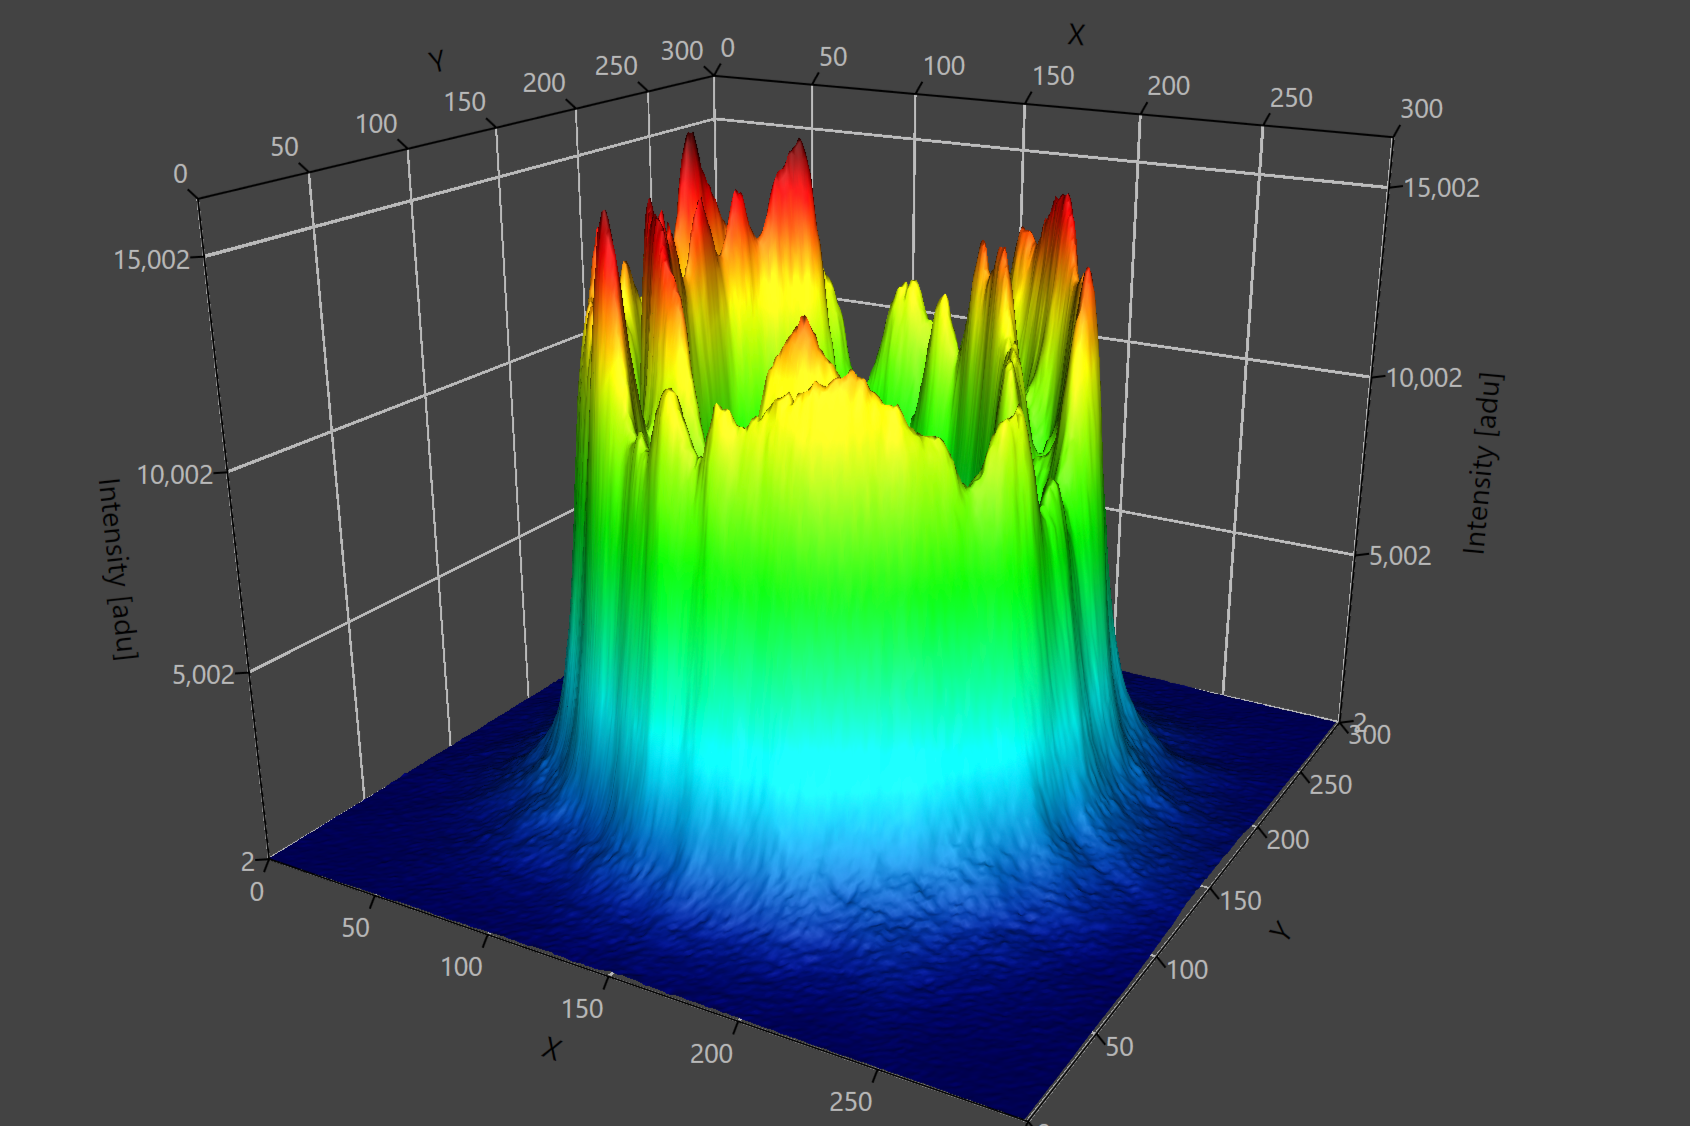
As the night fell, it was time to check the collimation. Unfortunately this was slightly off. The Skywave software indicated a ‘fair’ score of only 7.0. This is not horrible, and the overall star field looked decent, but there is certainly room for improvement. It had gotten late though, and we were all pretty tired, so we decided to work on the collimation the following day. However, clouds and rain made it impossible the following day to do anything under the stars. And my planned time on site was up. Luckily with a little re-shuffle of the itinerary I could stay an extra night. That Saturday night it was nice and clear and we could work on the collimation. First we eliminated another reason for poor out-of-focus star performance. A tilted camera plane, caused by either sensor or bad adapter rings could also give this result. But rotating the camera by 90° also rotated the direction of the non-concentric donut, so it was clearly the collimation. Unfortunately the Voyager software is not really supporting a typical collimation routine. Some functionality that would have been great would be live and/or looping images, and a ‘click-to-re-center’ option. The first could be solved by making a quick drag script and the second had to be done manually. Not a big deal though. We then started the actual collimation. Peter is an expert when it comes to collimation and was also very familiar with my scope. Seeing him in action on my scope was fantastic and I learned a lot from him. After a few adjustments and eyeballing the results, the collimation looked a lot better. We checked again with Skywave, and this time the score was almost 2 points higher at 8.9, well enough in the green ‘good’ segment of the score. So we left it as is.
With the collimation done, the installation was officially completed. I remember this moment well from last time, when the first ‘remote imaging session’ was a bit scary and rewarding at the same time. Now, it was mostly a familiar moment, realising everything just worked. Job done.

e-Eye
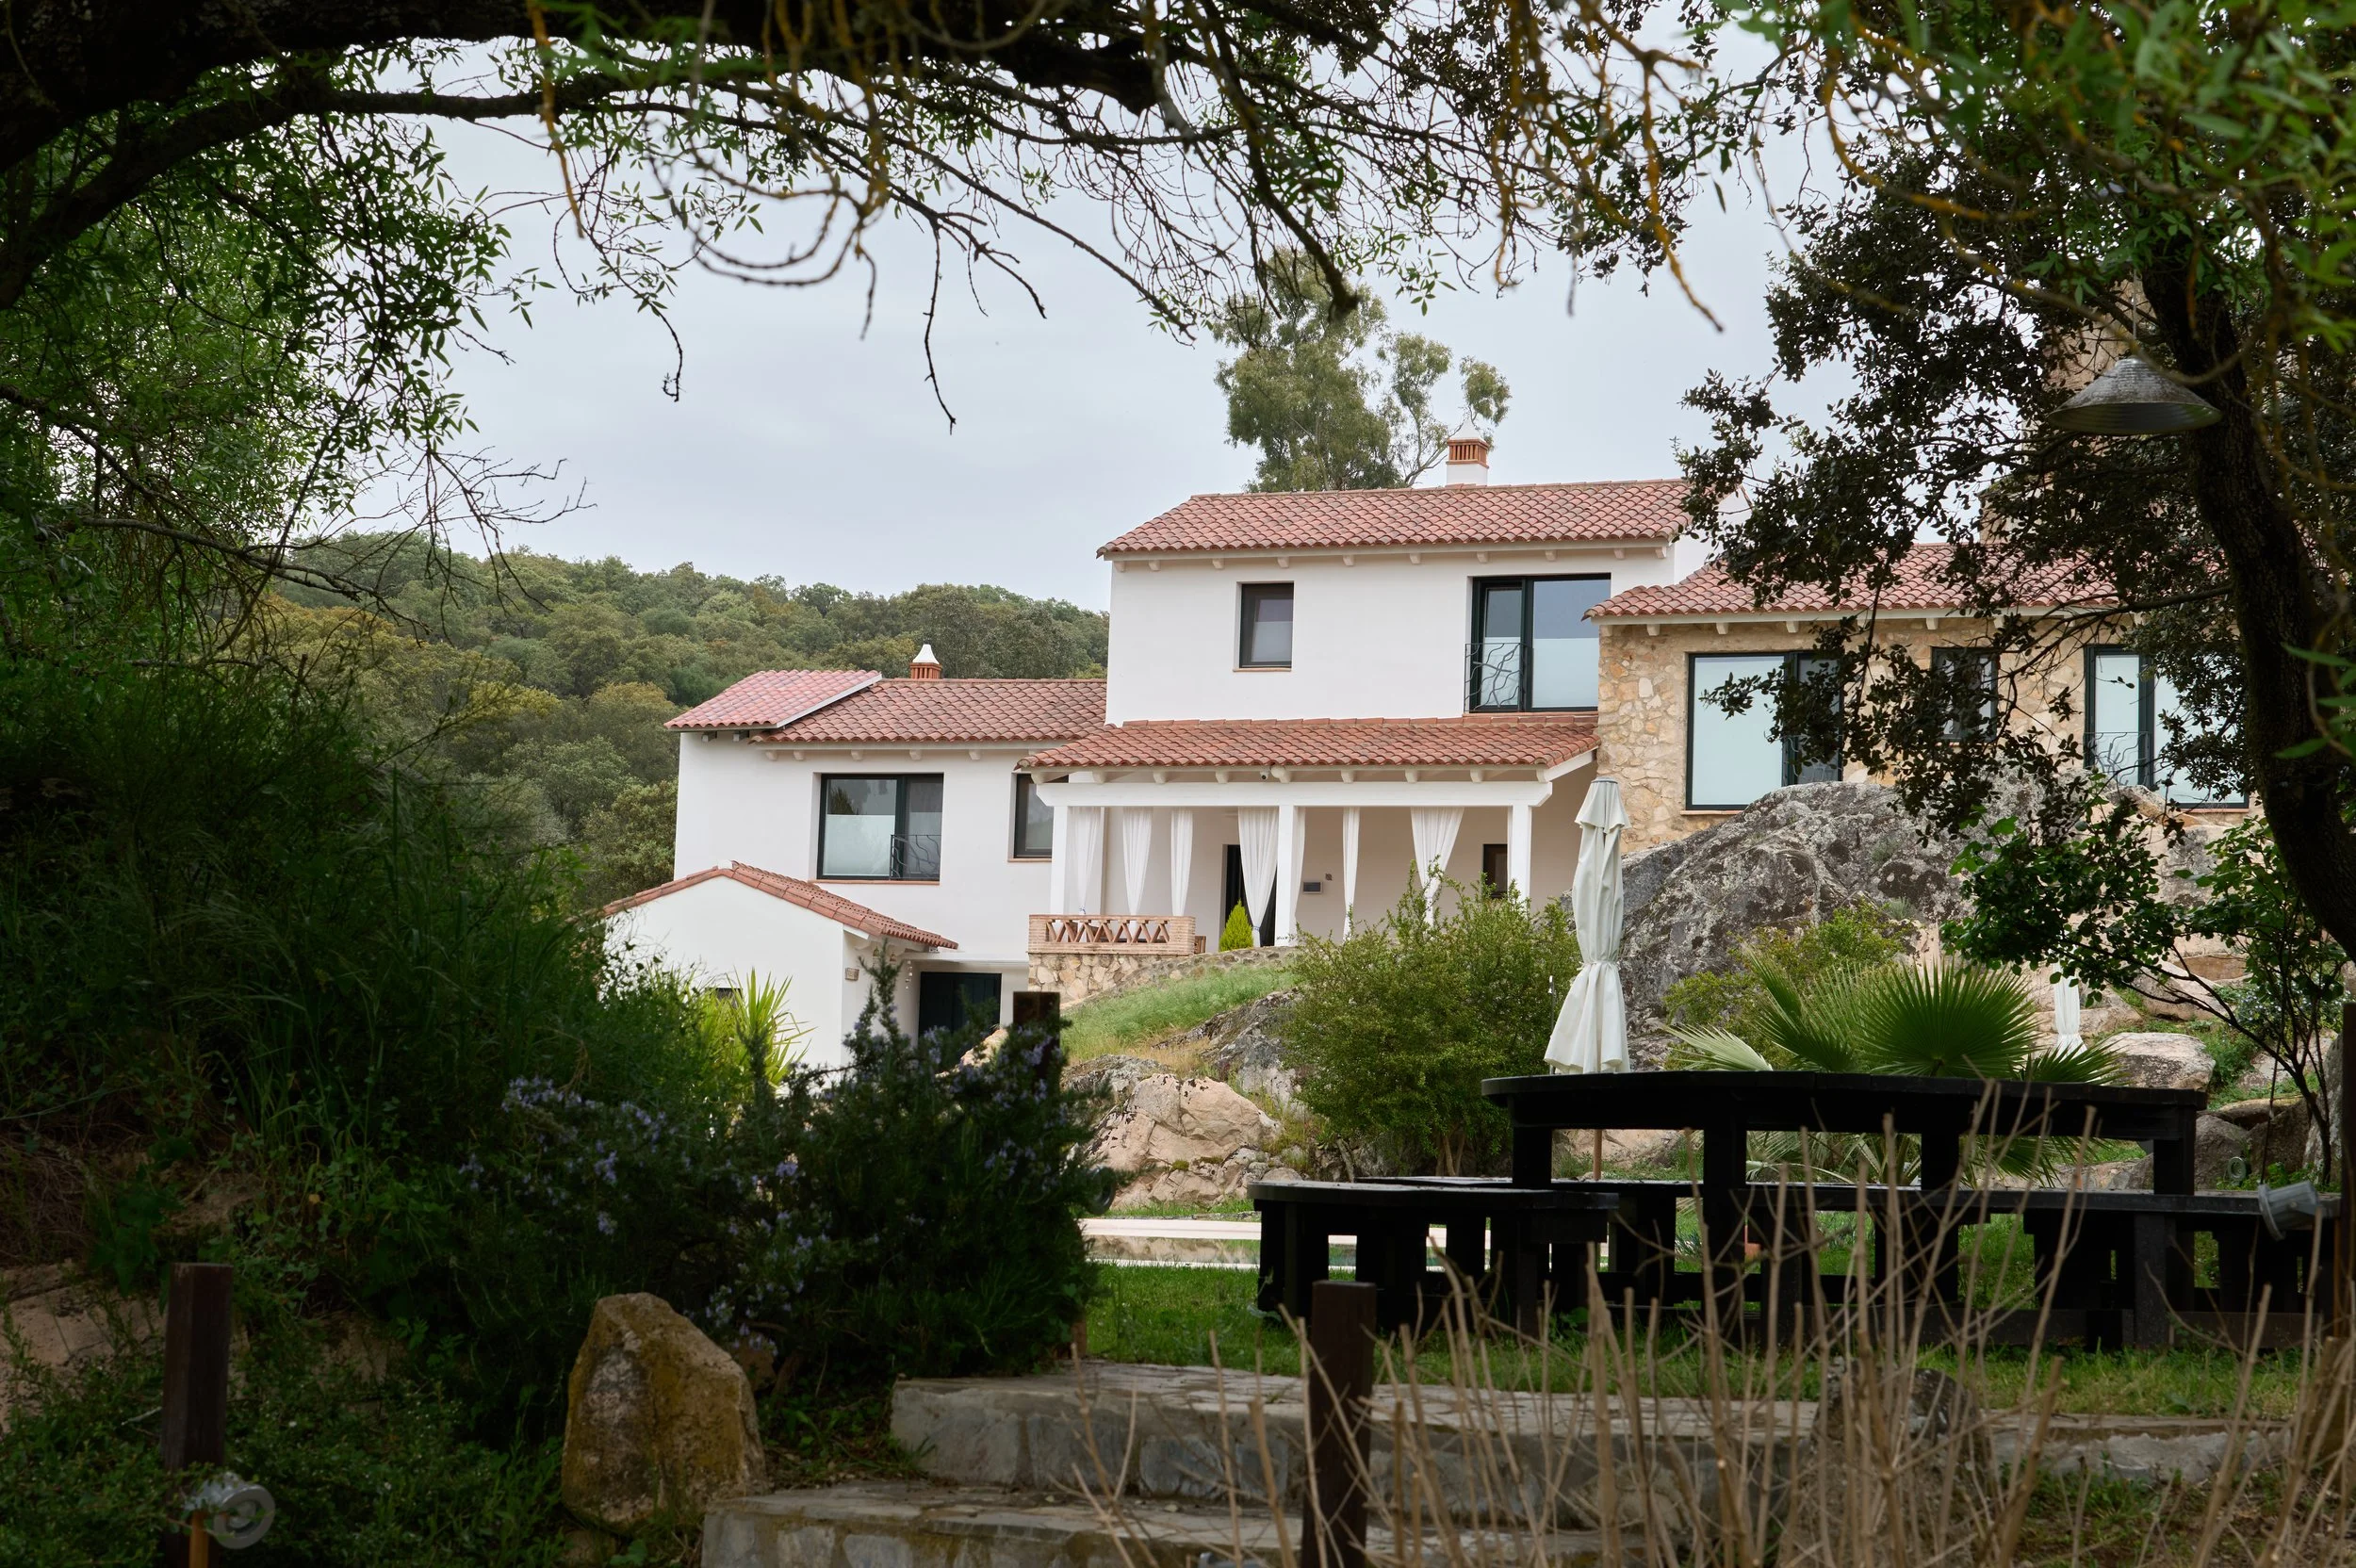
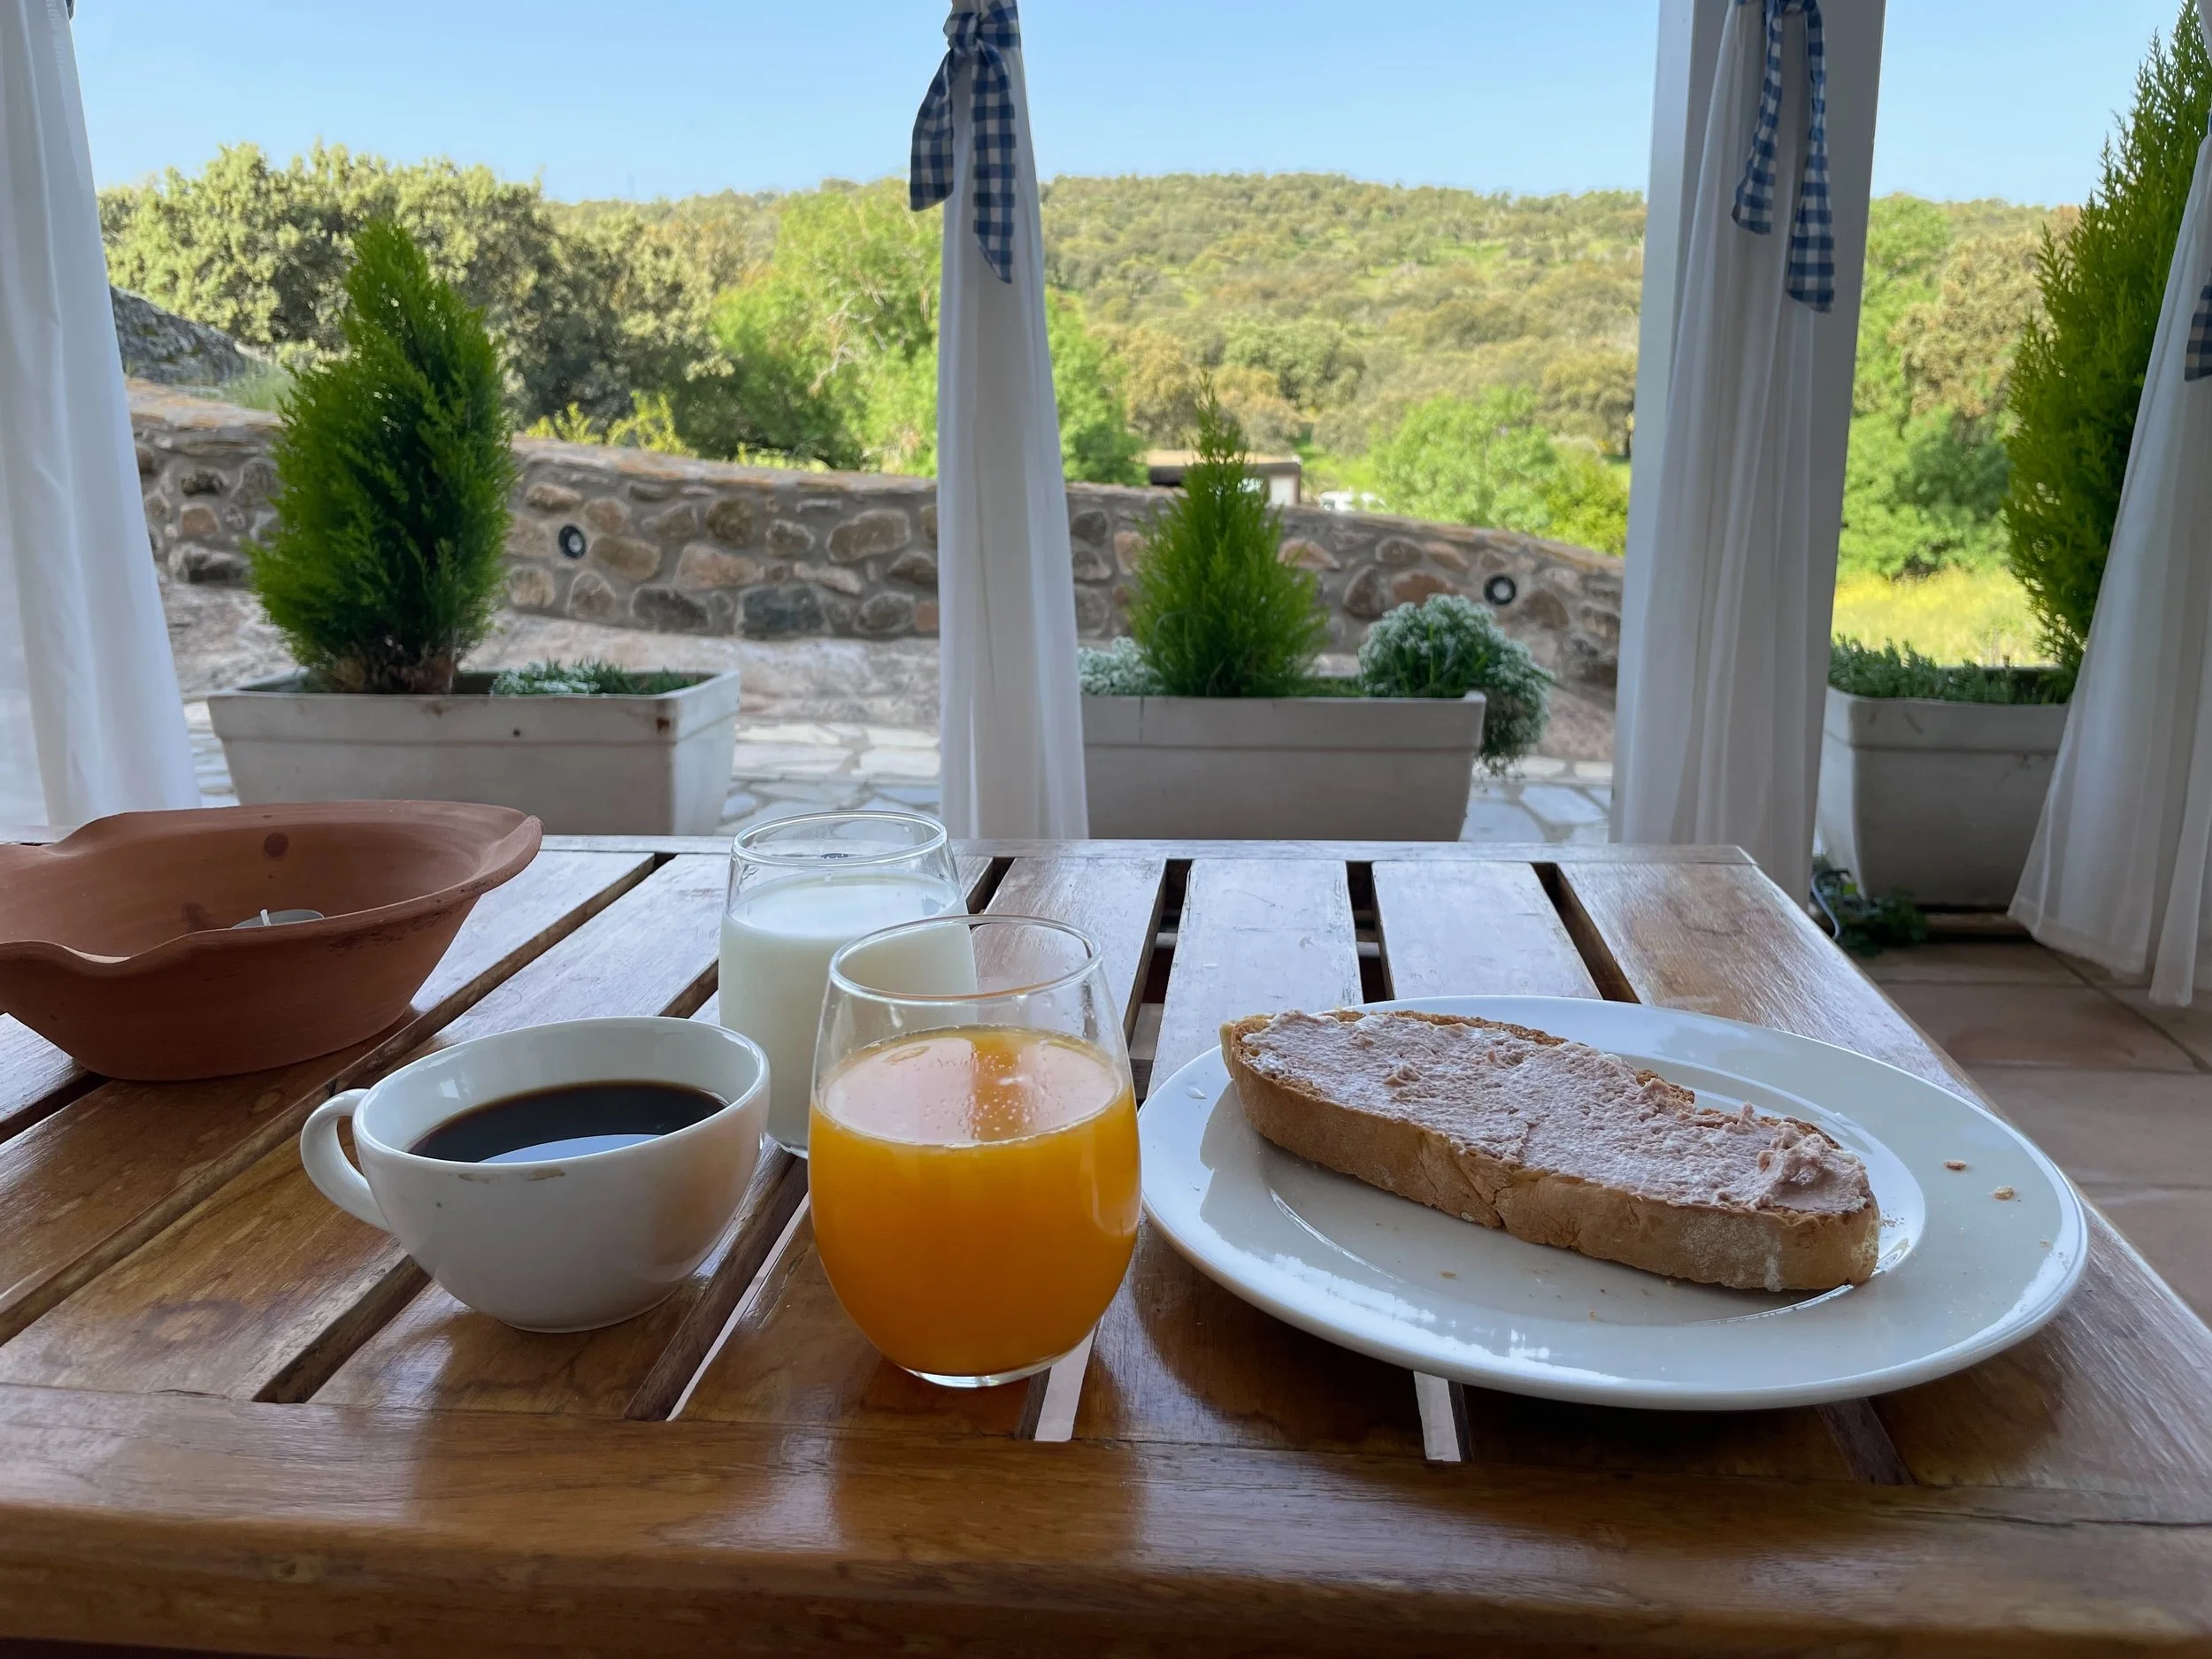
As mentioned before, the Roboscopes observatory is located on the premises of e-Eye, the largest telescope hosting site in Europe. And it is much more than just a hosting site. There are several comfortable accommodations on-site. And you can book them for just one night, or a whole astro holiday. Some accommodations have telescopes on their balcony, while other people bring their own equipment. You can book private star-gazing sessions, or join one of the outreach events at the observation deck. The premises are very nicely integrated in the landscape and extremely well maintained. The staff is very friendly and the welcome package with fresh bread, milk, oranges, coffee, cookies and more will get you easily through some breakfasts and moments of appetite.
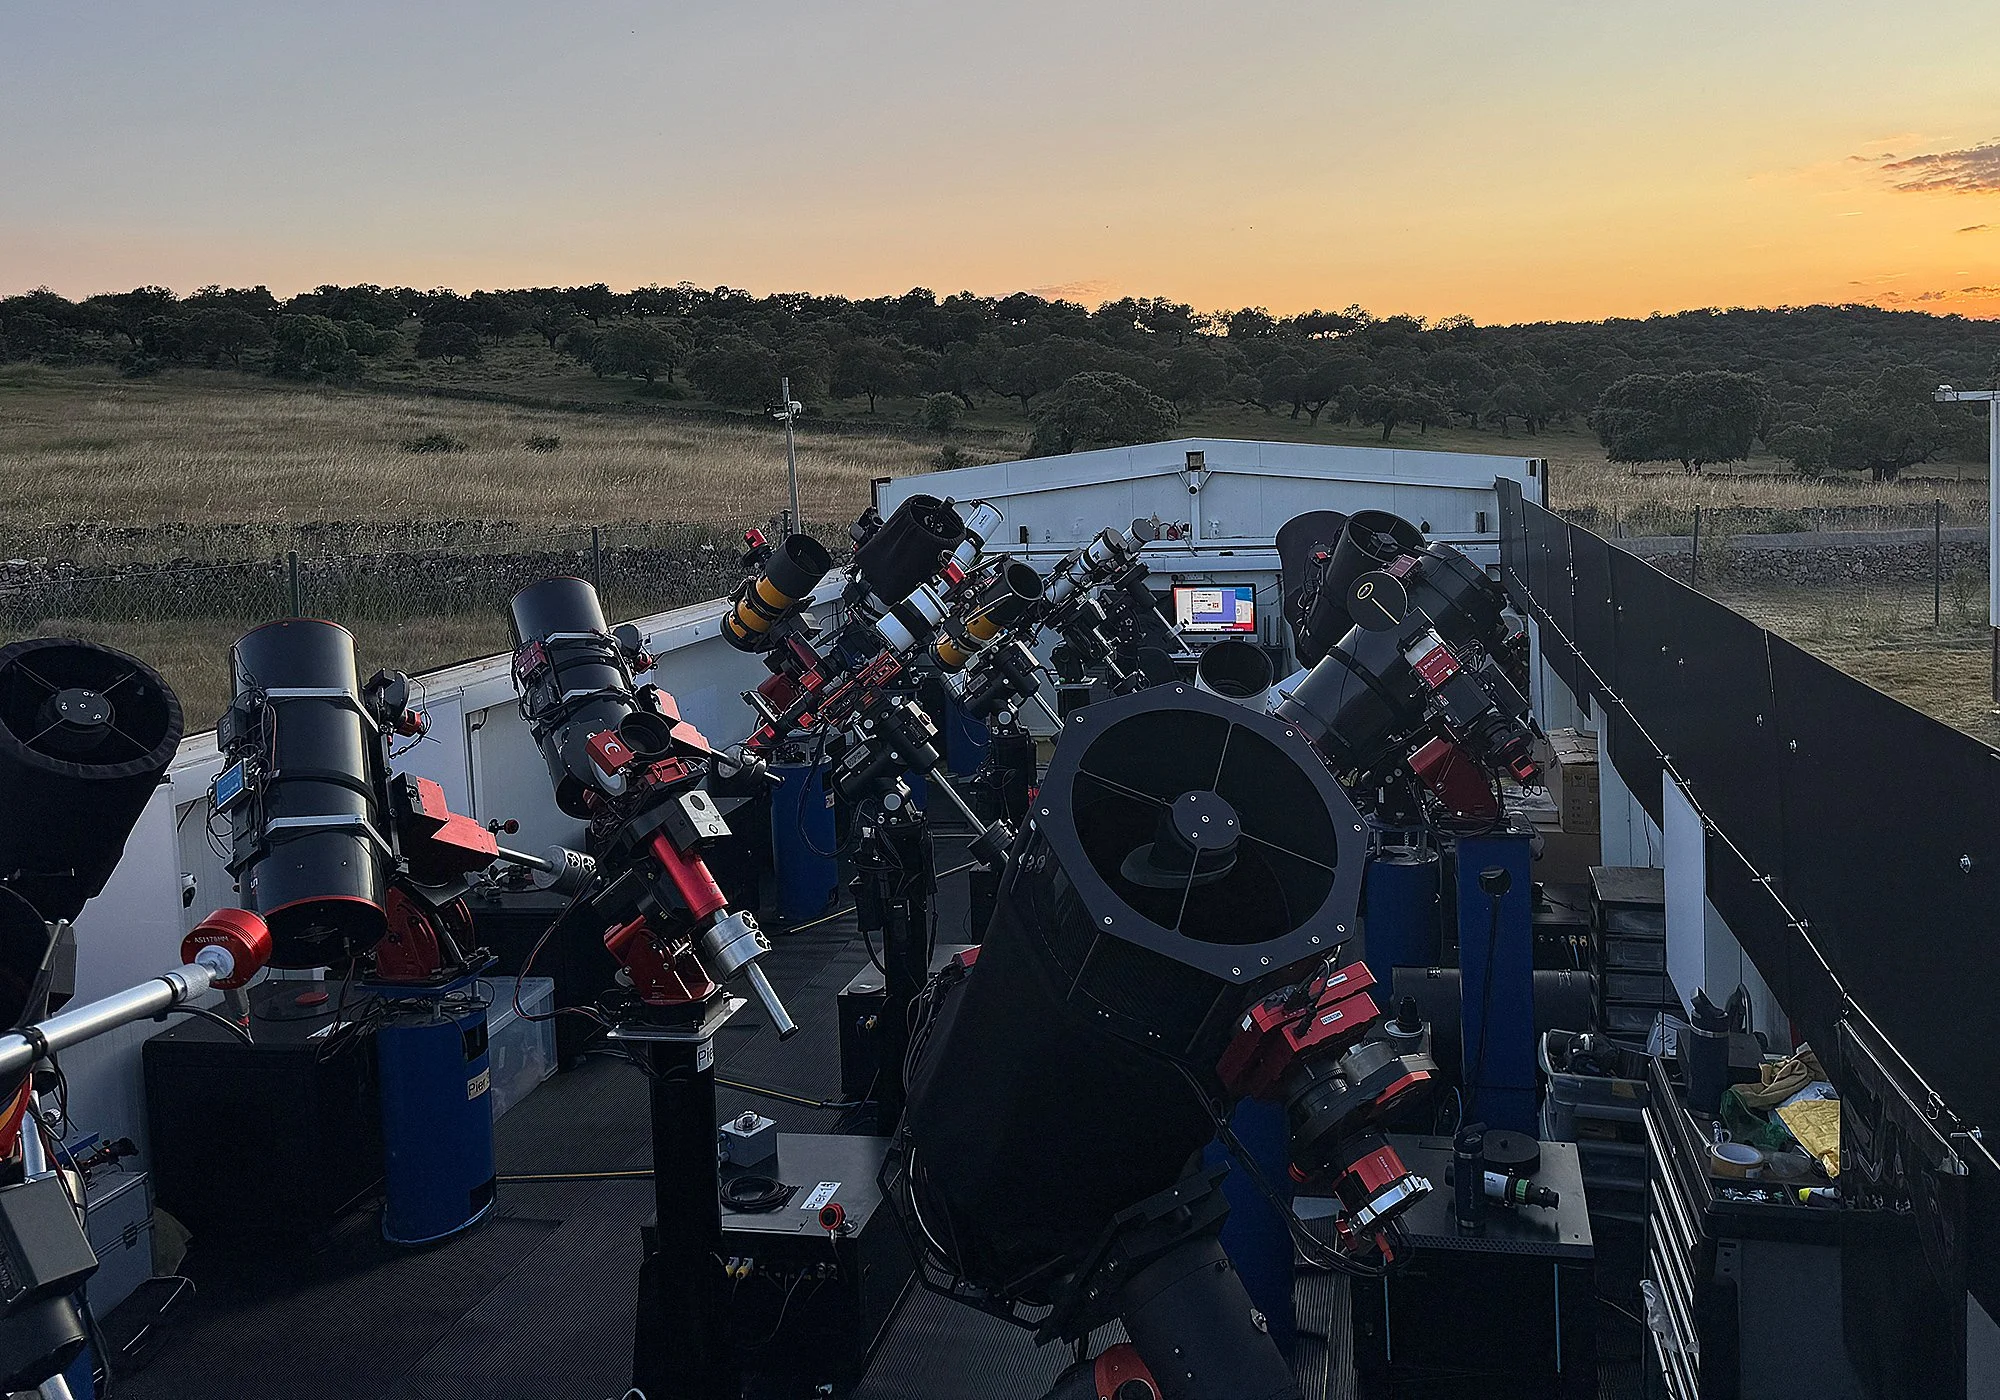
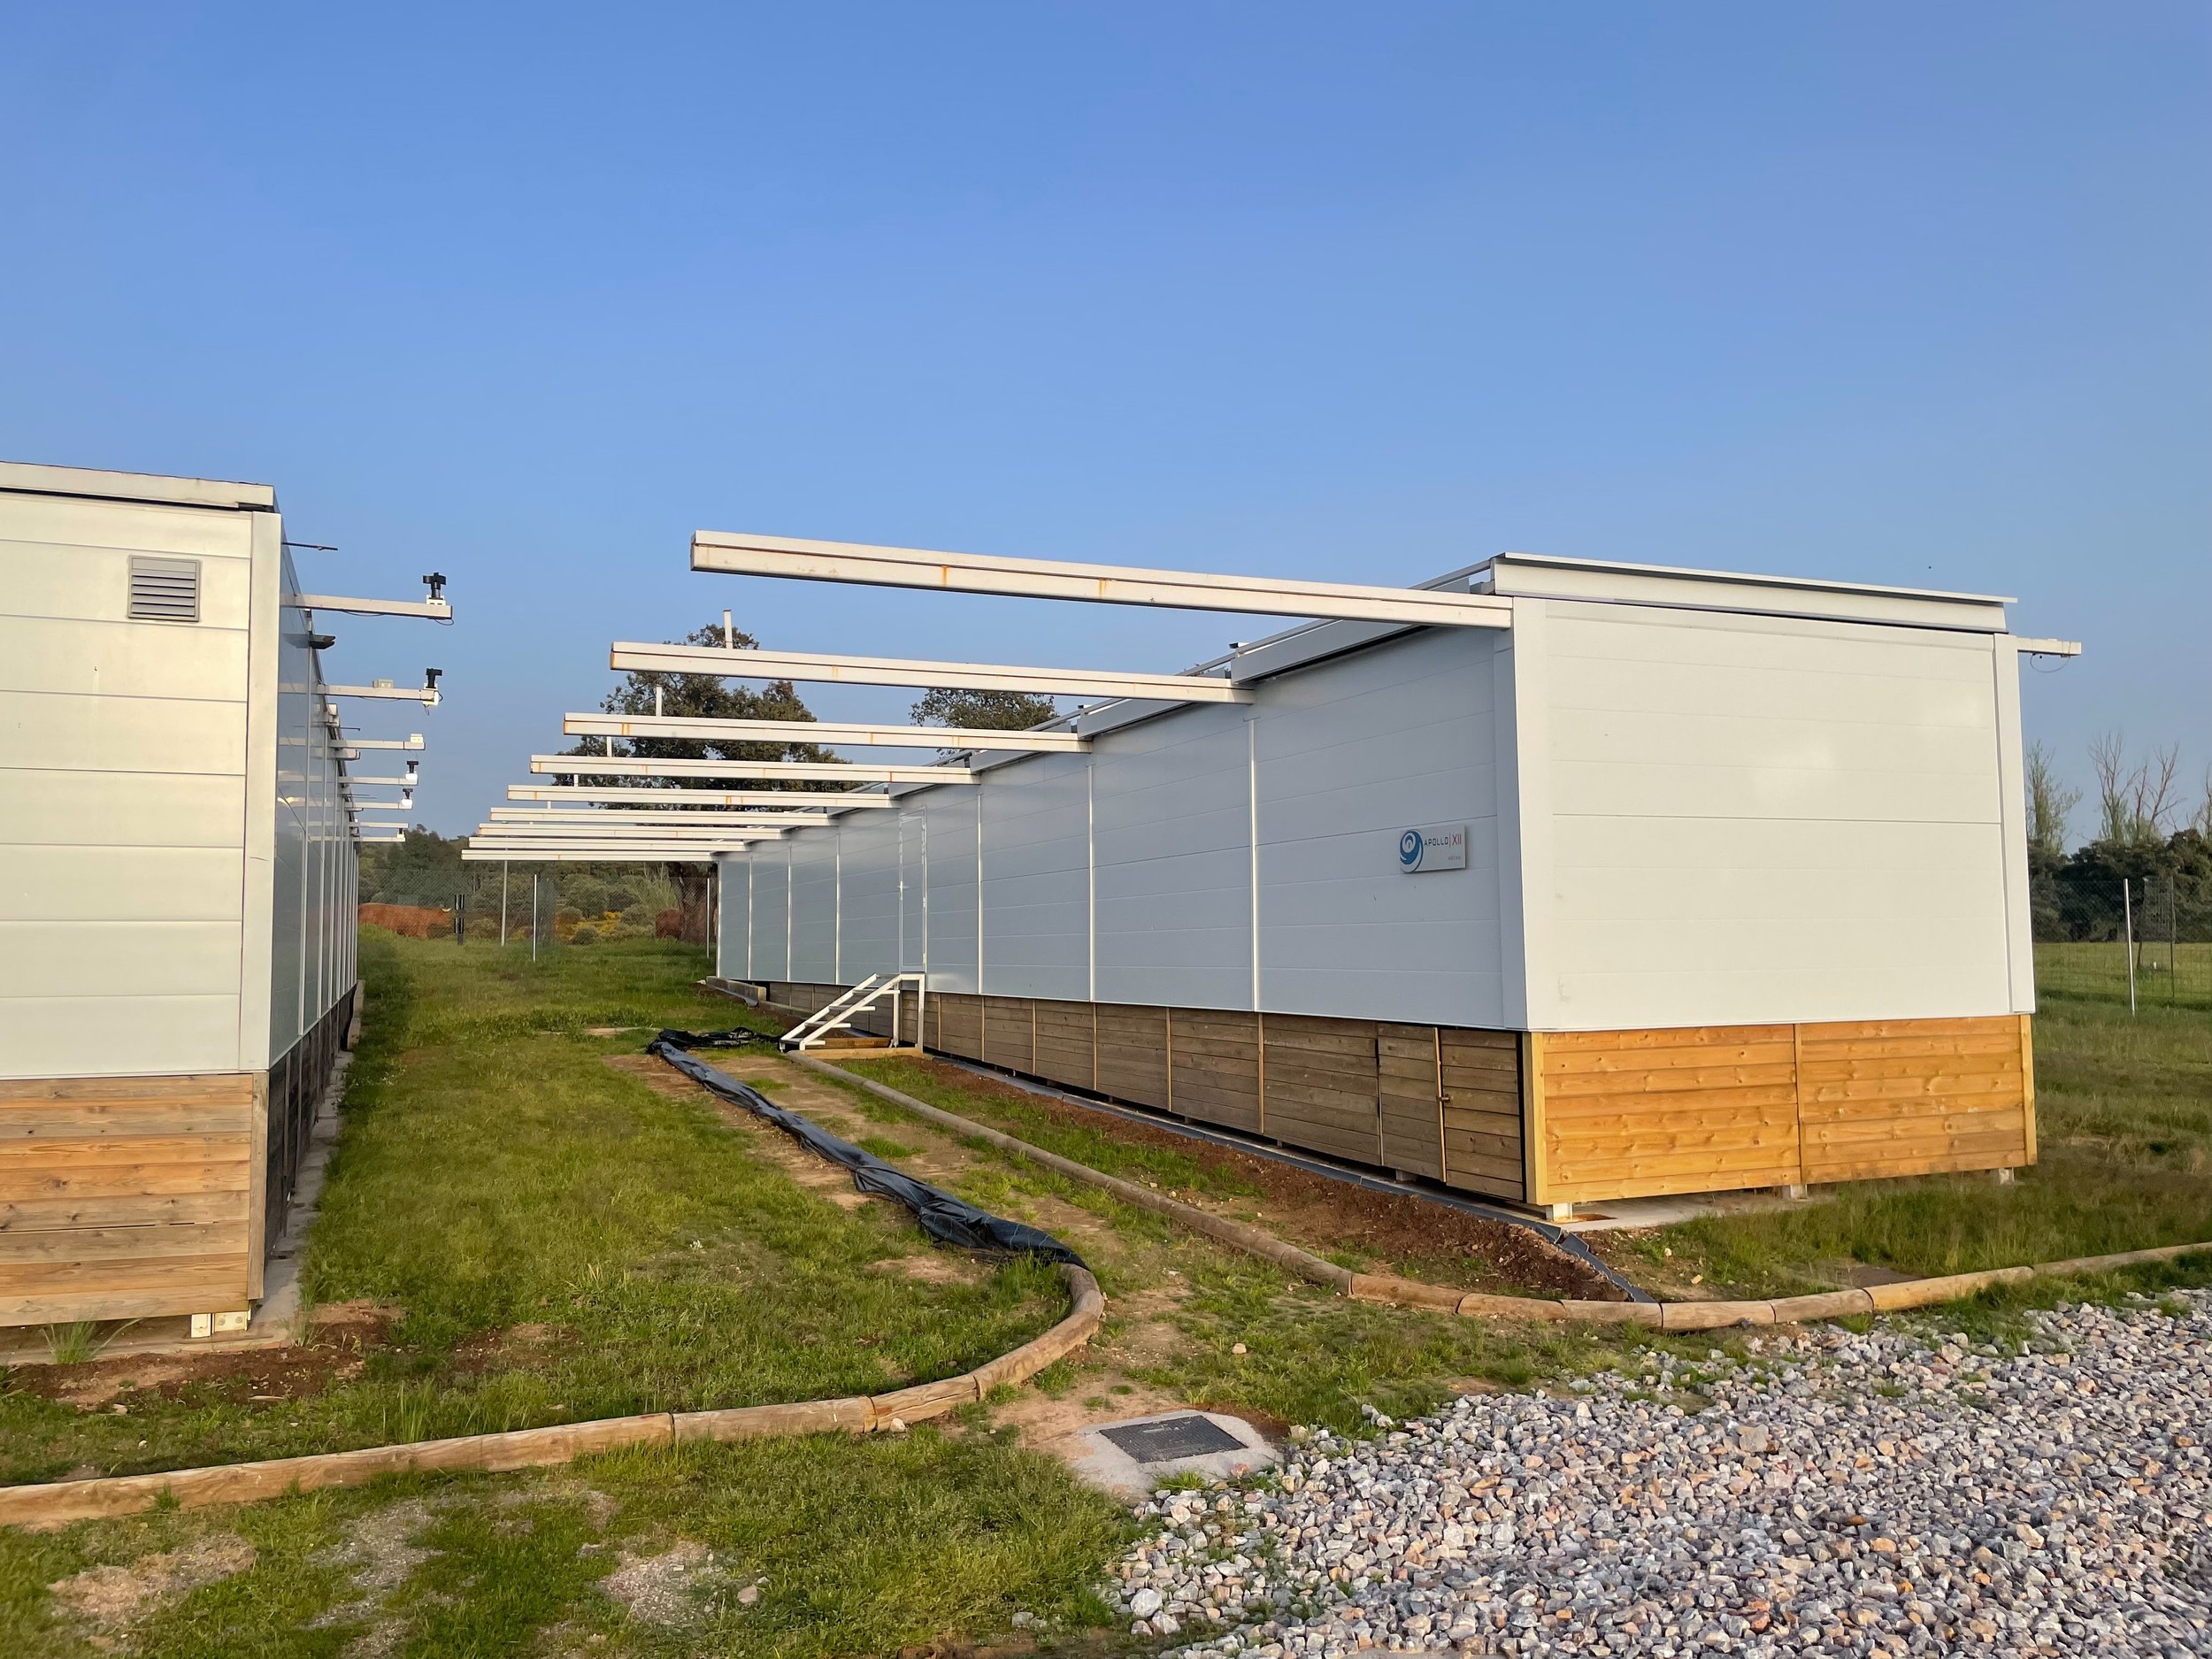
The main purpose of course are the remote hosting observatories. The setup is a bit different than in many other places. It is a modular approach where each scope has its own module. The roof of each module can be opened and closed individually and is fully under control of the user. There are many of these observatories, and other customers walking around all the time, maintaining and upgrading their equipment in one of the over 100 observatories. I met several owners of equipment and they were all so kind to show me their setup and share experiences. I went into several of the buildings, and was greeted with a wide range of setups, from relatively modest ones to big and very impressive rigs. I also met with several of the staff of e-Eye and they were all super friendly, knowledgeable and welcoming. One of them joined us several times for dinner and introduced us to the traditional Spanish cuisine.
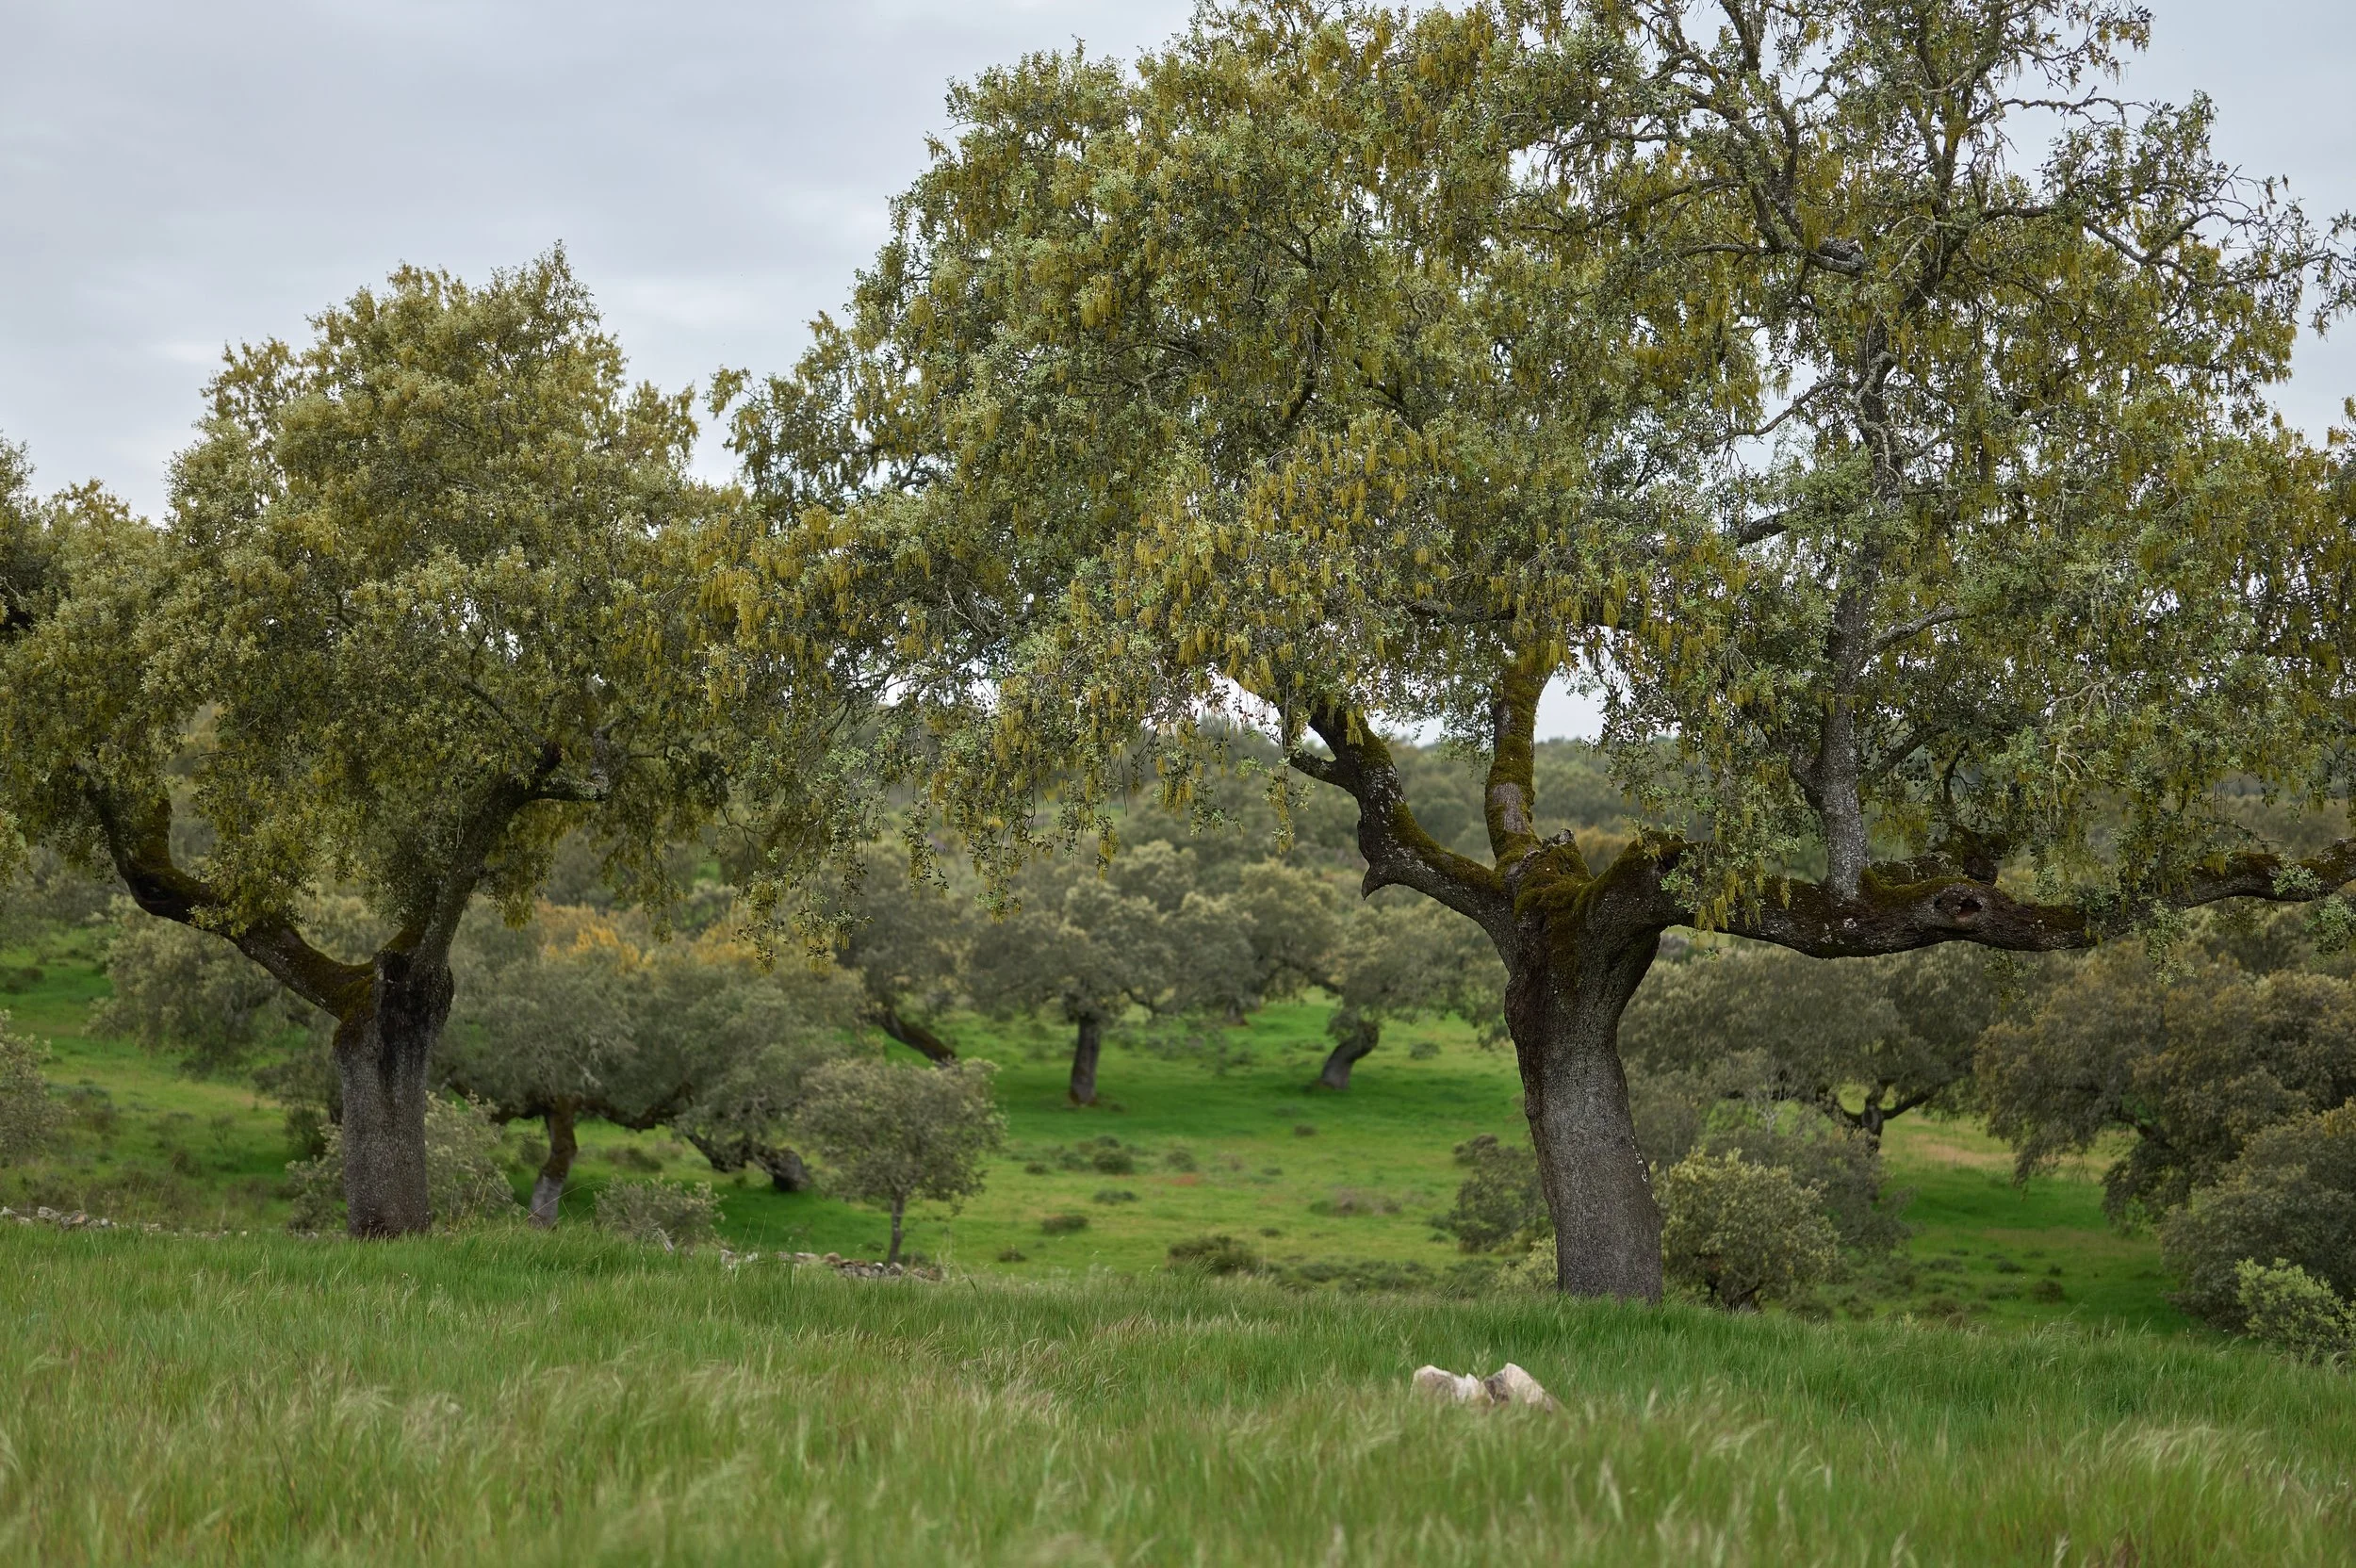
E-Eye is the acronym for ‘Entre encinas y estrellas’, which translates as ‘between the oaks and the stars’. The oaks are a key part of the landscape (see below), and the stars speak for themselves.
Fregenal de la Sierra
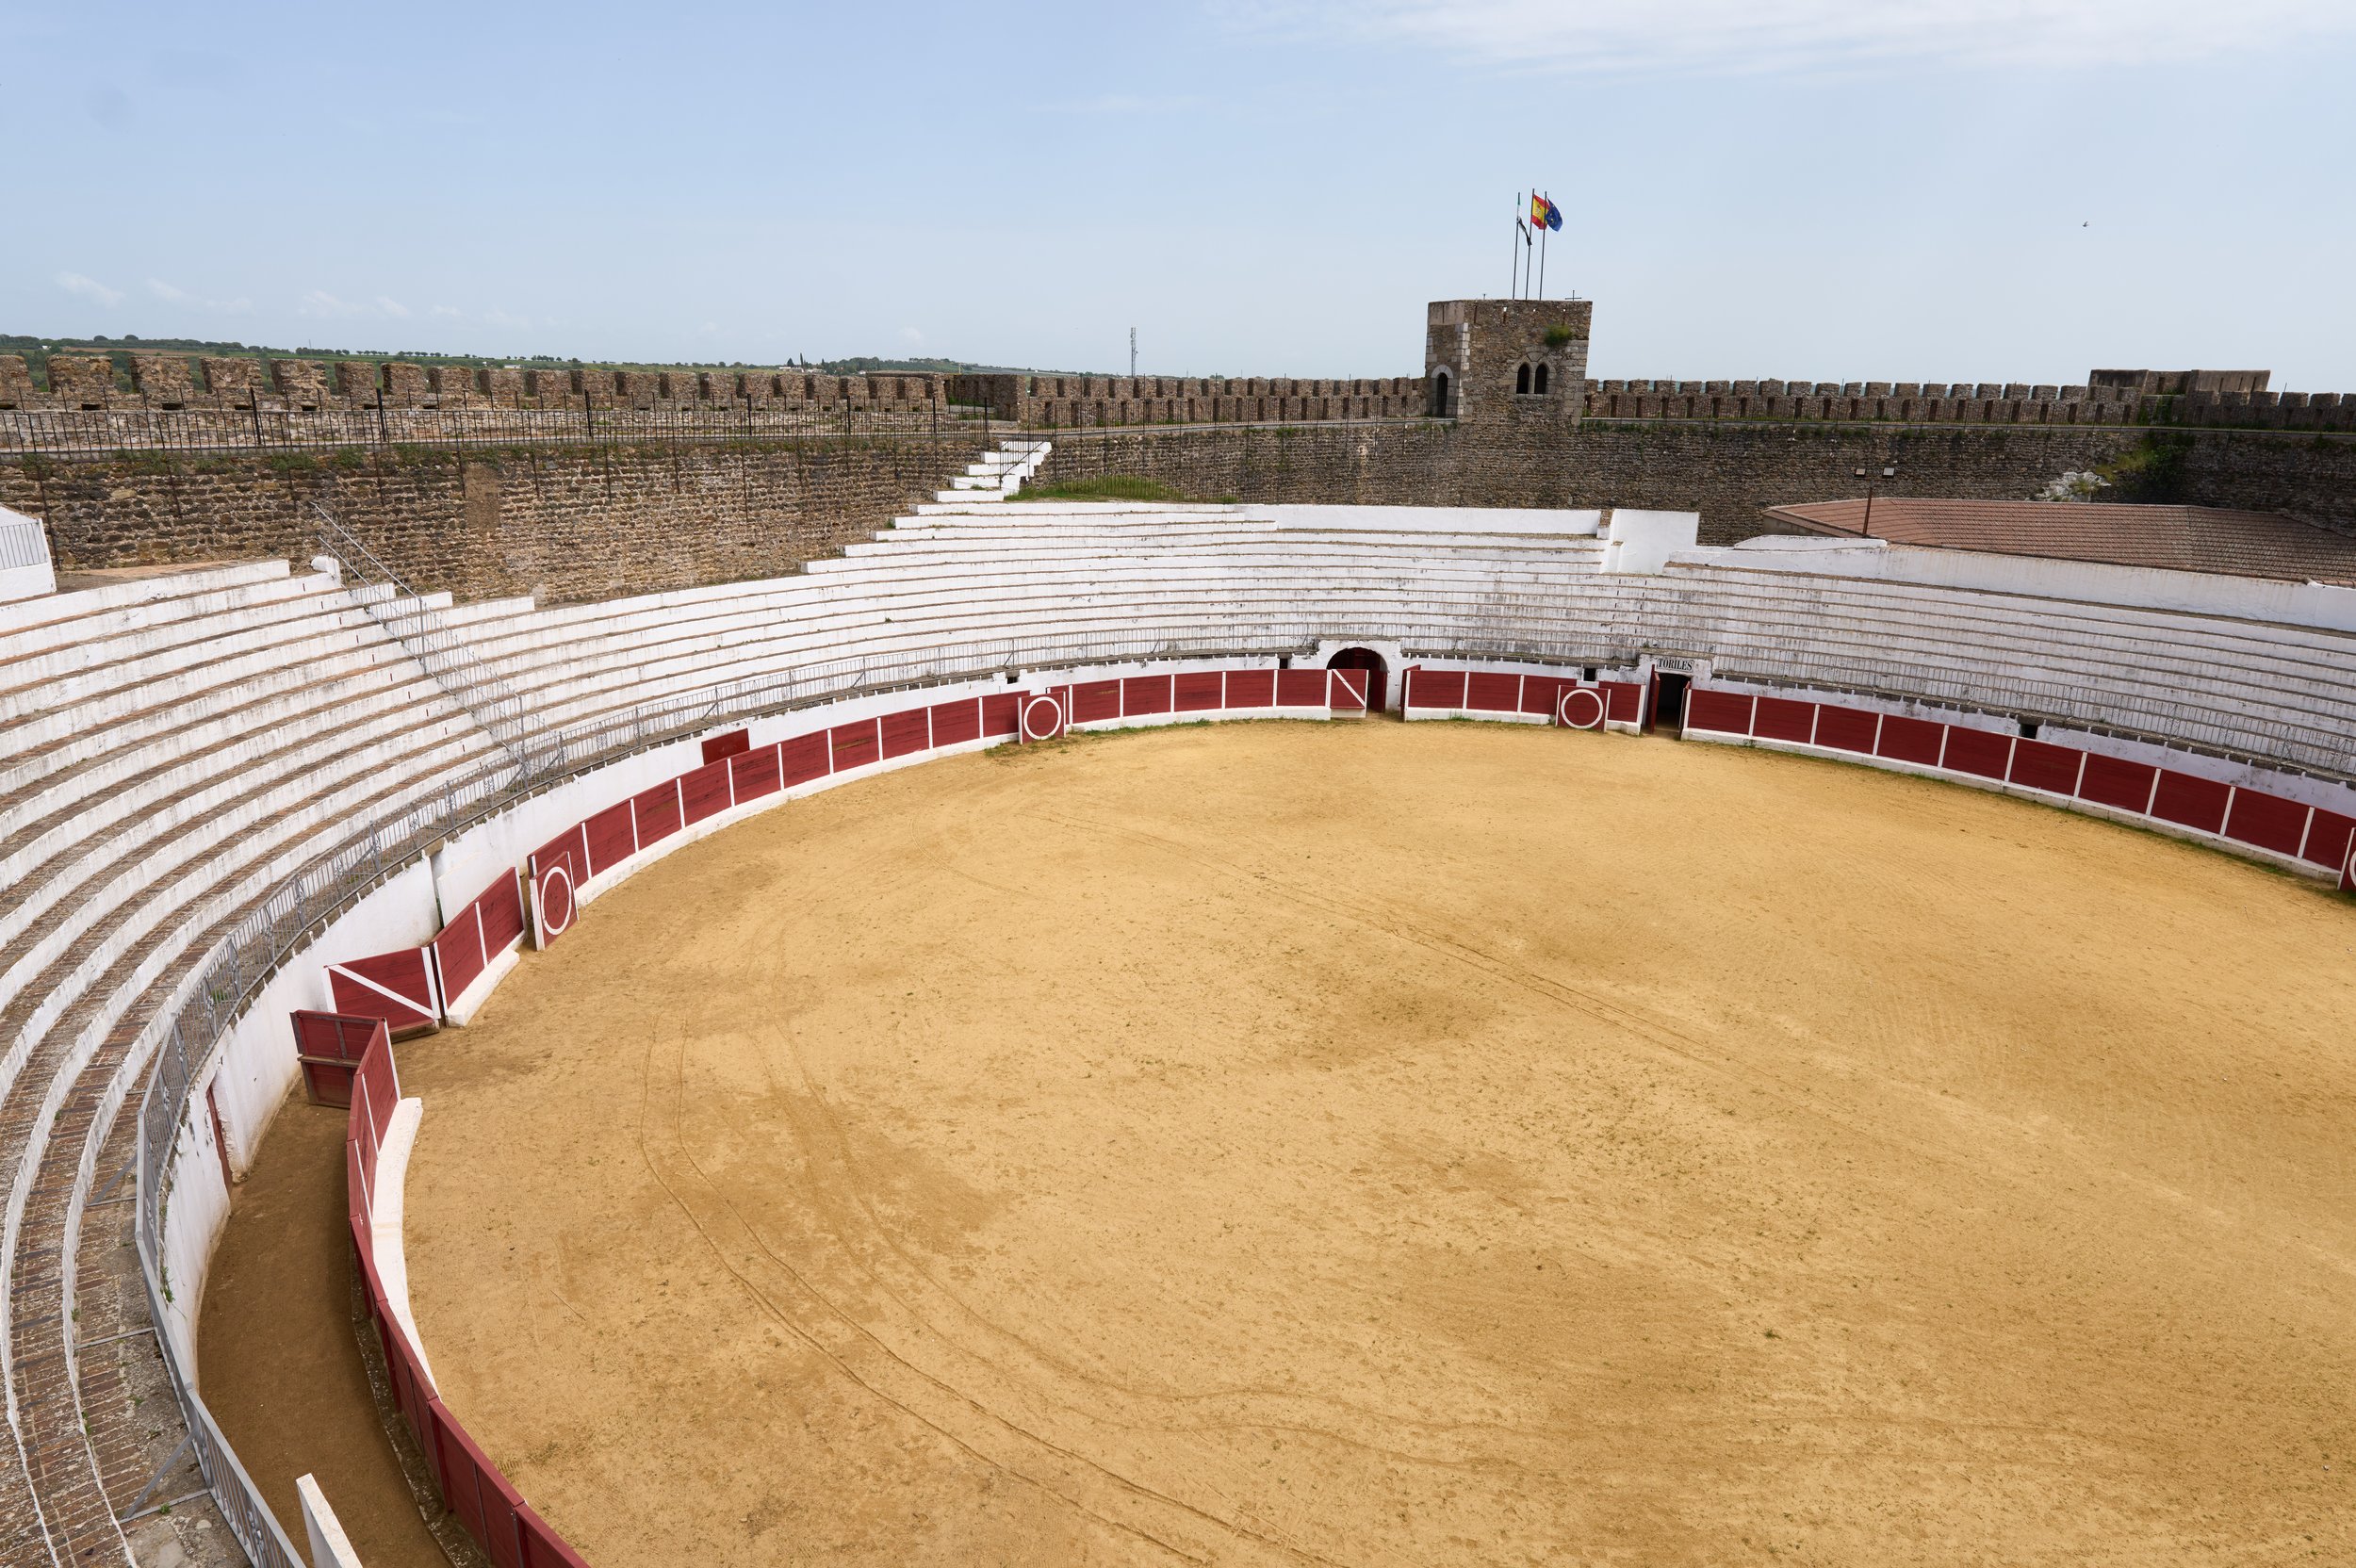
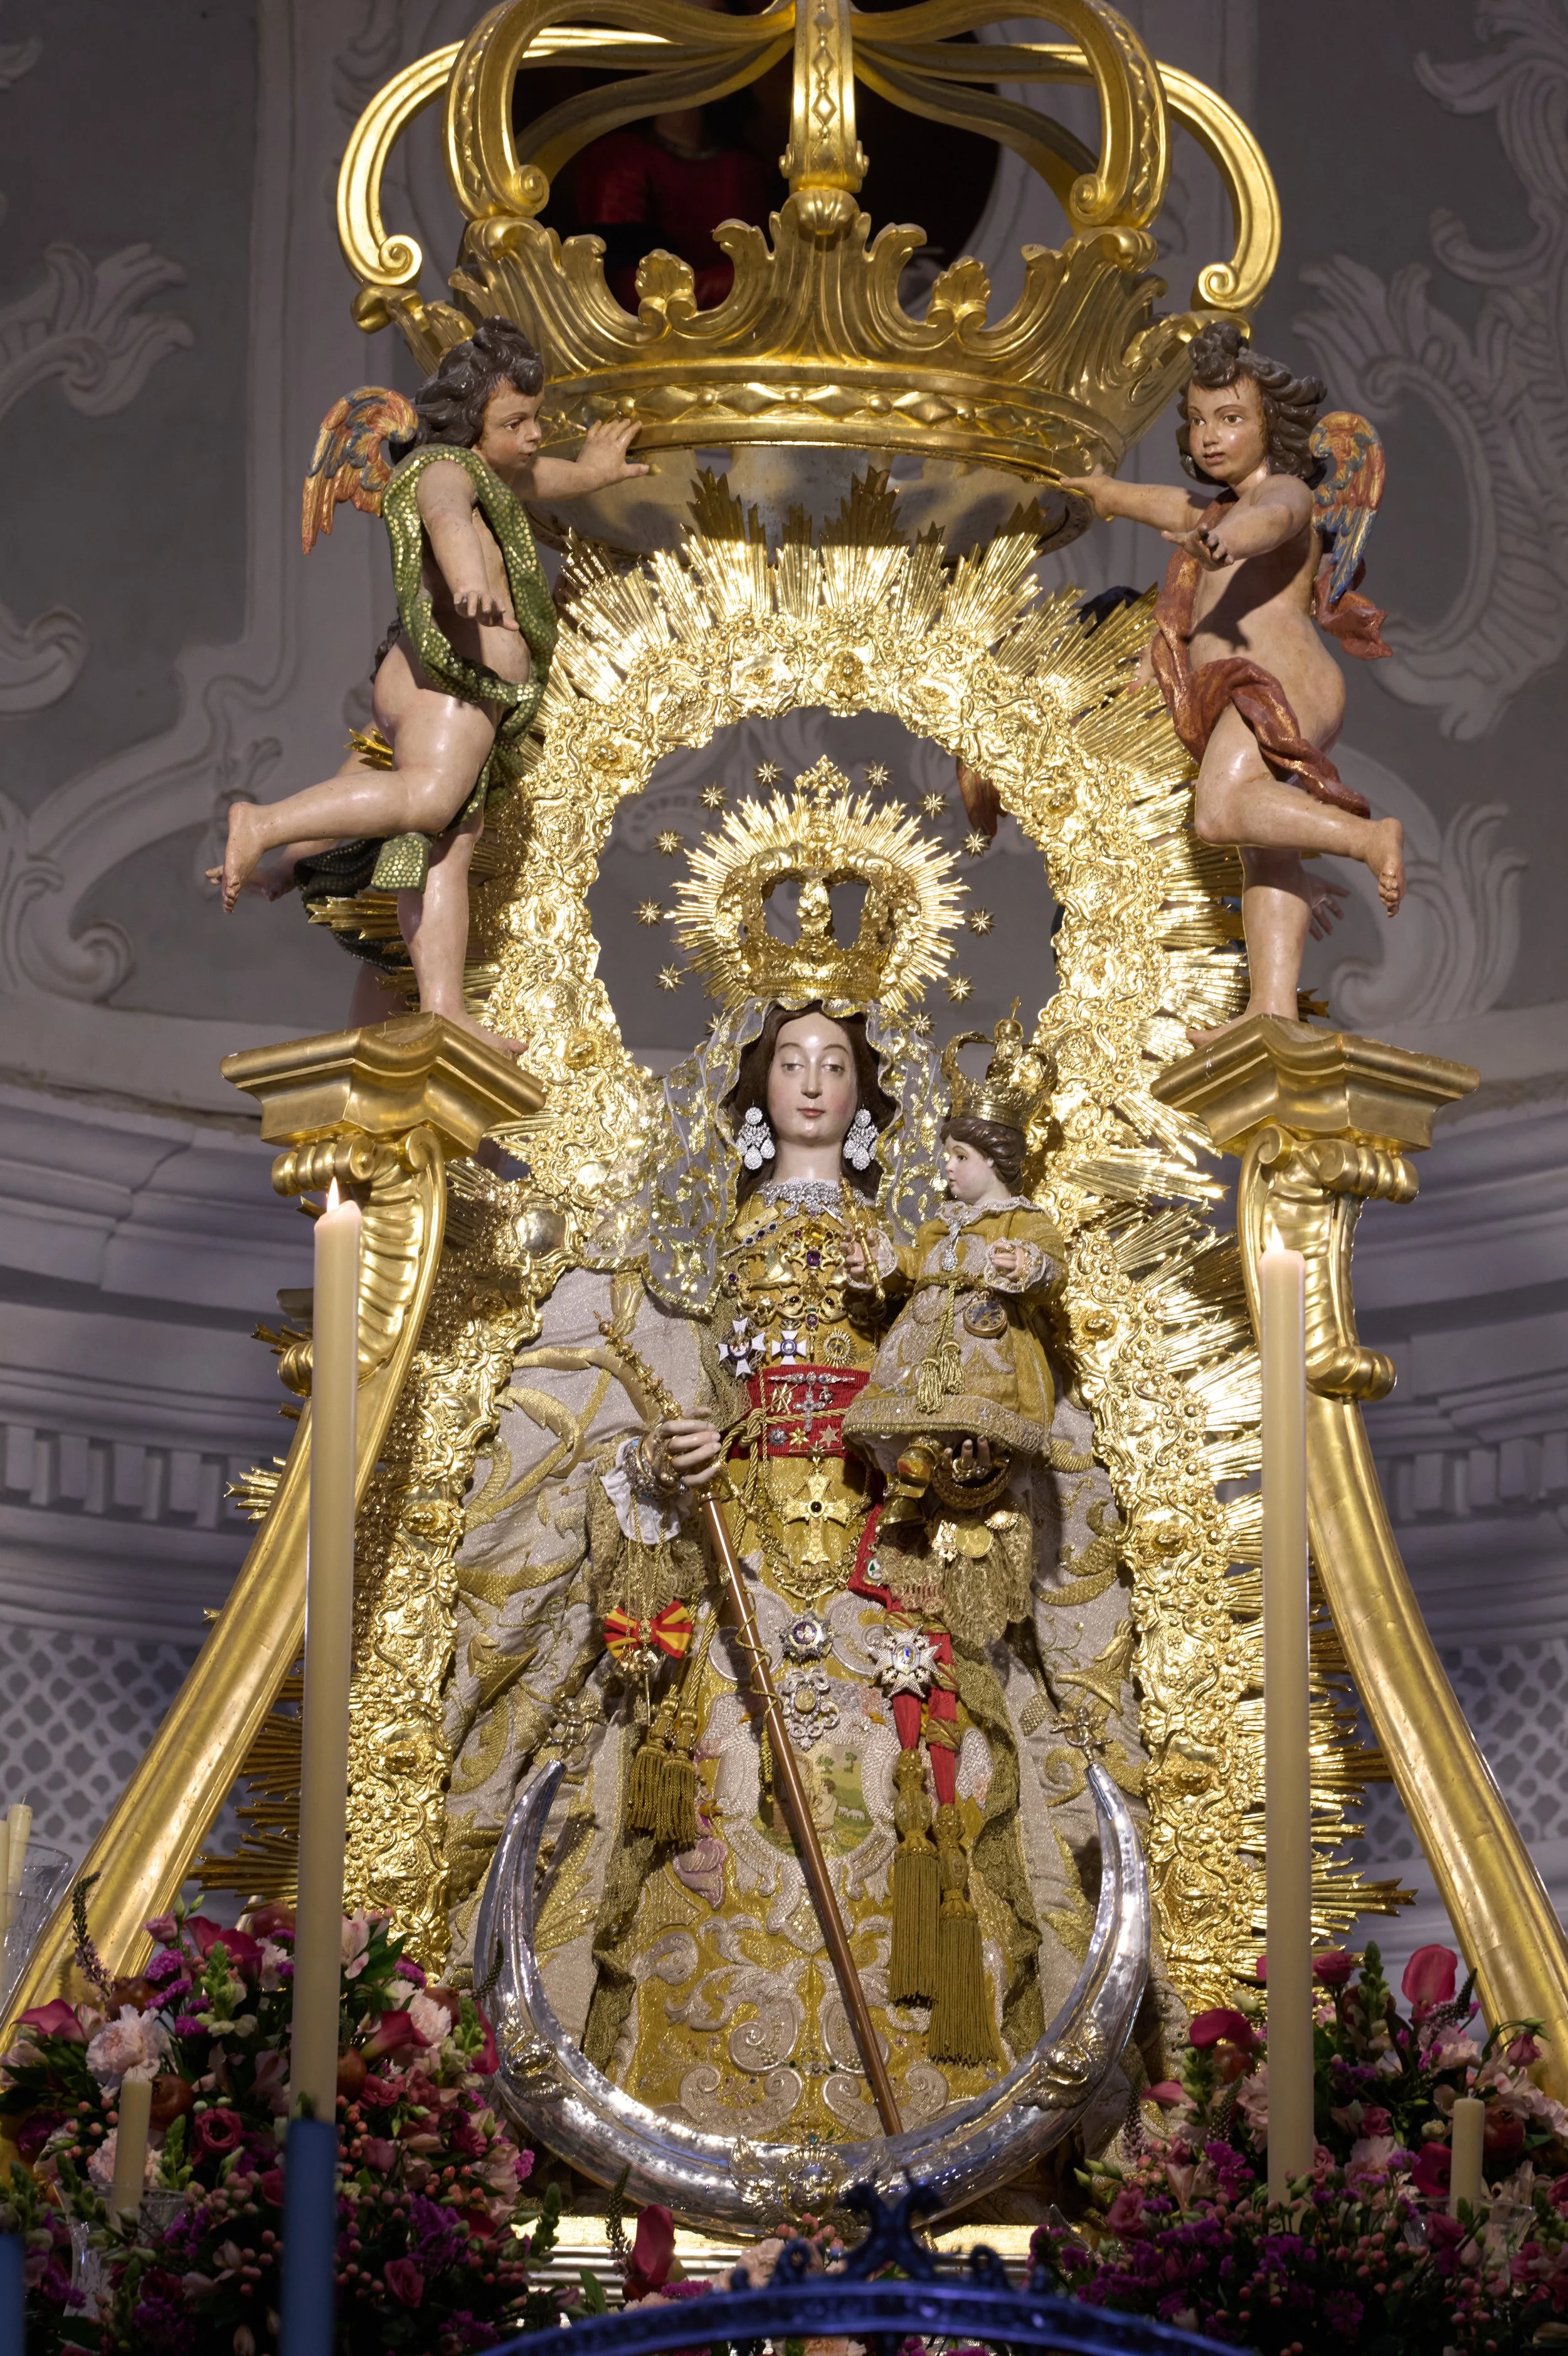
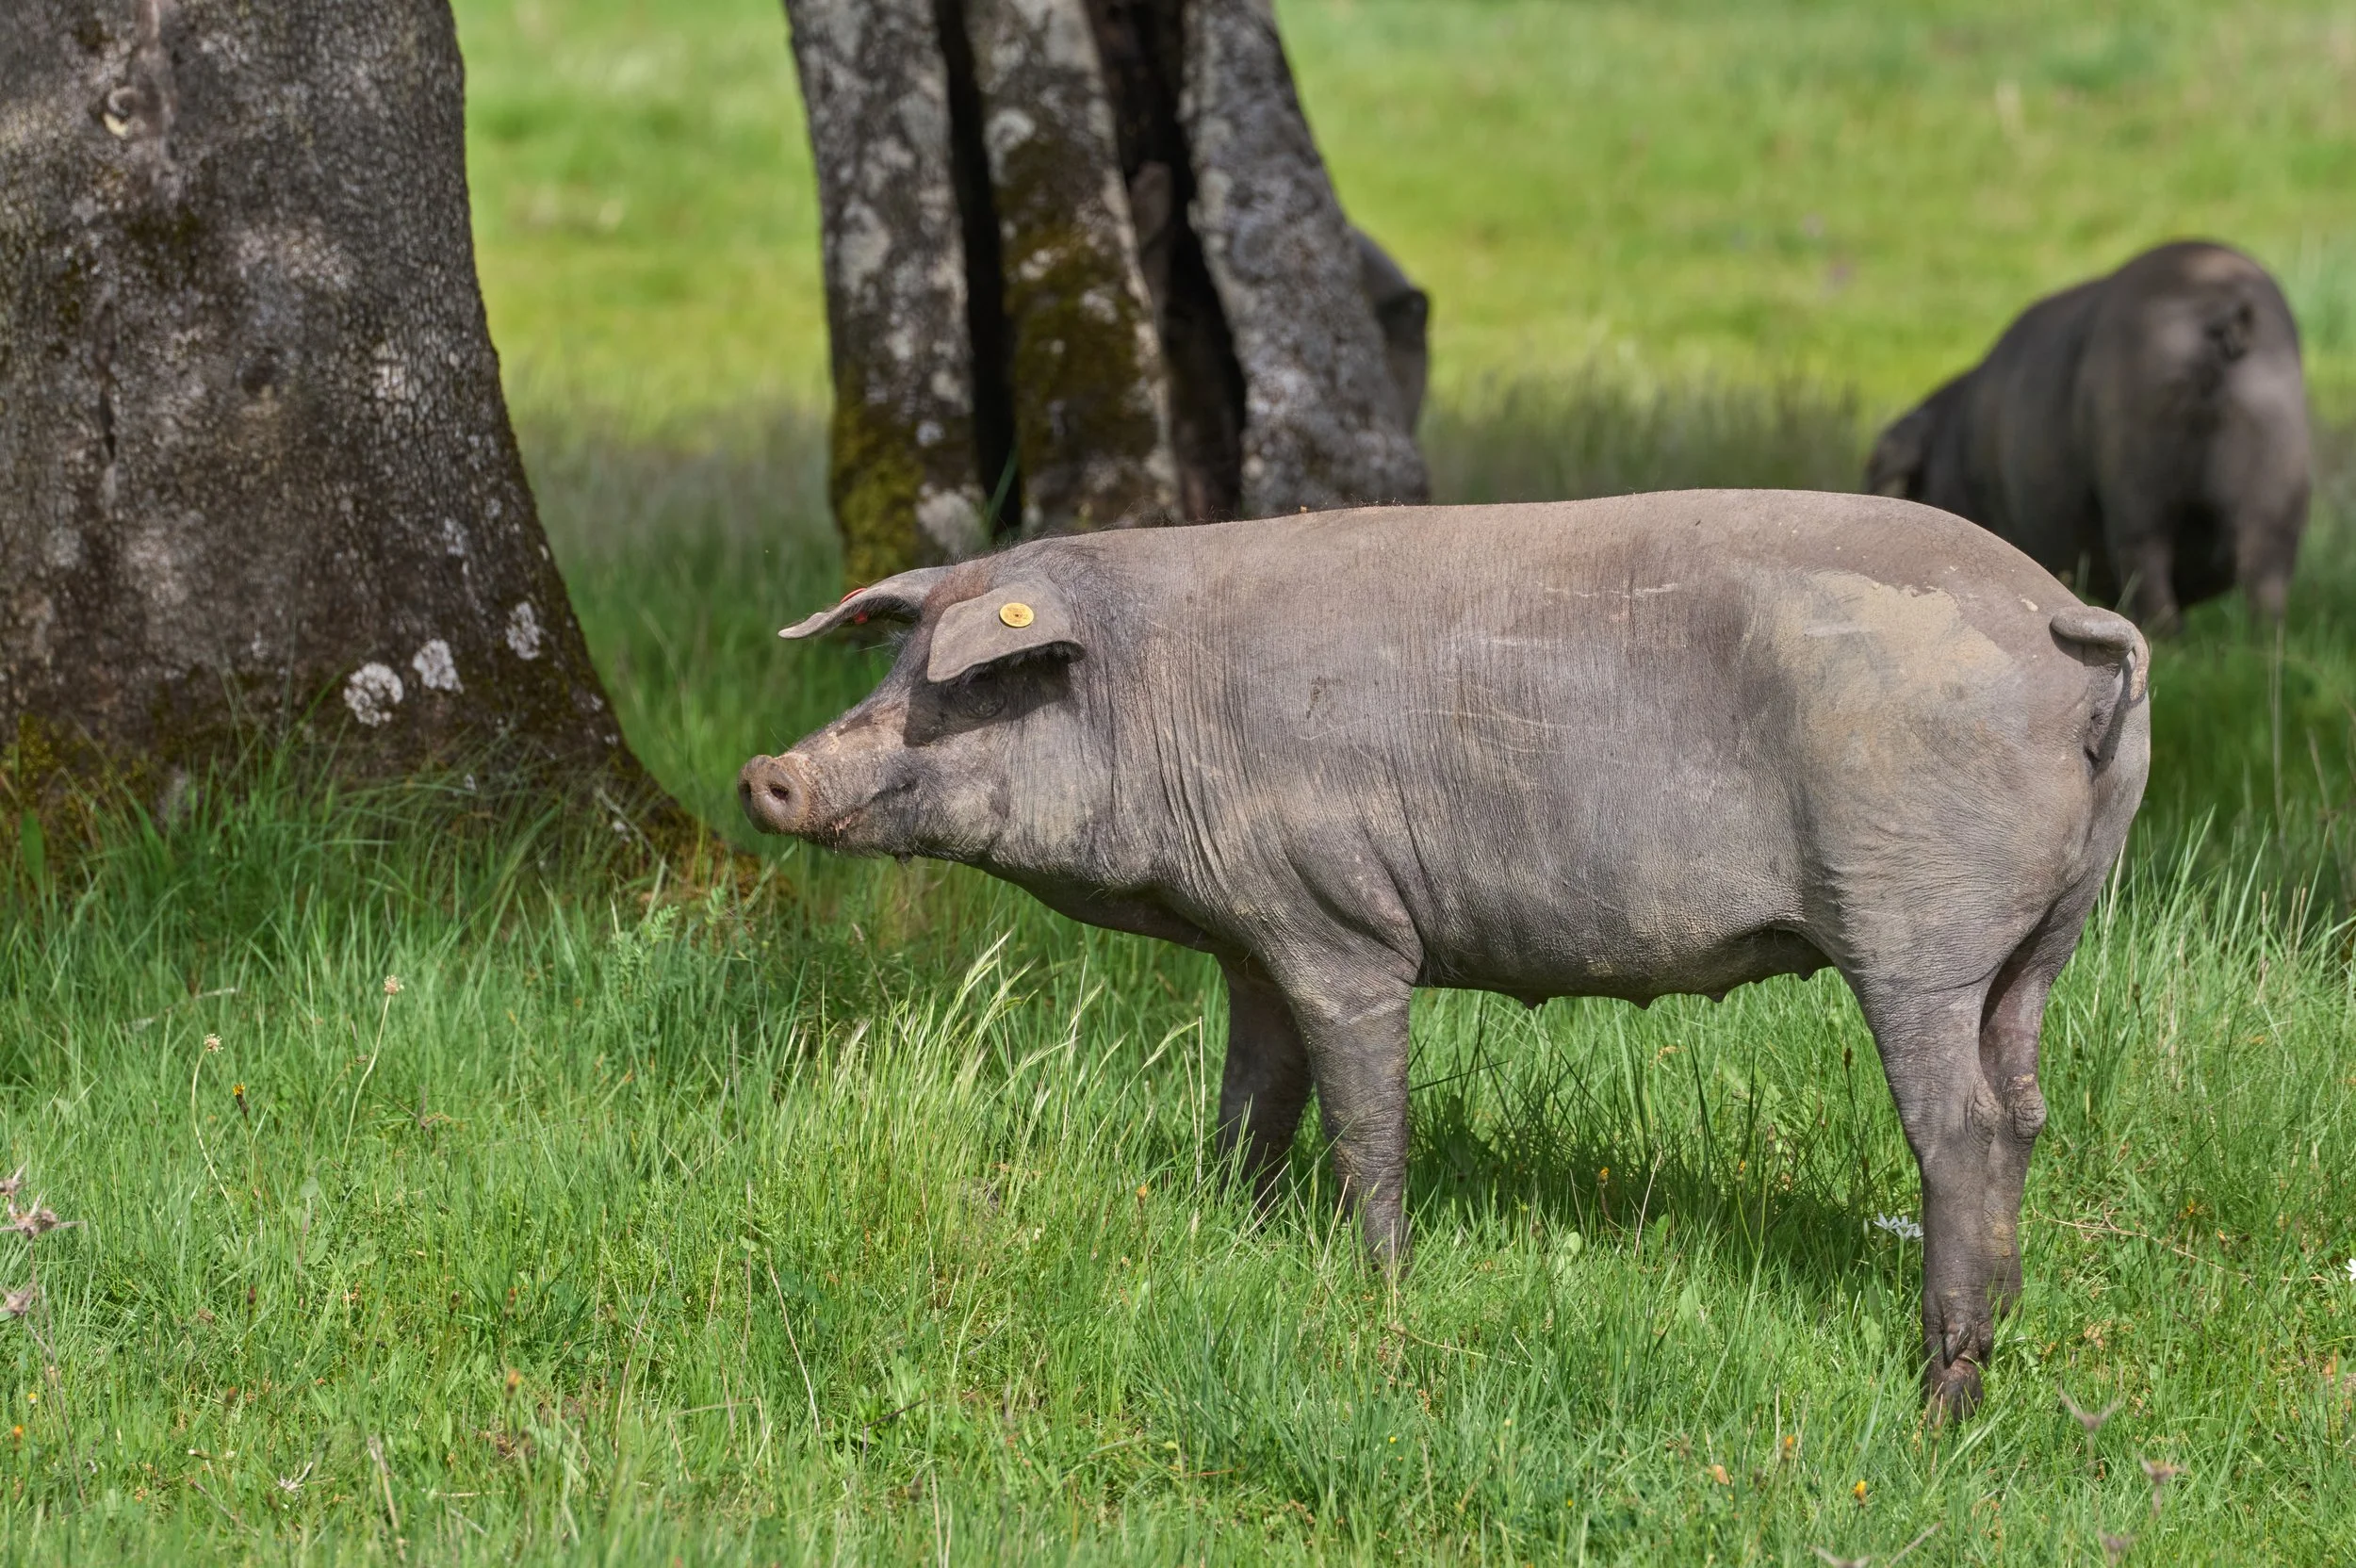
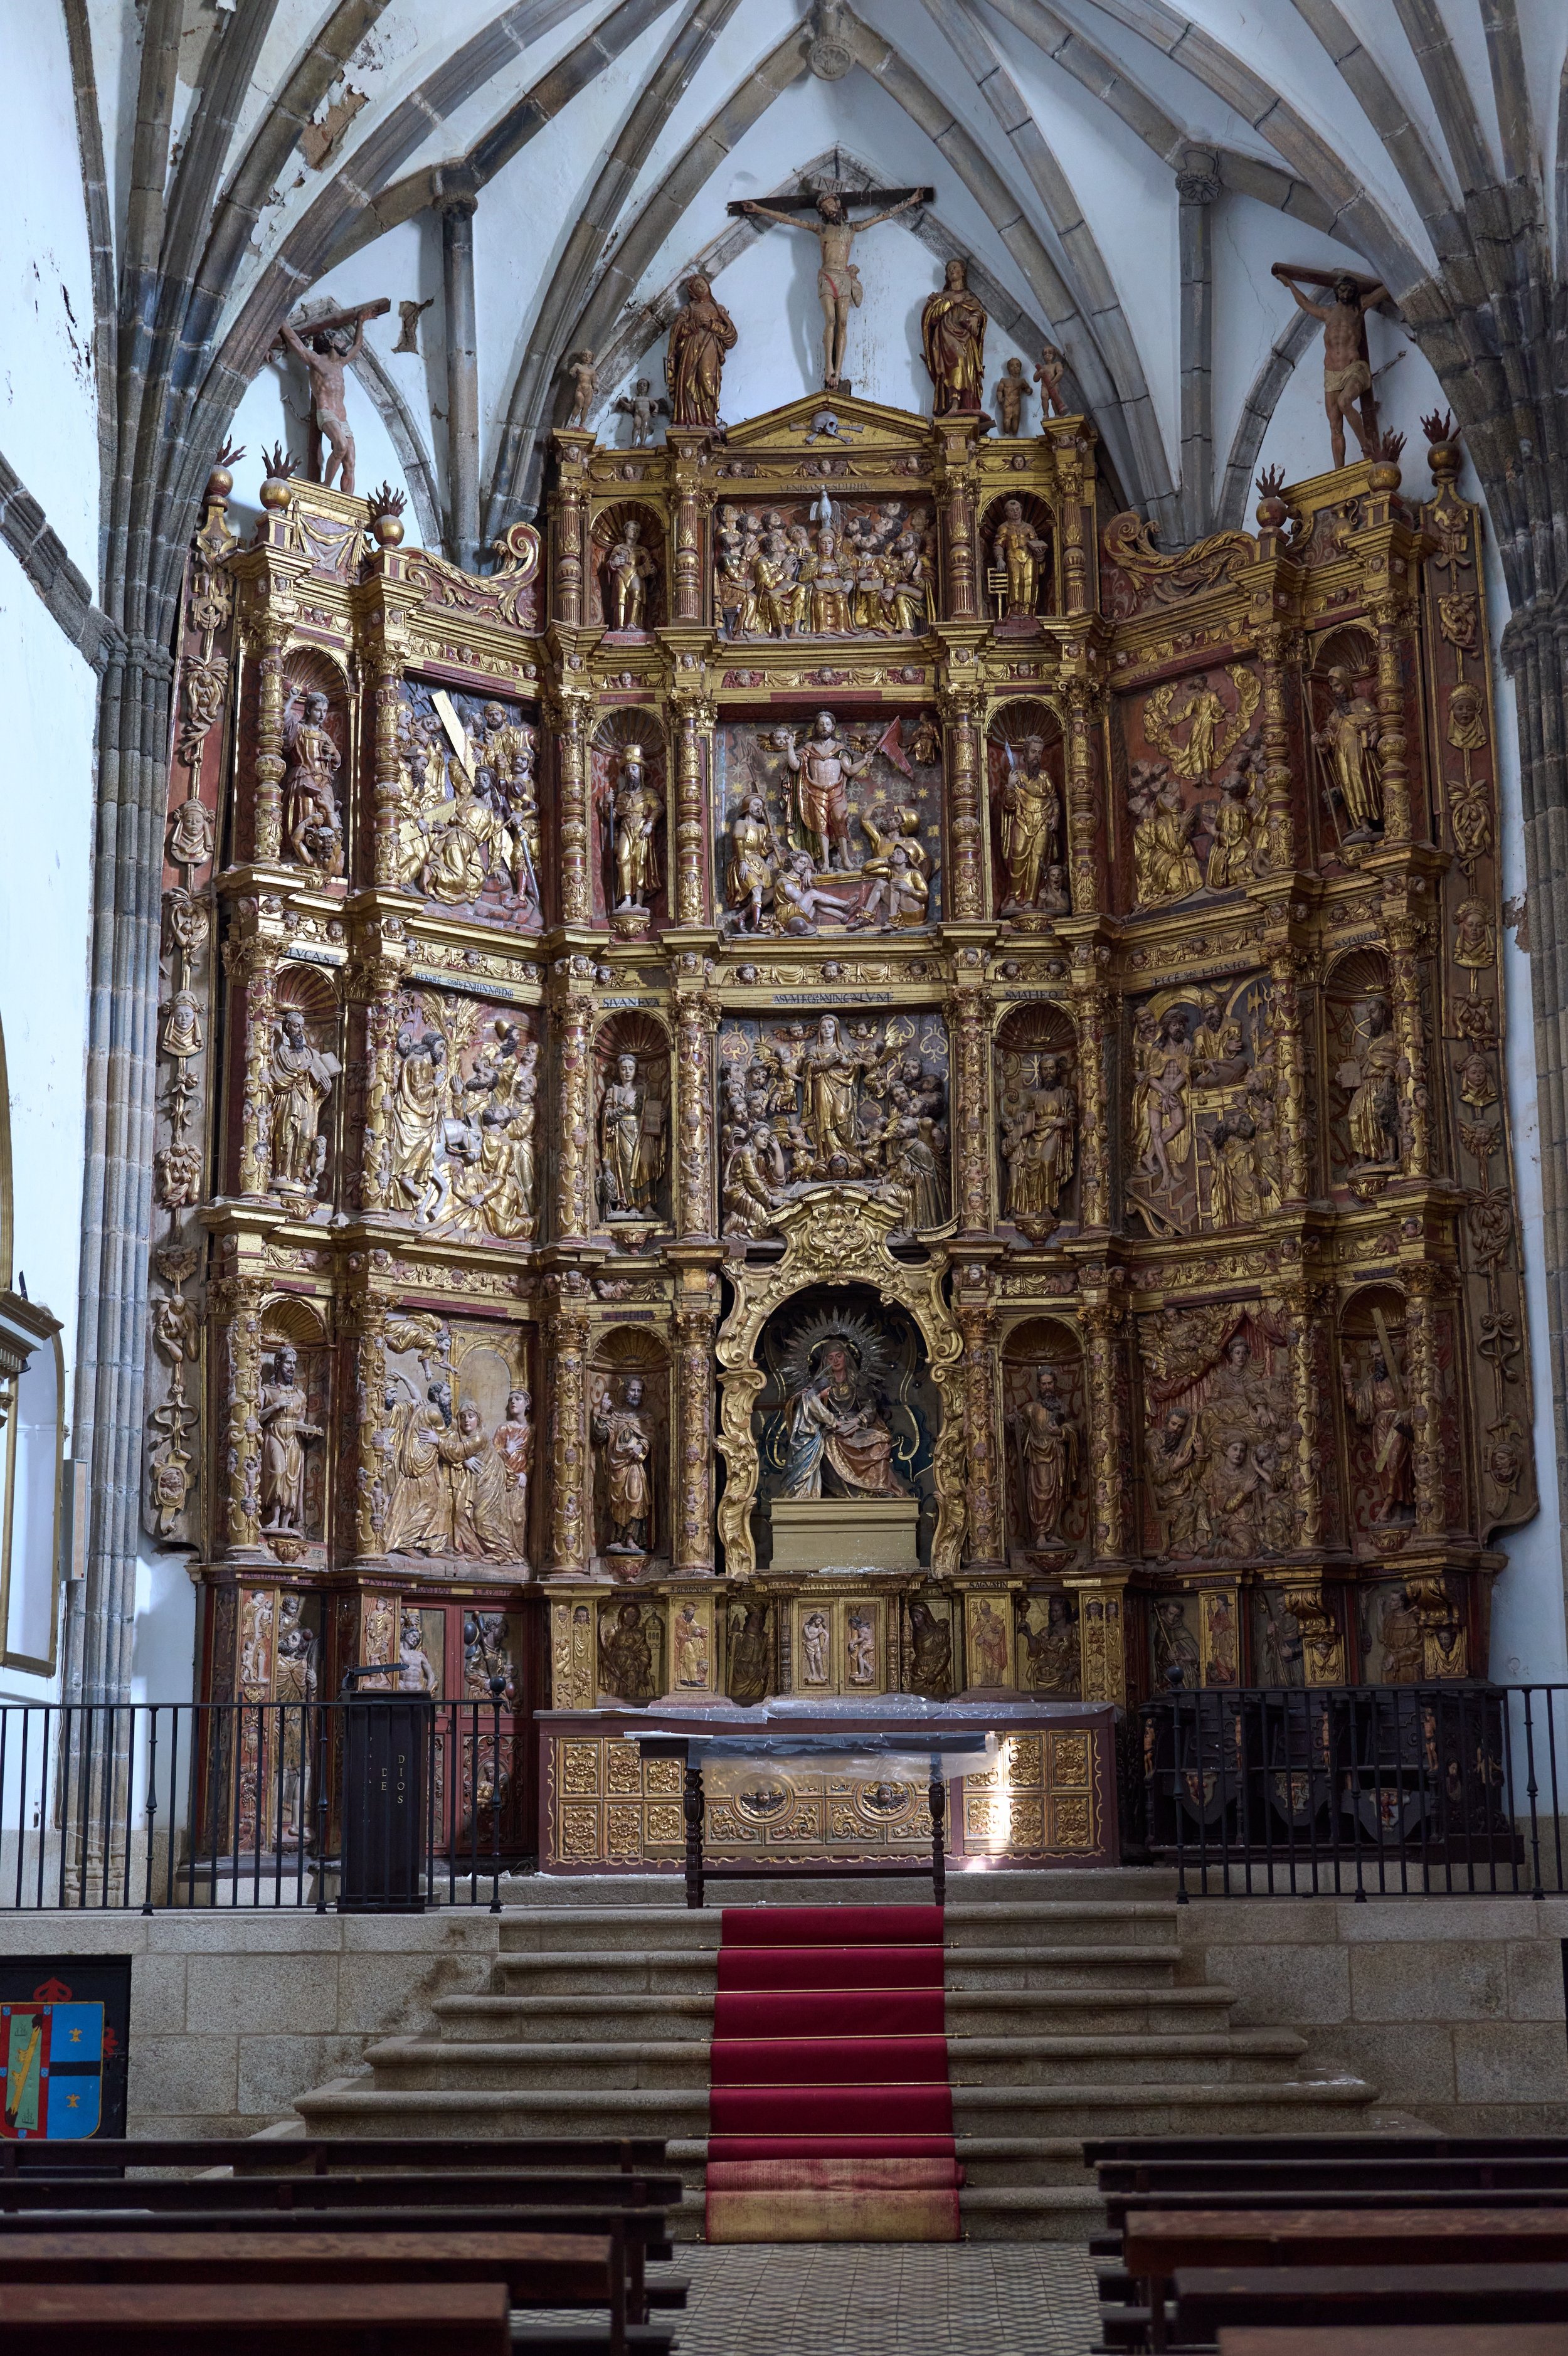
The observatory is located about 8km north of Fregenal de la Sierra, a small historic town in Badajoz, in Spain's Extremadura region. With a history that goes thousands of years back, the town shows influences from Romans, Moors, and the Knights Templar. Its old town centre was officially recognised as an Asset of Cultural Interest in 1991, and is one of the most important heritage sites in southern Badajoz. The standout landmark is the medieval Templar castle, built in the mid-13th century, with thick walls and seven towers. Unusually, it houses both an 18th-century bullring and a food market inside. Other landmark sites include churches with Renaissance and Mudéjar details, baroque convents, and last but not least the Shrine of the Virgin of Los Remedios. The latter is known for its annual pilgrimage that has been held since 1506. The main industries in town are cork production and the curing of Iberian pork, with tourism also playing a growing role. The fields around Fregenal de la Sierra are filled with oak trees and grazing black pigs underneath.
To travel to the site, you can fly into Sevilla and from there it is about a 2h drive north. Alternatively you can fly into Lisbon, Portugal and from there it is a little more than 3h drive east.
Conclusion
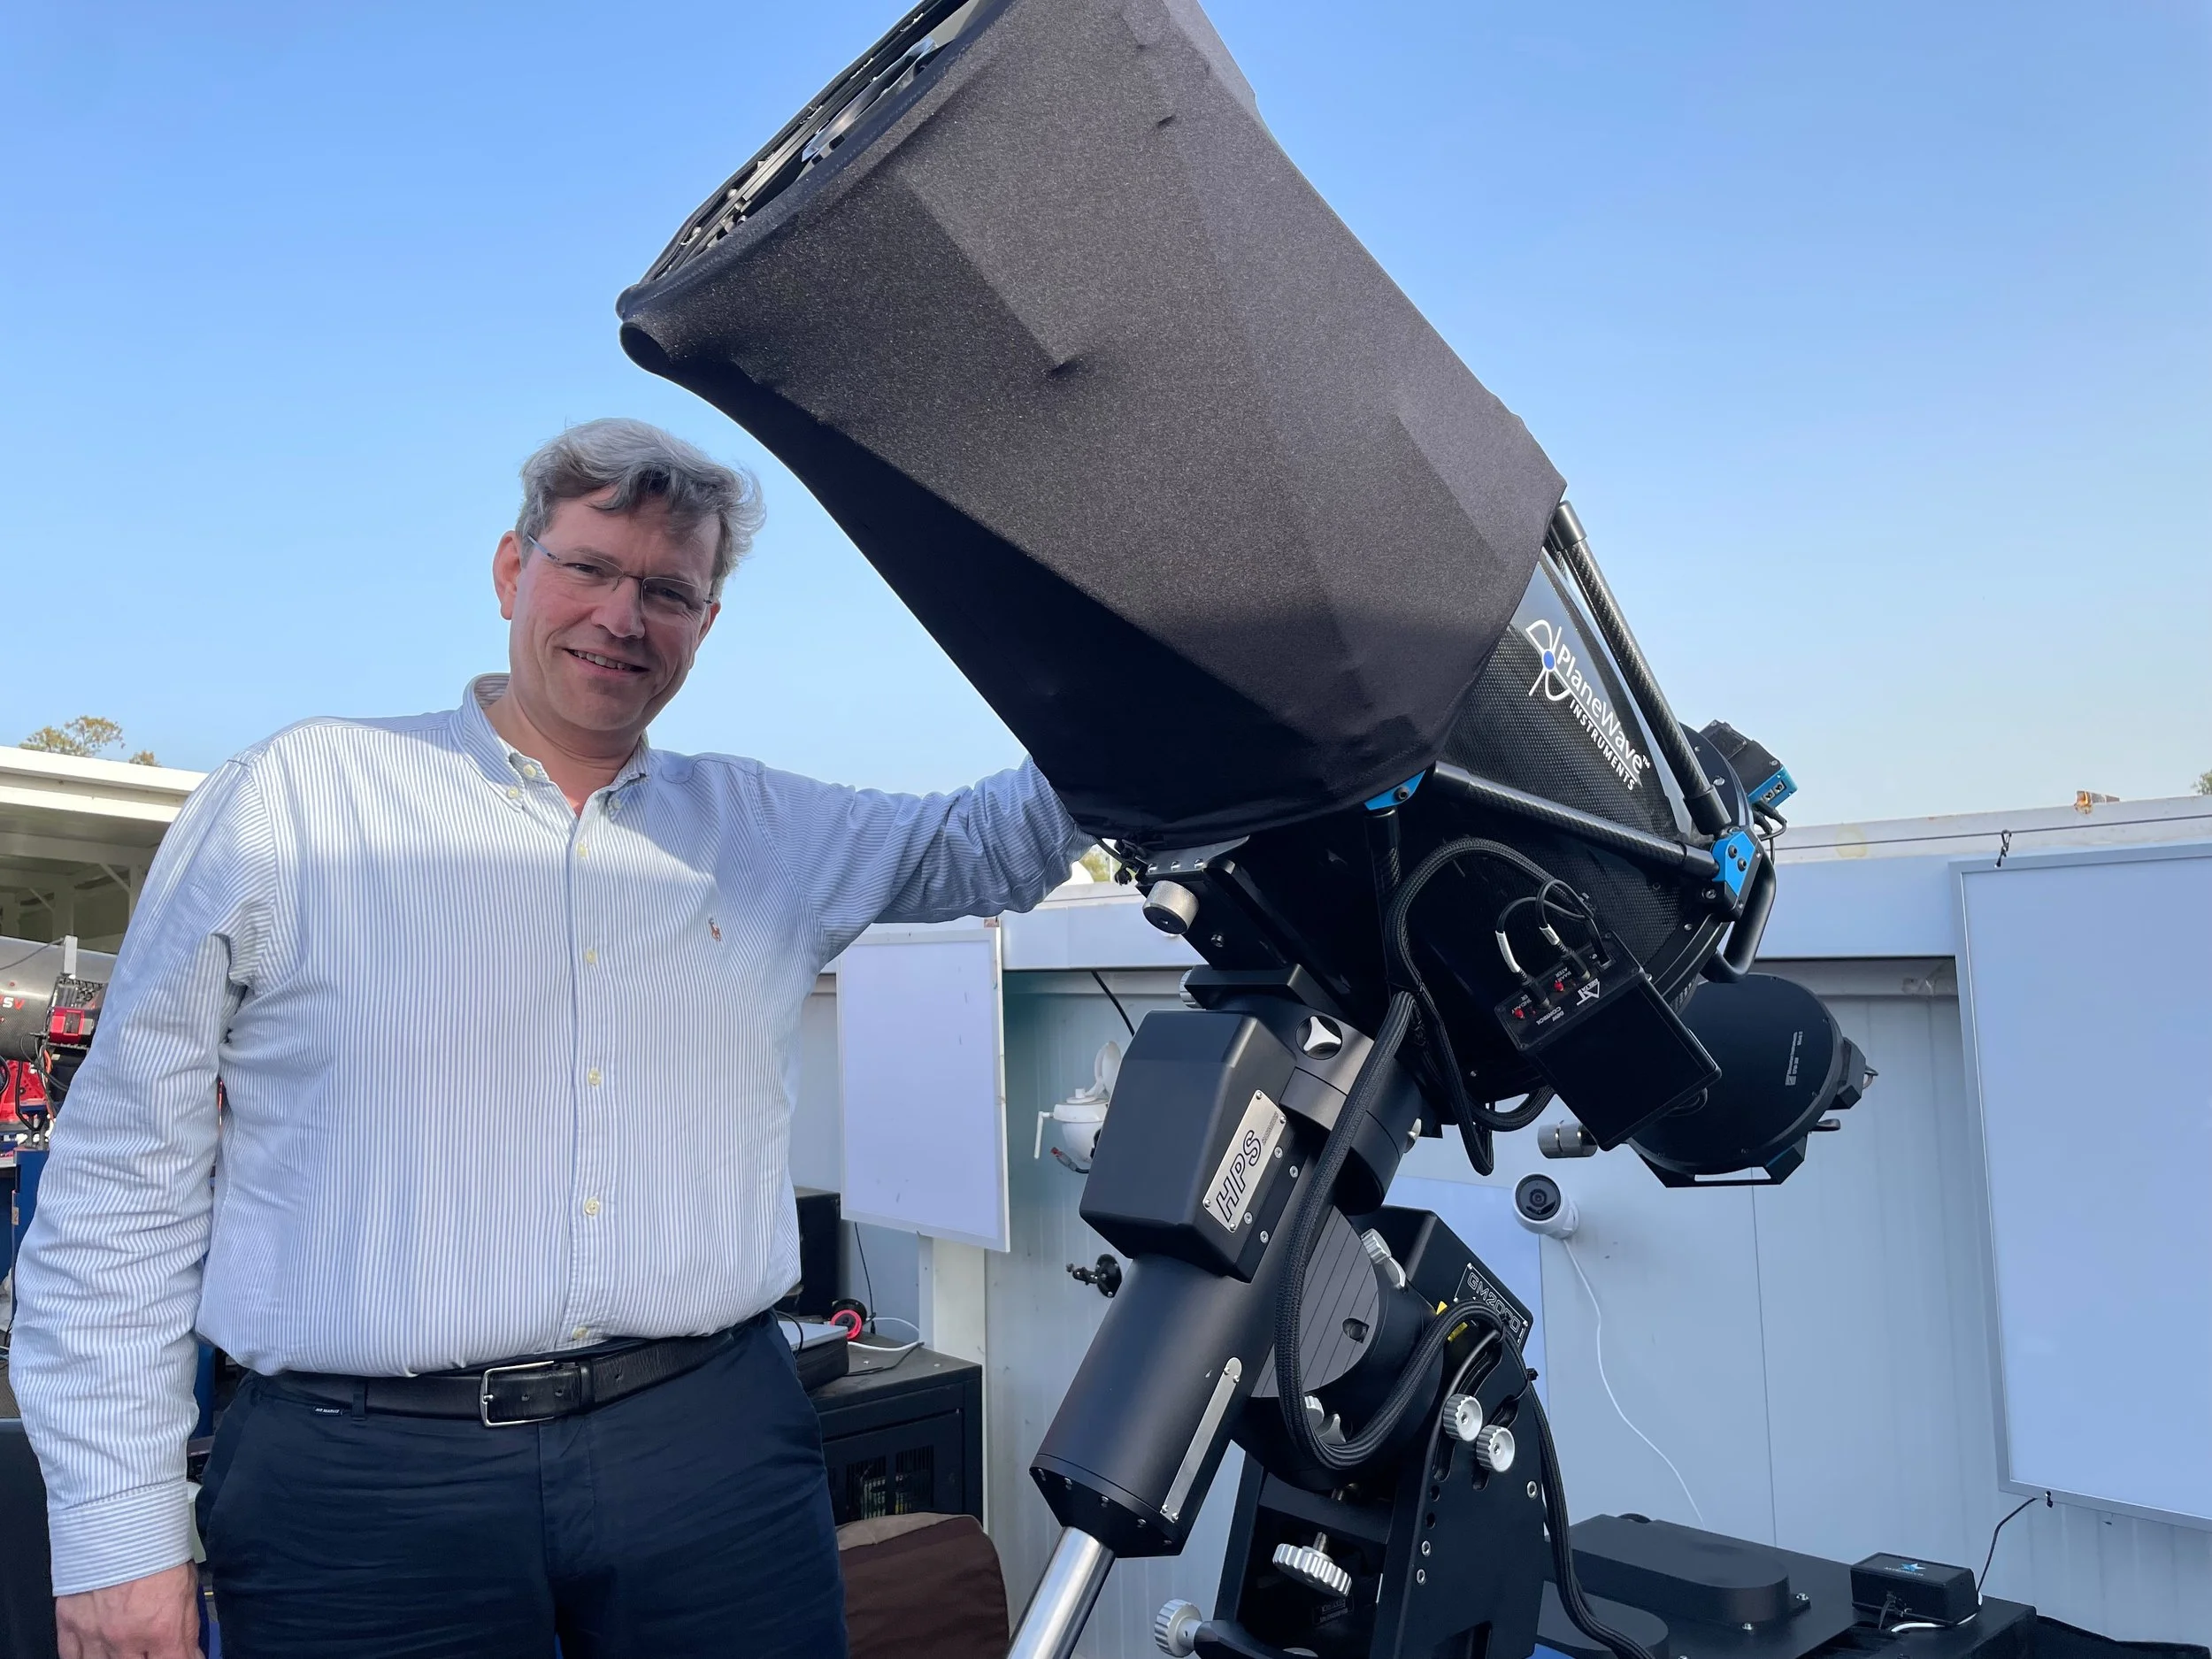
A lot had to be organised in a short time to move the telescope from the original hosting site in Eastern Spain to the new Roboscopes site in Western Spain. But the experience could not have been better. From a technical point of view it was less of a hassle than I originally thought. The small collimation error is something to be expected and with the expert help from Peter this was readily done. The telescope has found a very nice spot on pier 6 in the Roboscopes observatory. The pier is probably a bit more solid and there is a bit more clearance on the horizon as well. It was very enjoyable to spend some days with the Roboscopes team, and the e-Eye site is an amazing astro-park in the middle of rural Spain.
The system is now operational for a month and while I would have loved to have some more clear nights, everything is working as planned. I collected a new set of flats and still have to run a full 99 star mount model. But already with the small 12-star model I have very good tracking. The recently published images of M19 and M100 already include some data from the new site, and I am happy with the results.
Some people think that a remotely hosted rig takes away the pleasure of tinkering with the equipment. And to a point that is true. Having ‘tinkered’ with it for a few days was definitely a nice thing to do again. But I’m now also very happy to be fully operational remotely, with a PC that is controlling the rig 24/7 and collecting data whenever there is a bit of a clear sky.