
M16
M16, Eagle Nebula - Click here for full resolution
M16, also known as Eagle Nebula and Star Queen Nebula, is a young open cluster of stars in the constellation Serpens, discovered by Jean-Philippe de Cheseaux in 1745-46. Both the "Eagle" and the "Star Queen" refer to visual impressions of the dark silhouette near the center of the nebula, an area made famous as the "Pillars of Creation" imaged by the Hubble Space Telescope. The nebula contains several active star-forming gas and dust regions, including the aforementioned Pillars of Creation. The Eagle Nebula lies in the Sagittarius Arm of the Milky Way. The Eagle Nebula is part of a diffuse emission nebula, or HII region, which is catalogued as IC 4703. This region of active current star formation is about 5700 light-years distant.
source: Wikipedia
NGC/IC:
Other Names:
Object:
Constellation:
R.A.:
Dec:
Transit date:
Transit Alt:
NGC6611, IC4703
M16, Eagle Nebula, Star Queen Nebula, Pilars of Creation, Sh2-49
Star cluster in Emission nebula
Serpens
18h 20m 07s
-13º 46.46’
20 Jul
23º S
Conditions
The image was taken from a dark-site (Papenvoort, The Netherlands) during a star-party. At this time of year here in the Netherlands no astronomical darkness will occur at any point during the night. From midnight to about 2:30AM it is as dark as it gets. An SQM of 20.5 mag/arcsec2 was measured, which was actually pretty good. In my backyard, values like this are only seen during real dark nights.
M16 is a pure summer-target. With a Declination of -13 degrees, even in summer time it does not lift up very high above the horizon from my observation location. On the transit date, the maximum altitude is only 23 degrees. The weather was good, but the sky was not very clear just above the horizon. So overall the observation conditions were average. But since the window to photograph this target is so short, not too many options will present themselves.

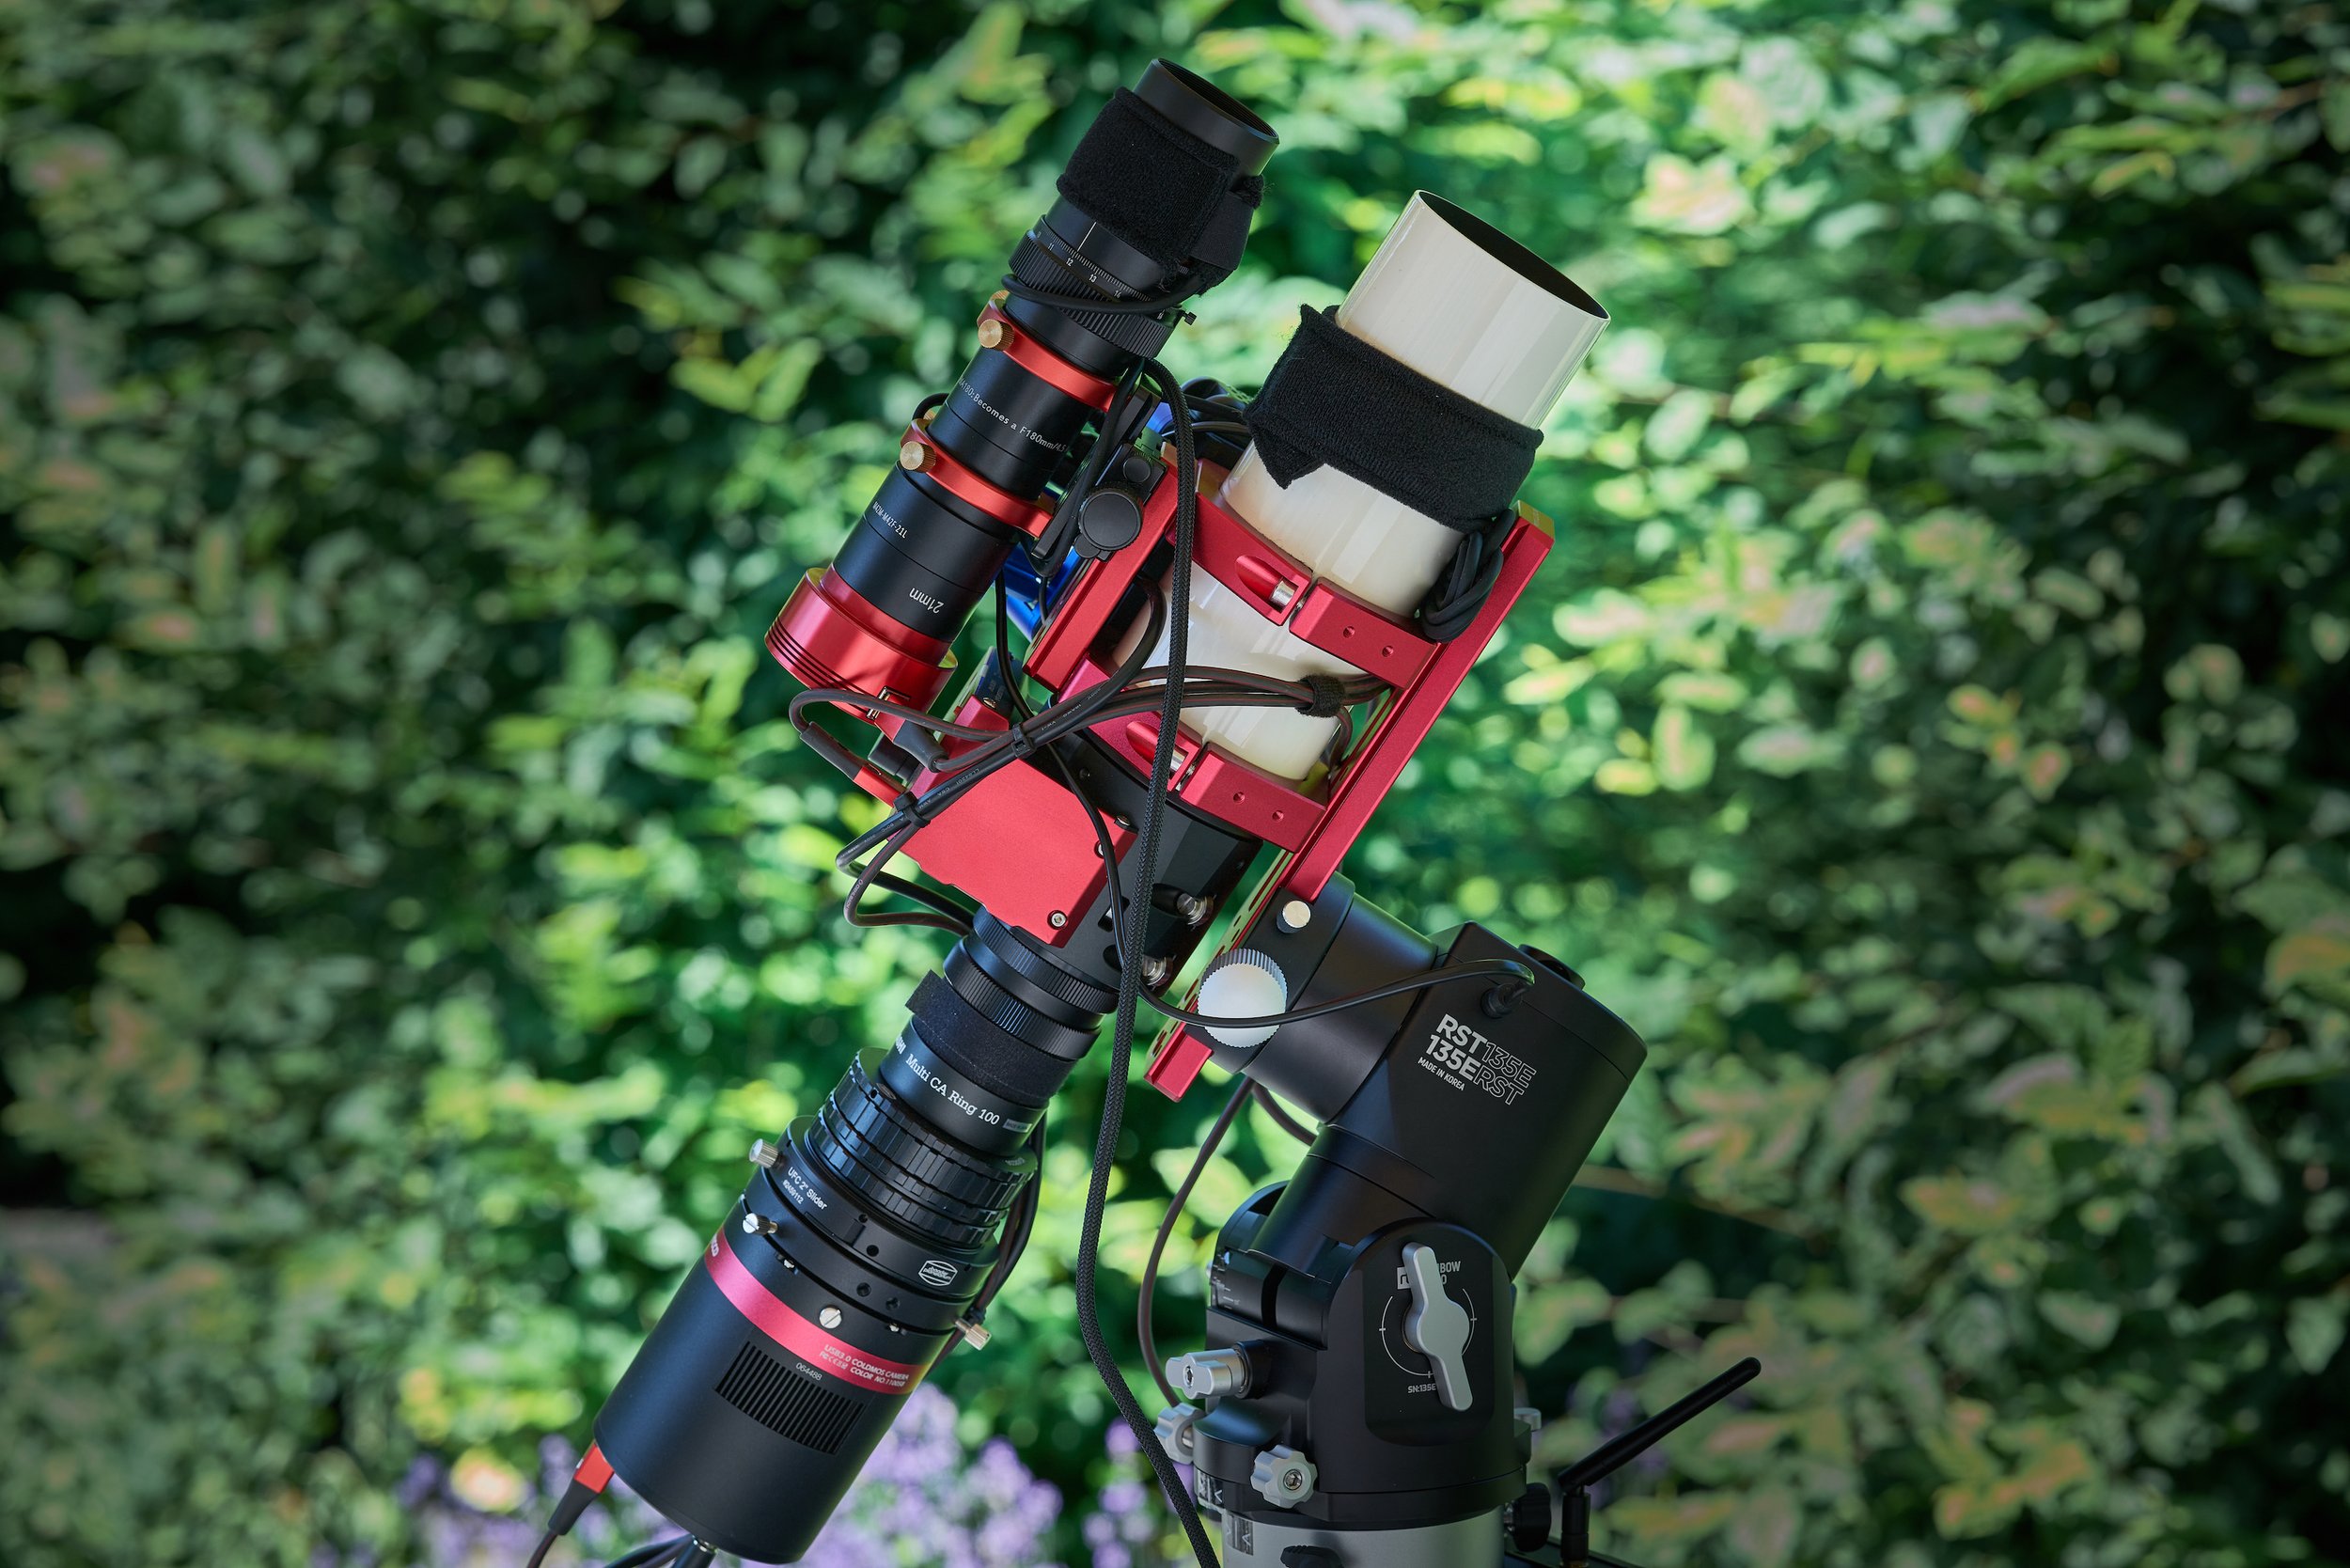
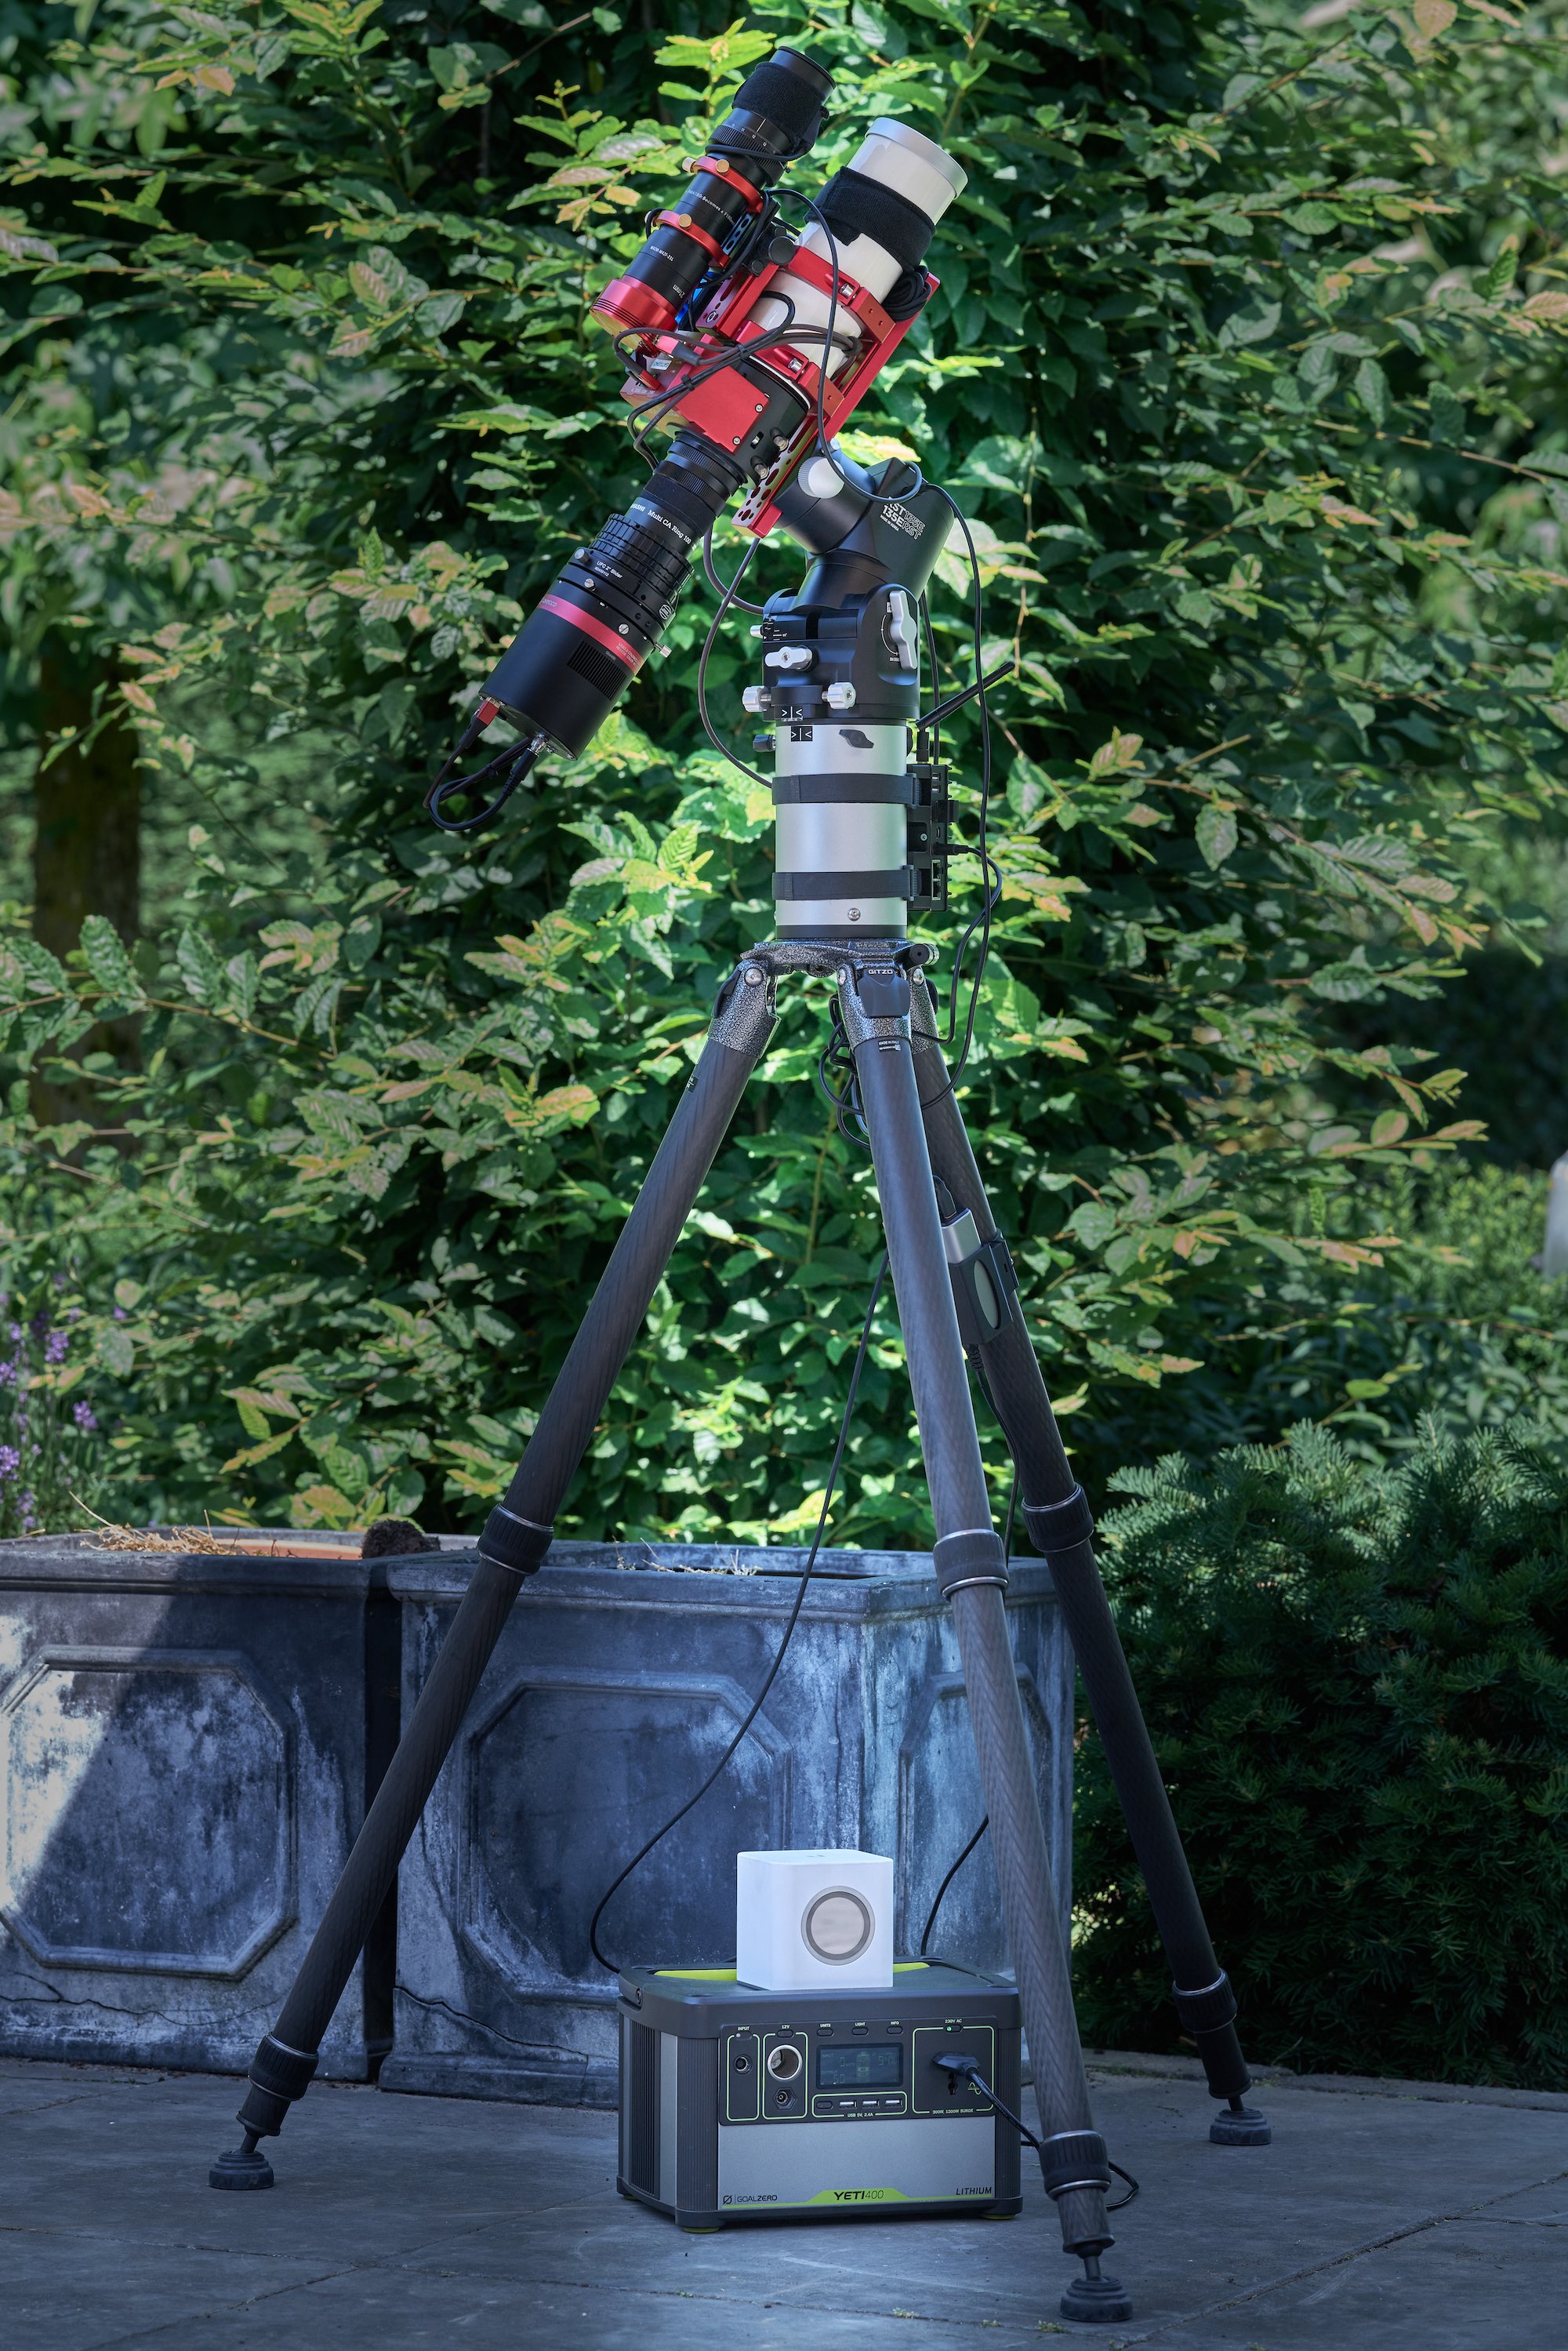
Equipment
The image was first light for a new travel setup that was built around the Takahashi FS-60CB refractor. Small scopes like this are popular these days and there are many options on the market. From the popular Redcat series to various options from the Askar/Sharpstar family and several more. Building it around a Takahashi refractor means very high quality optics. The optics are built in a modular system that is not limited to just a flattener, extender and reducer. Also the main 60mm objective can be replaced by a 76mm objective. So the system represents six telescopes in one, with focal lengths ranging from 255 to 954 mm. The mechanical side of these small Takahashi’s is usually not the most stable for some heavier cameras and needs some special attention. I decided to replace the stock focuser with a Primalucelab Esatto motorised focuser. Getting all the distances correct meant a typical puzzle with adapters and spacers and an order at PreciseParts to connect an M56/1 to an M56/0.75 adapter..
The night that this image was taken was first light for this rig. It is a major mistake to do a first light with a new rig when going to a star party of course. But the party was called together at the last minute, so no further time to prepare. Obviously there were the obligatory troubleshooting events. But overall the rig behaved better than expected and was a pleasure to use. In a separate blog I will describe the setup in more detail.
Telescope
Mount
Camera
Filters
Guiding
Accessoires
Software
Takahashi FS-60CB, 1.04x multi-flattener (370mm @ f/6.2), PrimaluceLab Esatto 2”
Rainbow Astro RST-135E, Gitzo GT5533S tripod
QHY268C, cooled to -15 ºC
Astronomik L3, 2” mounted, Baader filter drawer
Askar FMA180 with reducer (180mm @ f/4.5), ZWO ASI290MM
Fitlet2, Linux Mint 20.04, Pegasus Powerbox Advance
KStars/Ekos 3.6.3, INDI Library 2.0.0, PixInsight 1.8.9-1
Imaging
First light with any scope is always a bit of a trouble shooting event. Nothing new here. But most of the issues were not related to the new telescope. Some voltage drops resulting in intermittent camera connection (see this blog), getting the guiding to work again after not having used it for a while, a software update that should have been done, etc. The rig itself behaved perfectly. The focuser worked well, images were nice and sharp, guiding was very tight, etc. Unfortunately if you only have a little more than 2h to play with, some trial and error eats into available time pretty quickly. On top of that I tried to image M4 as well, but that was way too low on the horizon and obscured by low hanging clouds. So finally ended up with half an hour of data on the Eagle Nebula. Probably one of the shortest exposures I’ve ever done. The results of such a short exposure give high expectations for a decent 5h+ exposure.
Resolution
Focal length
Pixel size
Resolution
Field of View
Rotation
Image center
3944 × 2652 px (10.5 MP)
370 mm @ f/6.2
3.76 µm
2.09 arcsec/px
2º 17’ x 1º 32’
17.1 degrees
RA: 18º 22’ -1.243”
Dec: -14º 01’ 55.14”
Processing
All frames were calibrated, debayered, registered and stacked using the WeightedBatchPreProcessing (WBPP) script. For calibration 50 Darks were used. No flats were available. The RGB output of the WBPP script was used for further processing. This involved some relatively standard steps of DynamicBackgroundExtraction, color calibration with the SpectroPhotometricColorCalibration, followed by a quick deconvolution with BlurXTerminator (BXT). The image shows a very dense star presence, and tightening the stars up with BXT makes a lot of difference.
The backfocus had not been properly calibrated and some elongated stars were visible in the corners. A crop was necessary anyway to frame the target better. In this case it helped solve the bad backfocus issue as well. The following day the backfocus was exactly dialed in, leading to pinpoint stars all the way into the corner of this APS-C sensor.
After stretching the image with GeneralisedHyperbolicStretch (GHS), some cosmetic improvements were made by reducing a bit of green cast, enhancing the structure using LocalHistogramEqualization and reduce noise with NoiseXTerminator. In the final image there were quite a number of distracting color blips visible. Adam Block describes in his Horizons program of PixInsight training a method to remove those blips effectively. This method was used for both blue and red blips. Finally some colour saturation and contrast were enhanced using CurvesTransformation.
Processing workflow (click to enlarge)
This image has been published on Astrobin.