
Sh2-135
47’ x 31’ | 0.3”/px | 9422 × 6297 px | full resolution
Cepheus
RA 22h 21m Dec +58° 43’ | 0°


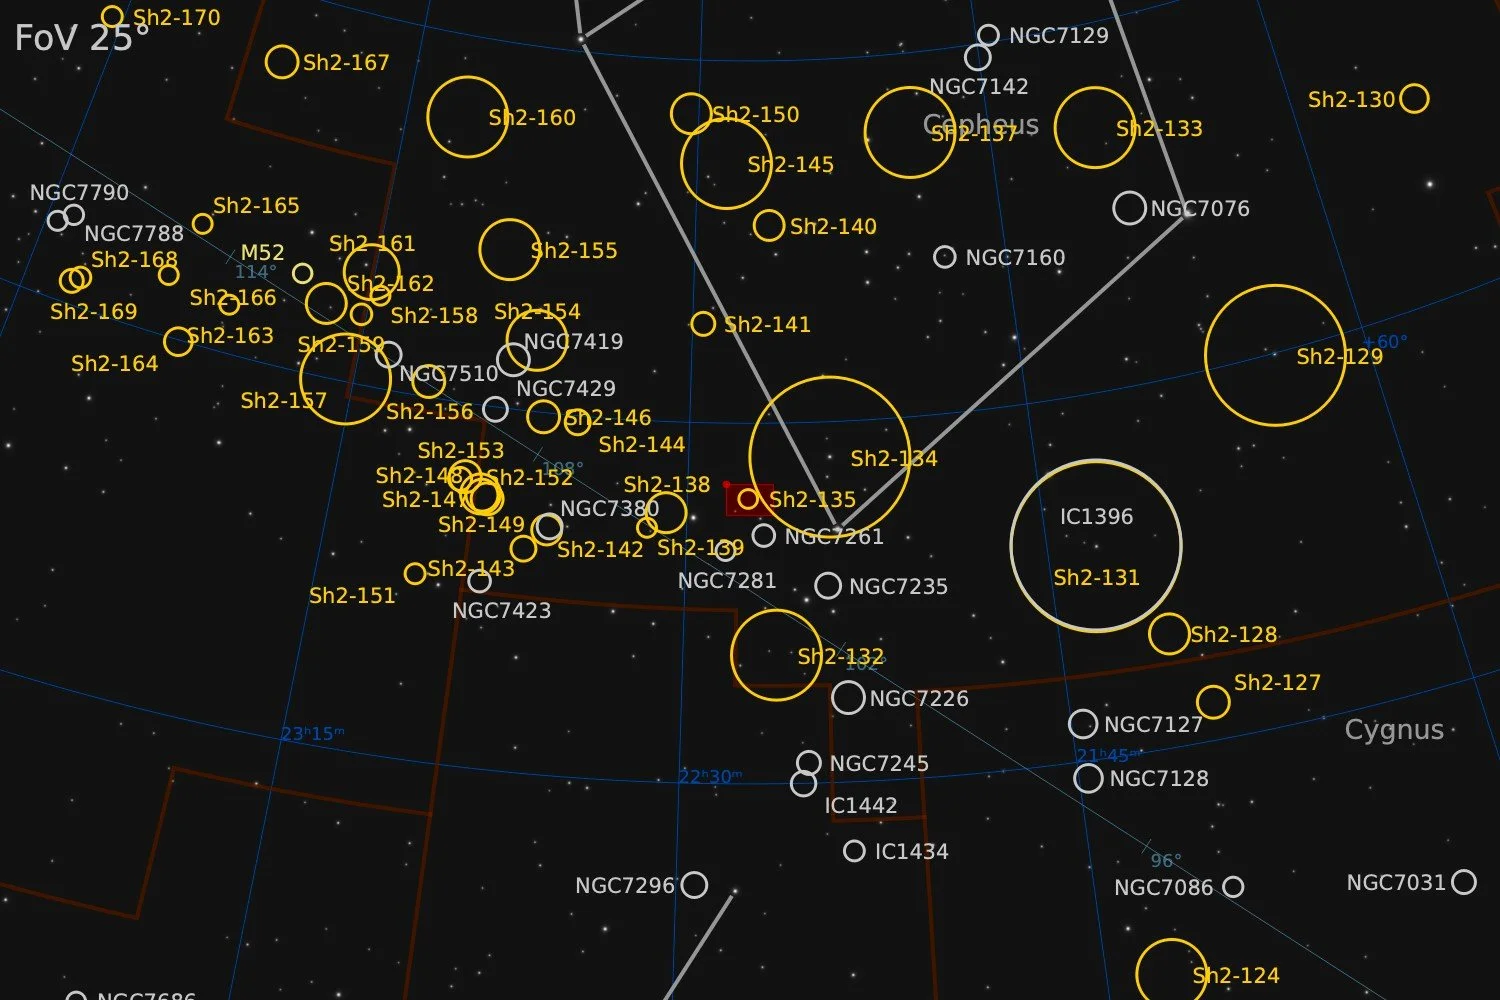
Sharpless 2-135 is a faint emission nebula located in the constellation Cepheus, approximately 4,500 light-years from Earth. It belongs to the Sharpless Catalog, a well-known list of H II regions compiled by astronomer Stewart Sharpless. This nebula is an ionized hydrogen (H II) region, glowing due to the intense ultraviolet radiation emitted by nearby young, massive stars. Sh2-135 is part of a larger star-forming complex and contains embedded young stellar objects and protostars, indicating ongoing stellar birth. The nebula appears as a diffuse, reddish cloud, though it is relatively faint compared to neighboring nebulae such as the Bubble Nebula (NGC 7635). It lies in a region rich with other notable nebulae, including Sh2-136 (the "Ghost Nebula") and Sh2-137.
source: DeepSeek
Data Acquisition
Data was collected over 8 nights in July 2025, using a 14” reflector telescope with full-frame camera at the remote observatory in Spain. Data was gathered using both standard RGB filters and a 3nm Ha filter. Test images with OIII and SII narrowband filters revealed either no (OIII) or very weak (SII) signal and no further imaging with these filters was pursued. A total of approximately 20 hours of data was finally combined to create the final image.
Location Remote hosting facility IC Astronomy in Oria, Spain (37°N 2°W)
Sessions
Frames
Equipment
Telescope
Mount
Camera
Filters
Guiding
Accessoires
Software
Planewave CDK14 (2563mm @ f/7.2), Optec Gemini Rotating focuser
10Micron GM2000HPS, custom pier
Moravian C3-61000 Pro (full frame), cooled to -10 ºC
Chroma 2” RGB and Ha (3nm) unmounted, Moravian filterwheel L, 7-position
Unguided
Compulab Tensor I-22, Dragonfly, Pegasus Ultimate Powerbox v2
Voyager Advanced, Viking, Mountwizzard4, Astroplanner, PixInsight 1.9.3
Processing
All processing was done in Pixsinsight unless stated otherwise. Default features were enhanced using scripts and tools from RC-Astro, SetiAstro, GraXpert, CosmicPhotons and others. Images were calibrated using 50 Darks, 50 Flats, and 50 Flat-Darks, registered and integrated using WeightedBatchPreProcessing (WBPP). The processing workflow diagram below outlines the steps taken to create the final image.
It turned out that the MARS database contained all the required information for this image, so background correction was performed using MGC. For the Ha image, this required a gradient scale of 4096, whereas the RGB images could be properly corrected using a gradient scale of 2048. For such nebula-rich images, a tool like MGC has great advantages over area agnostic tools such as GraXpert or DBE.
Adding Ha nebula to RGB image using NBColourMapper
In contrast to the continuum subtraction method for galaxies, adding Ha nebula data to an otherwise RGB image works a bit differently. The Ha is by far the dominant colour and structure, rather than some subtle small elements in the galaxy arms. There are different approaches to do this, and many use some kind of PixelMath formula. For this image, I applied a method using NBColourMapper. The advantage of this method is that you have a lot of control over the final colour of the image and by saving these settings, future images can be processed to very similar colour results. The steps to go about are as follows.
Process both RGB and Ha images to stretched starless images.
Load the RGB image into the NBColourMapper tool as the base layer ‘0’
Load the Ha image as a separate layer.
Apply the desired hue and saturation for the Ha layer. In this case this was hue 3 and saturation 0.85
Adjust midpoint, black point and highlight to taste (here midpoint was pushed down a bit and black point lifted a bit)
Execute the script. This will create a new image. I have not found a method where it will replace the RGB image
Adjust brightness/saturation to taste using CurvesTransformation
When applying an S-curve to add contrast, be aware of the very different results obtained by working on the RGB/K (1) channel vs the Lightness (2) channel.
When adjusting the final colour and contrast of the image, be mindful of the difference between RGB/K and the Lightness (CIE *L component). The former changes the saturation as well as luminance at the same time. The result can be an unnatural looking highly saturated fiery red image that is not always pleasant to look at. By just changing the lightness (and leaving hue and saturation untouched), saturation fall-off follows a more pleasing pattern, leading to more subtle colours and a lot more detail and depth. From here you can increase/reduce saturation to your taste, but the starting point is a better one. See for a direct comparison the images below.
When adding contrast to an Ha-image by applying an S-curve, be aware of the differences between the RGB/K and the Lightness channels. The former quickly leads to an over-saturated image and lost detail, while the latter keeps a lot more of the detail and overall has a more pleasing look.
The rest of the processing workflow followed standard pretty procedures.
Processing workflow (click to enlarge)
This image has been published on Astrobin.