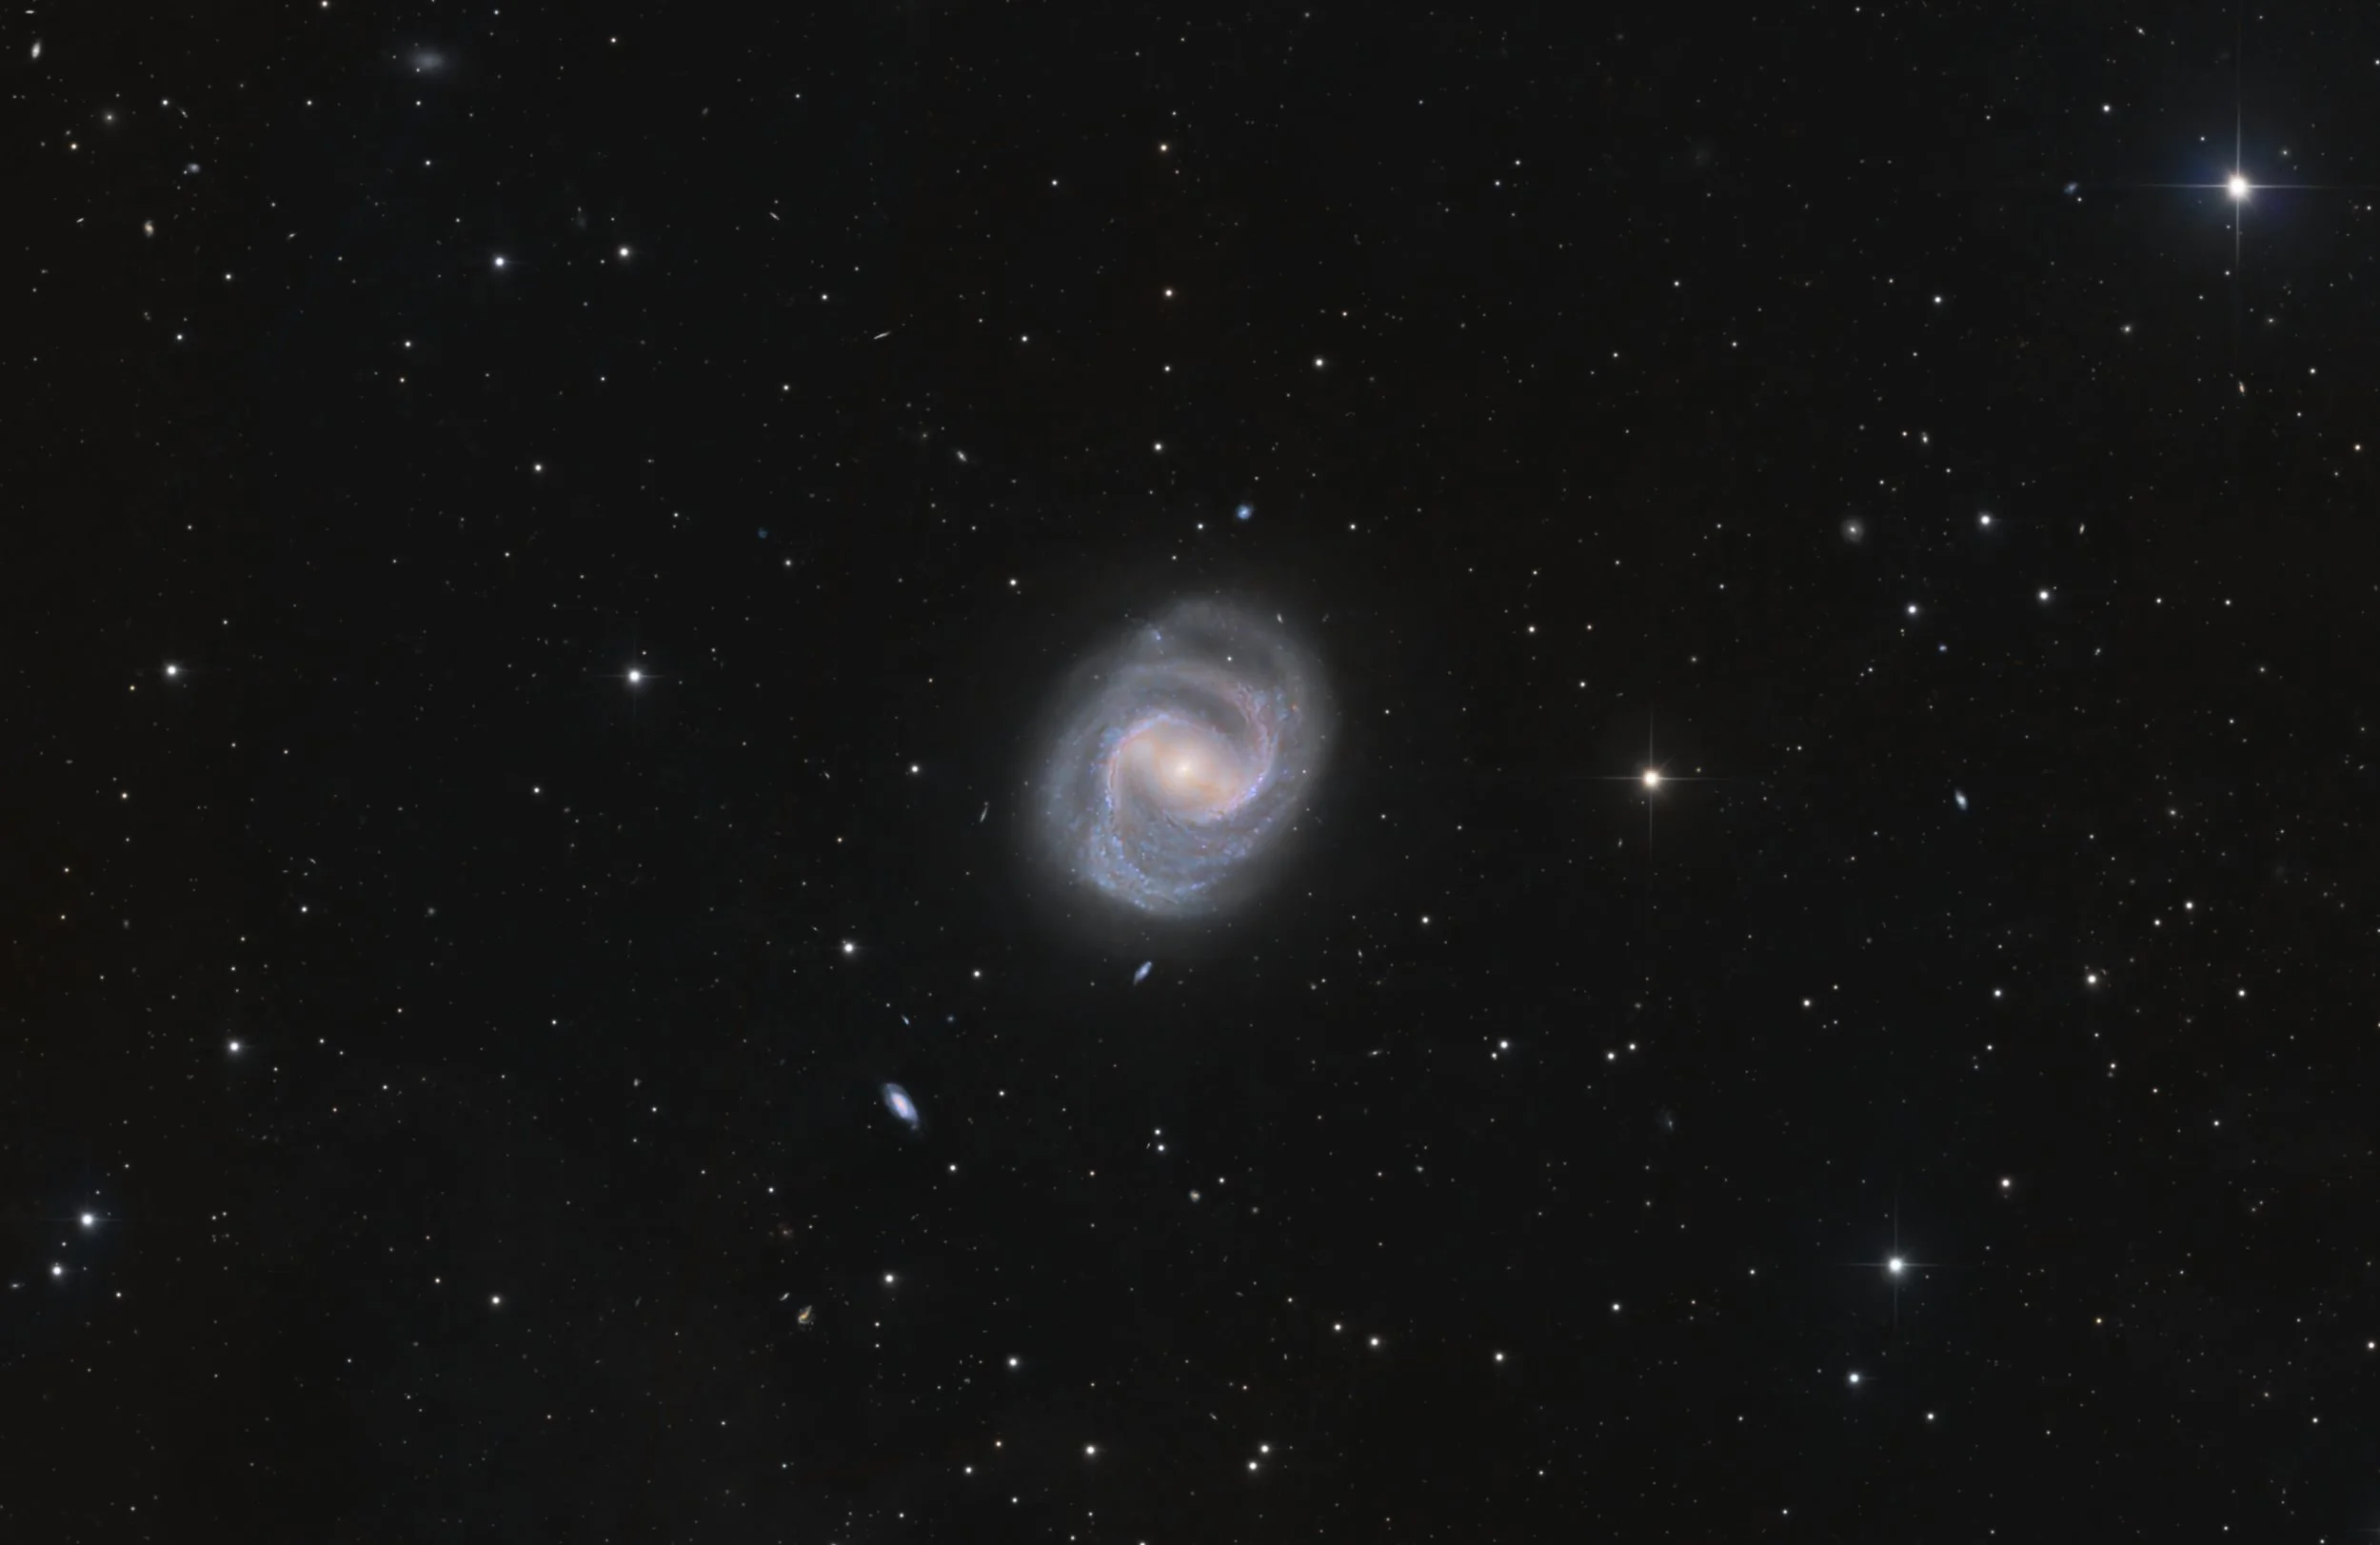
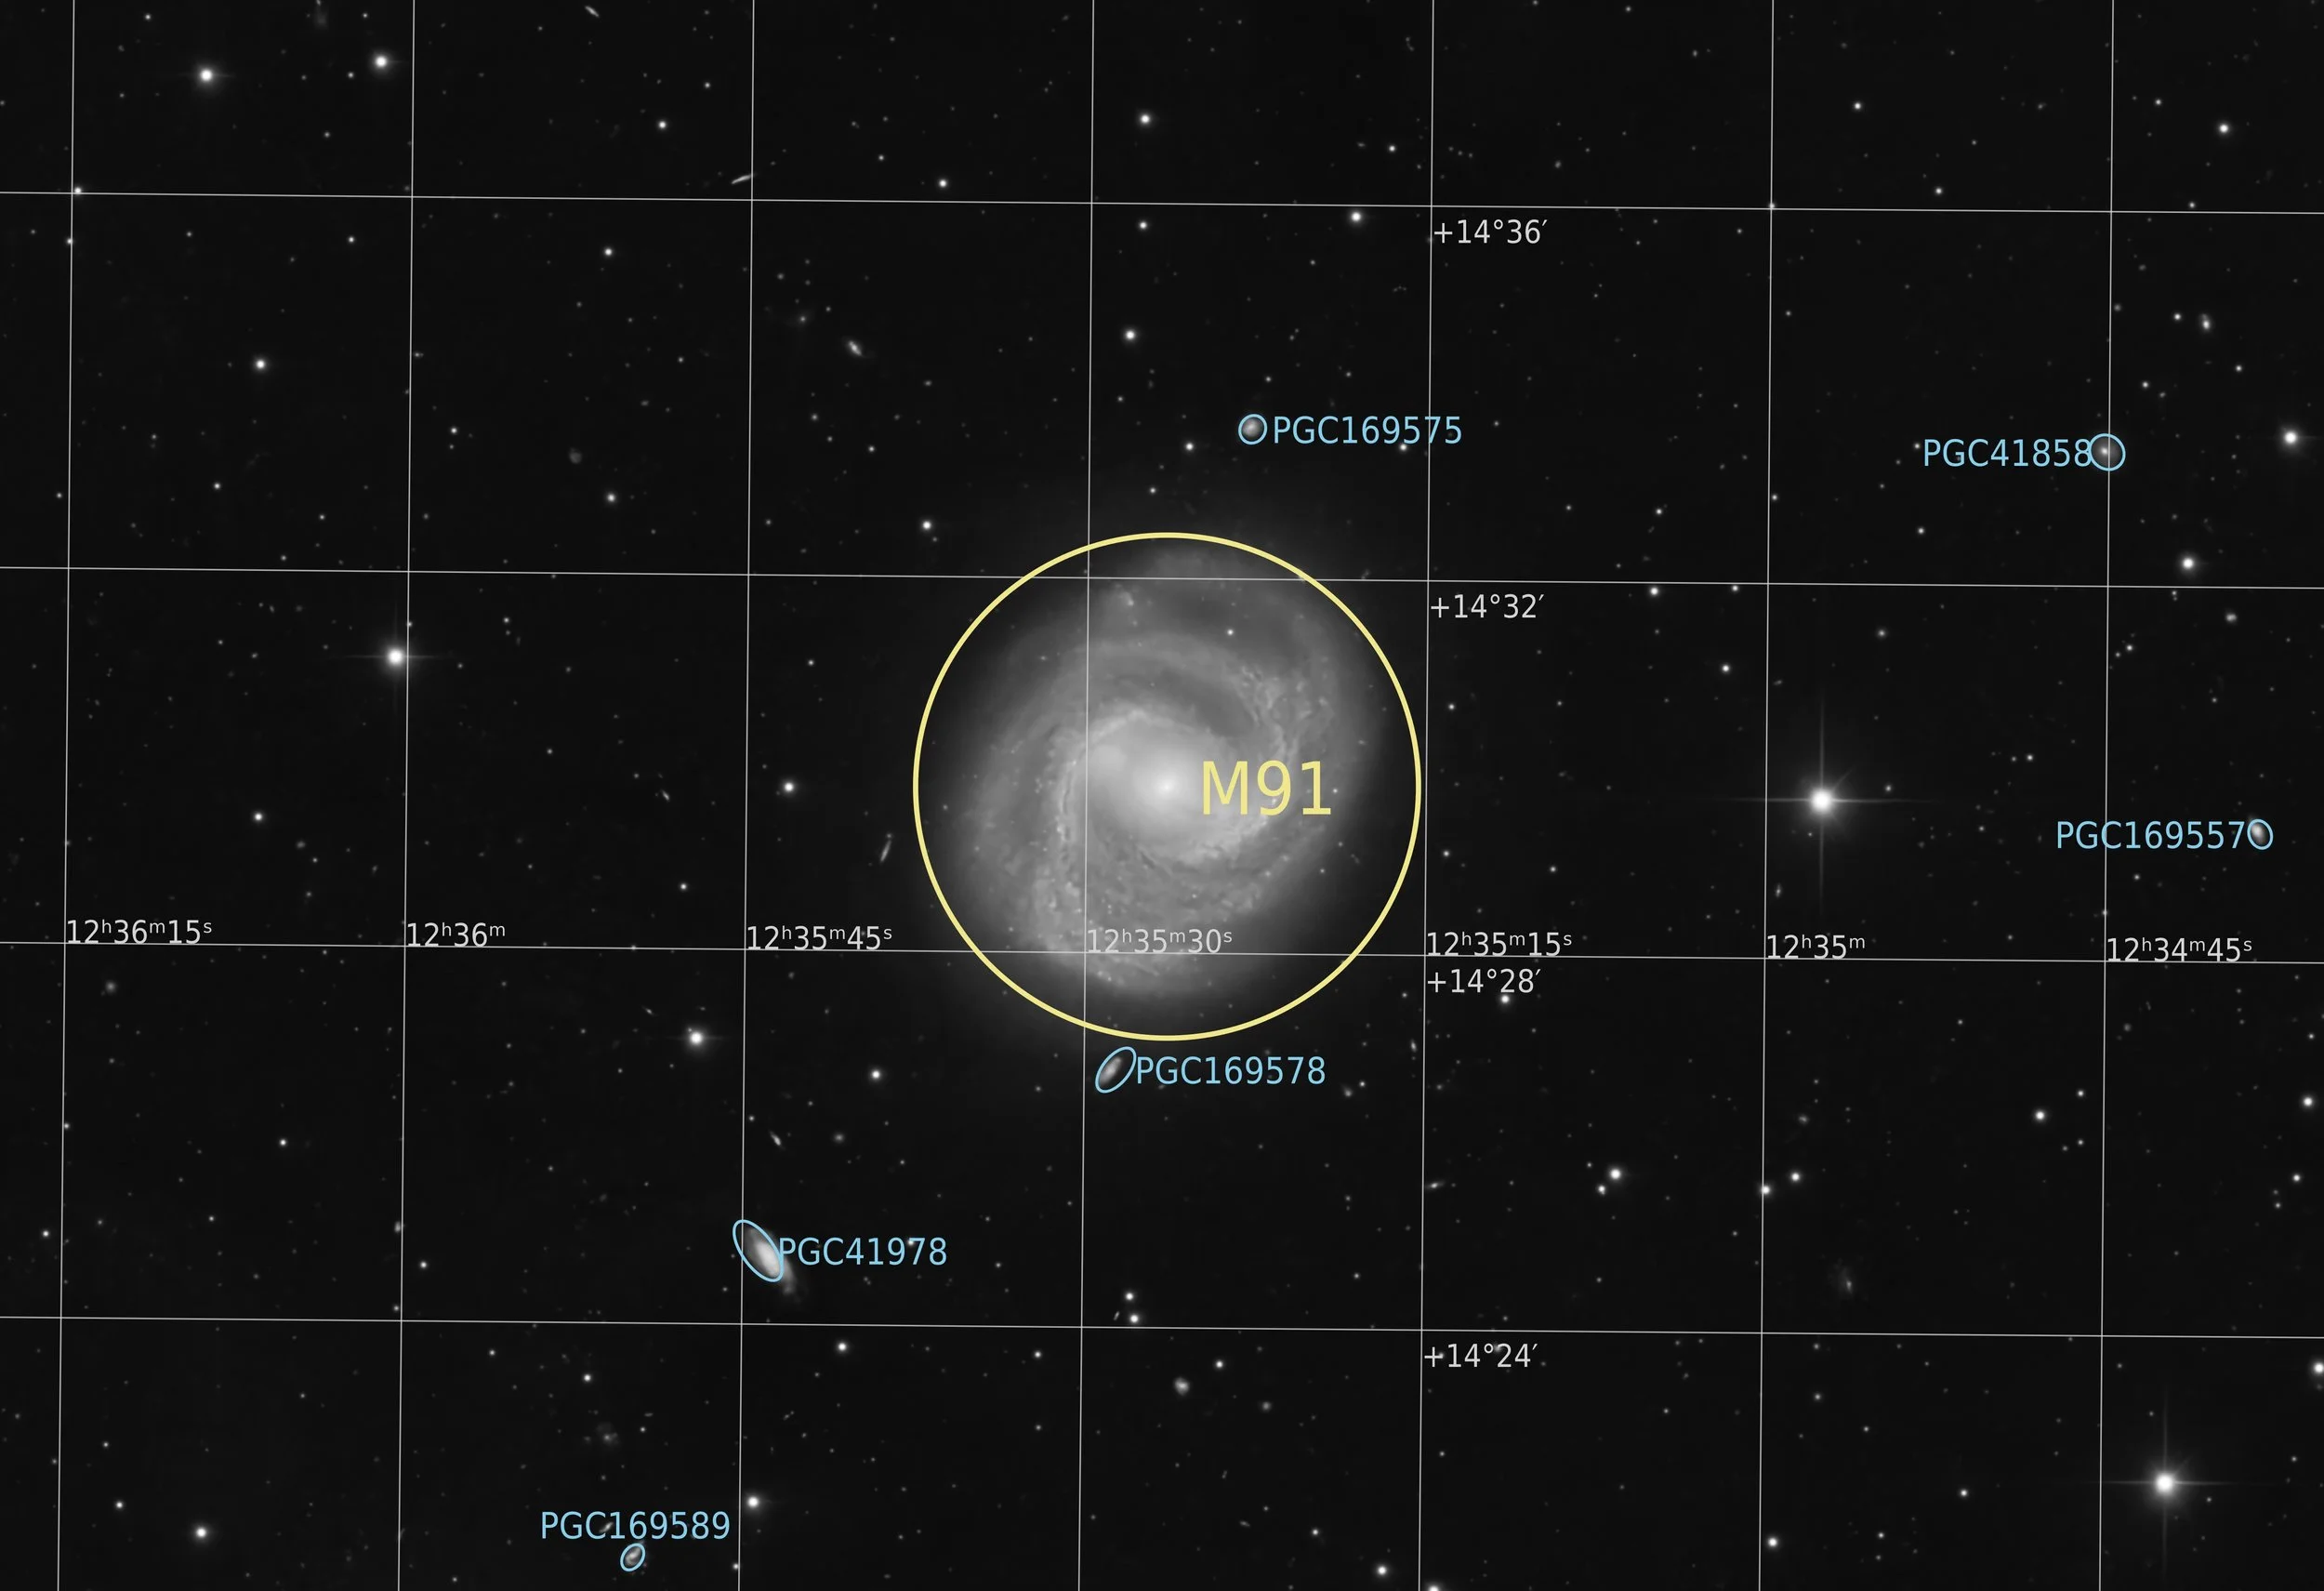
M91
NGC 4548
25’ x 17’ | 0.3”/px | 4936 × 3378 px
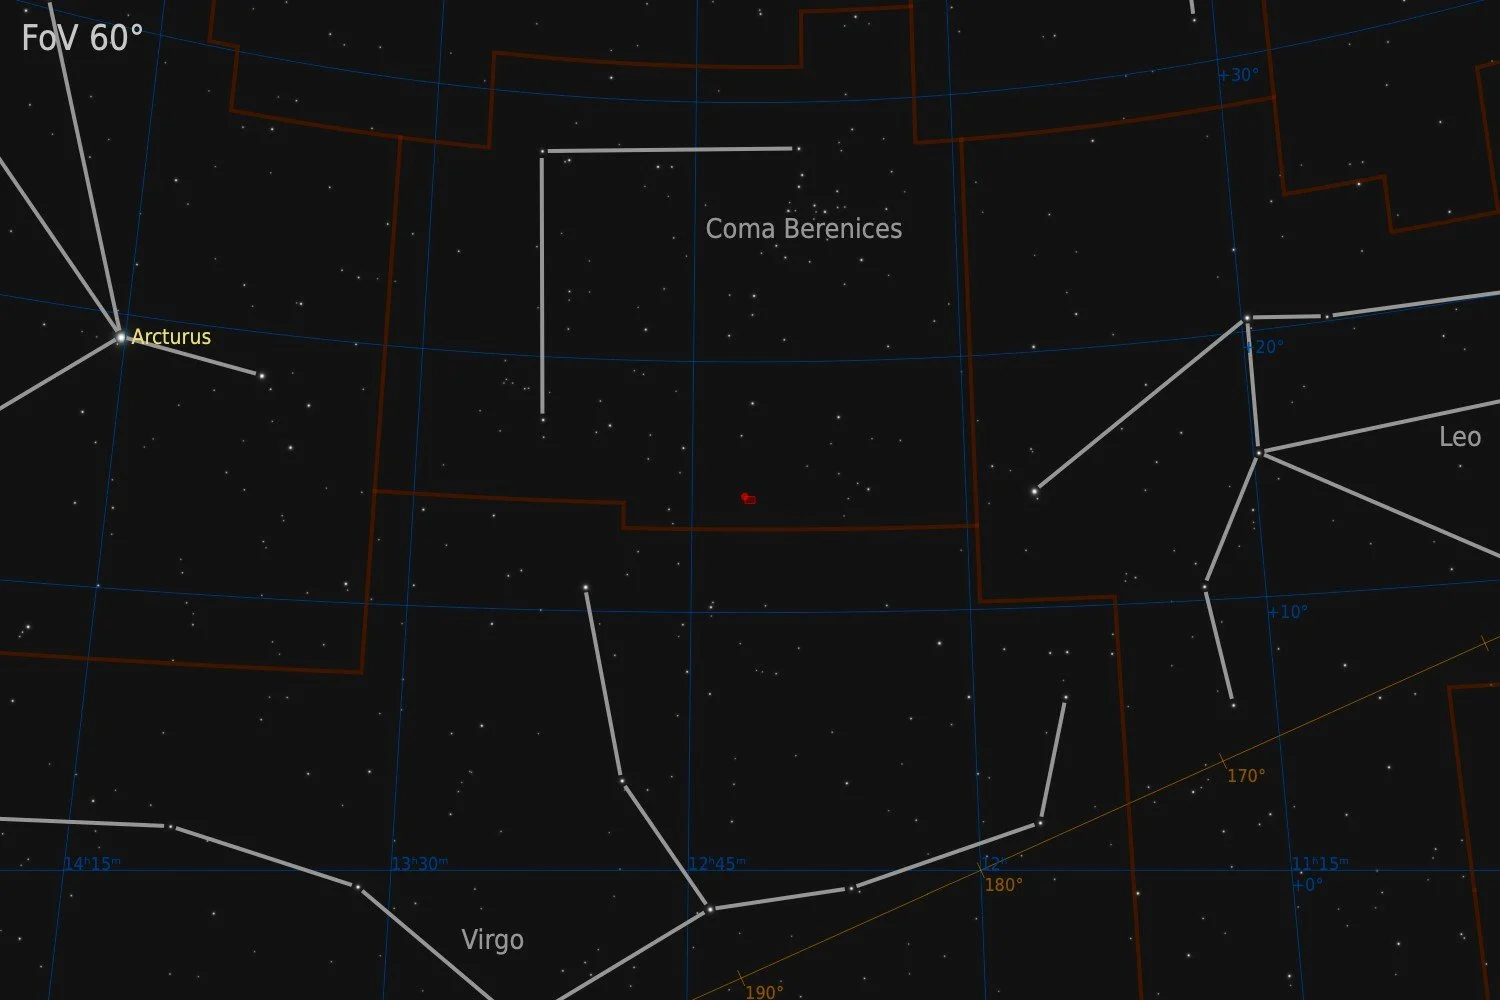
Coma Berenices
RA 12h 35m 26s Dec +14° 29’ 41” | 0°
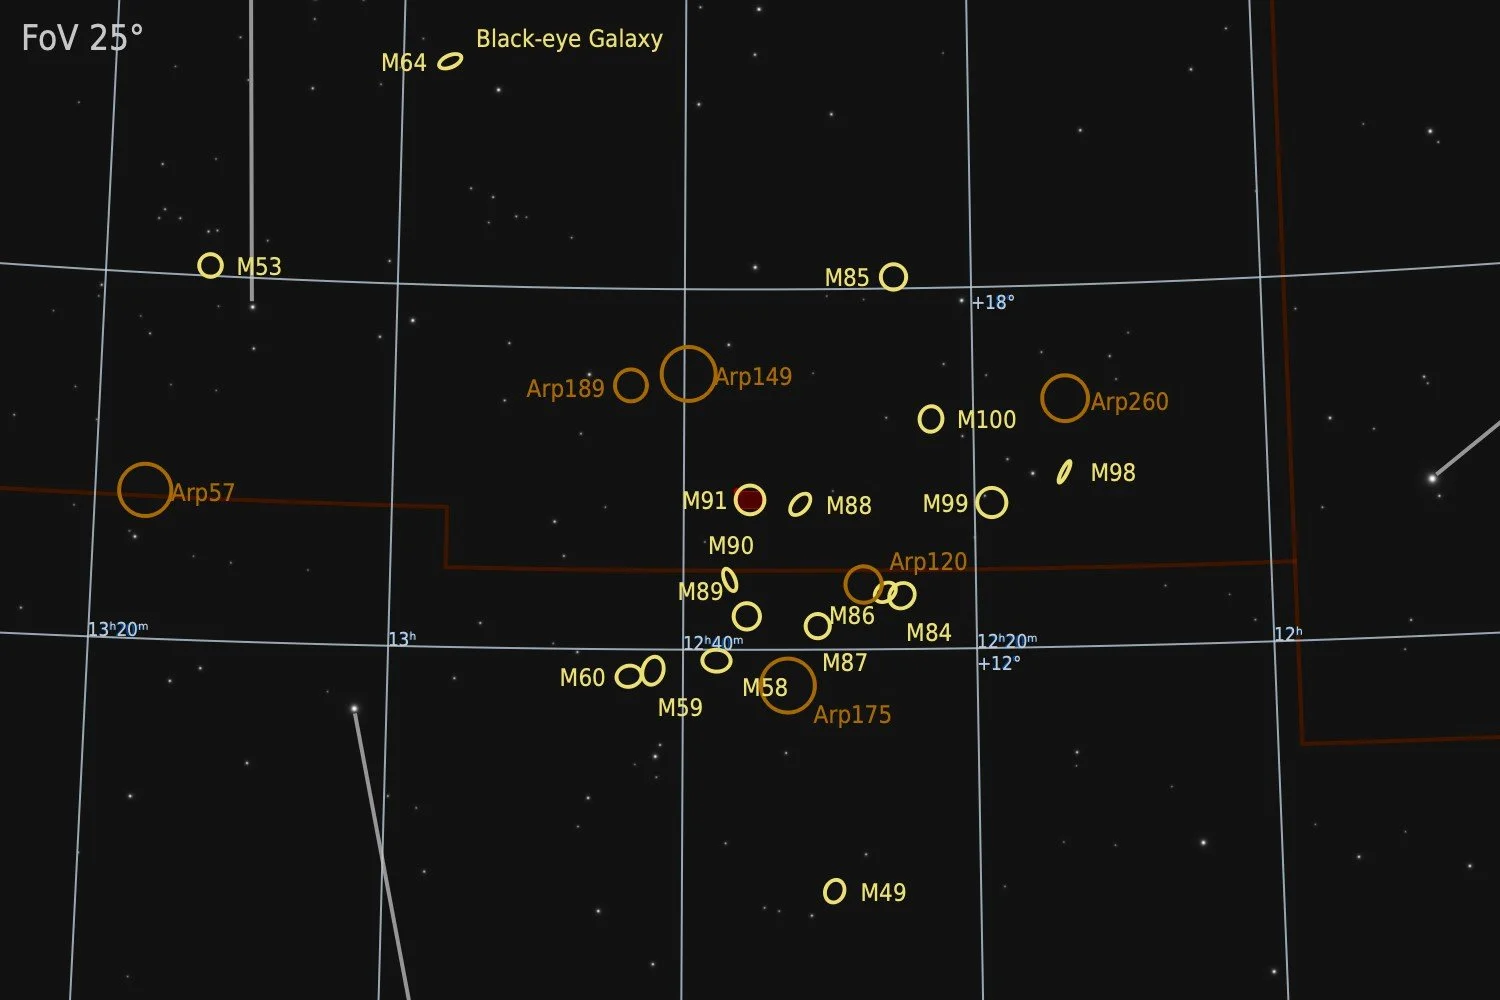
Messier 91, also known as NGC 4548, is a barred spiral galaxy located in the constellation Coma Berenices, near the border with Virgo. It was discovered by Charles Messier on March 18, 1781, during the same prolific observing session in which he catalogued M88, M89, M90, and several other Virgo Cluster members. M91 has a notable place in history as the last of the so-called "missing Messier objects" to be identified. Due to an error in Messier's original position recording, the object was listed for nearly two centuries as one of several catalogue entries that could not be matched to any known object. It was not until 1969 that amateur astronomer William C. Williams determined that Messier's recorded position, when corrected for the same systematic offset found in other misplotted entries, pointed unambiguously to NGC 4548. The identification was subsequently confirmed and is now universally accepted. M91 lies at a distance of approximately 63 million light-years from Earth and is a member of the Virgo Cluster. It spans roughly 80,000 light-years in diameter and is classified as a barred spiral, with a well-developed central bar and two broad spiral arms that are somewhat less tightly wound than those of comparable galaxies. The bar structure is among the more prominent examples visible in the Messier catalogue. Like several other Virgo Cluster spirals, M91 shows reduced star formation activity and a relative deficiency of neutral hydrogen gas, a signature consistent with ram-pressure stripping caused by its motion through the hot intracluster medium of the Virgo Cluster.
Source: Claude.ai
Data Acquisition
Data was collected during 11 nights in May and June of 2026, using a 14” reflector telescope with full-frame camera at the remote observatory in Spain. Data was gathered using standard LRGB filters. A total of approximately 16 hours of data was finally combined to create the final image.
Location Remote hosting facility Roboscopes in Fregenal de la Sierra, Spain (38°N 6°W)
Sessions
Frames
Equipment
Telescope
Mount
Camera
Filters
Guiding
Accessoires
Software
Planewave CDK14 (2563mm @ f/7.2), Optec Gemini Rotating focuser
10Micron GM2000HPS, custom pier
Moravian C3-61000 Pro (full frame), cooled to -10 ºC
Chroma 2” LRGB unmounted, Moravian filterwheel L, 7-position
Unguided
Compulab Tensor I-22, Dragonfly, Pegasus Ultimate Powerbox v2
Voyager Advanced, Viking, Mountwizzard4, Astroplanner, PixInsight 1.9.4
Processing
All processing was done in Pixsinsight unless stated otherwise. Default features were enhanced using scripts and tools from RC-Astro, SetiAstro, GraXpert, CosmicPhotons and others. Images were calibrated using 50 Darks, 50 Flats, and 50 Flat-Darks, registered and integrated using WeightedBatchPreProcessing (WBPP). The processing workflow diagram below outlines the steps taken to create the final image.
It is always a bit difficult to asses how much noise reduction is best applied during which step. When applying it in the linear stage the image can sometimes get so flat that processing can only be done in 24bit mode. So I have a tendency to apply it as late as possible in the process. The disadvantage is that noise can be amplified during stretching. This time I applied a small amount of noise reduction (0.6 or so) much earlier in the process. For the RGB image this was in the middle of the stretching, for the Lum image this was well before the stretching. It is hard to say whether this is better or not, but it certainly worked well. For the RGB image, rather than applying noise reduction a second time, I used an old tried and tested technique by just blurring the image a bit using convolution. This works very well, as structure will be added later with the luminance anyway.
For images taken during these months, I’m struggling a bit with finding proper flat frames. The dust pattern on the luminance filter appears to be a bit variable during this time, and since flats are taken only with intervals of several months, the flats didn’t always correct perfectly throughout this 11 nights dataset, Therefore some manual dust mote correction was needed for the starless luminance image.
For a delicate object such as a galaxy, the fine control in a tool like GHS works generally better than any of the more automated tools. So as much as I like a tool like MultiscaleAdaptiveStretch, for this image multiple runs of GHS were applied to maximise detail in the fainter areas without blowing out the bright core.
In the final stage, I wanted to put a bit more emphasis on the amber-like structure in the core of the galaxy. For that purpose a color mask was created, to select mostly these structures, and selectively some extra red was added to the heart of the galaxy.
The rest of the processing followed a fairly standard workflow, as outlined below.
Processing workflow (click to enlarge)
This image has been published on Astrobin and received Top Pick Nomination status.