
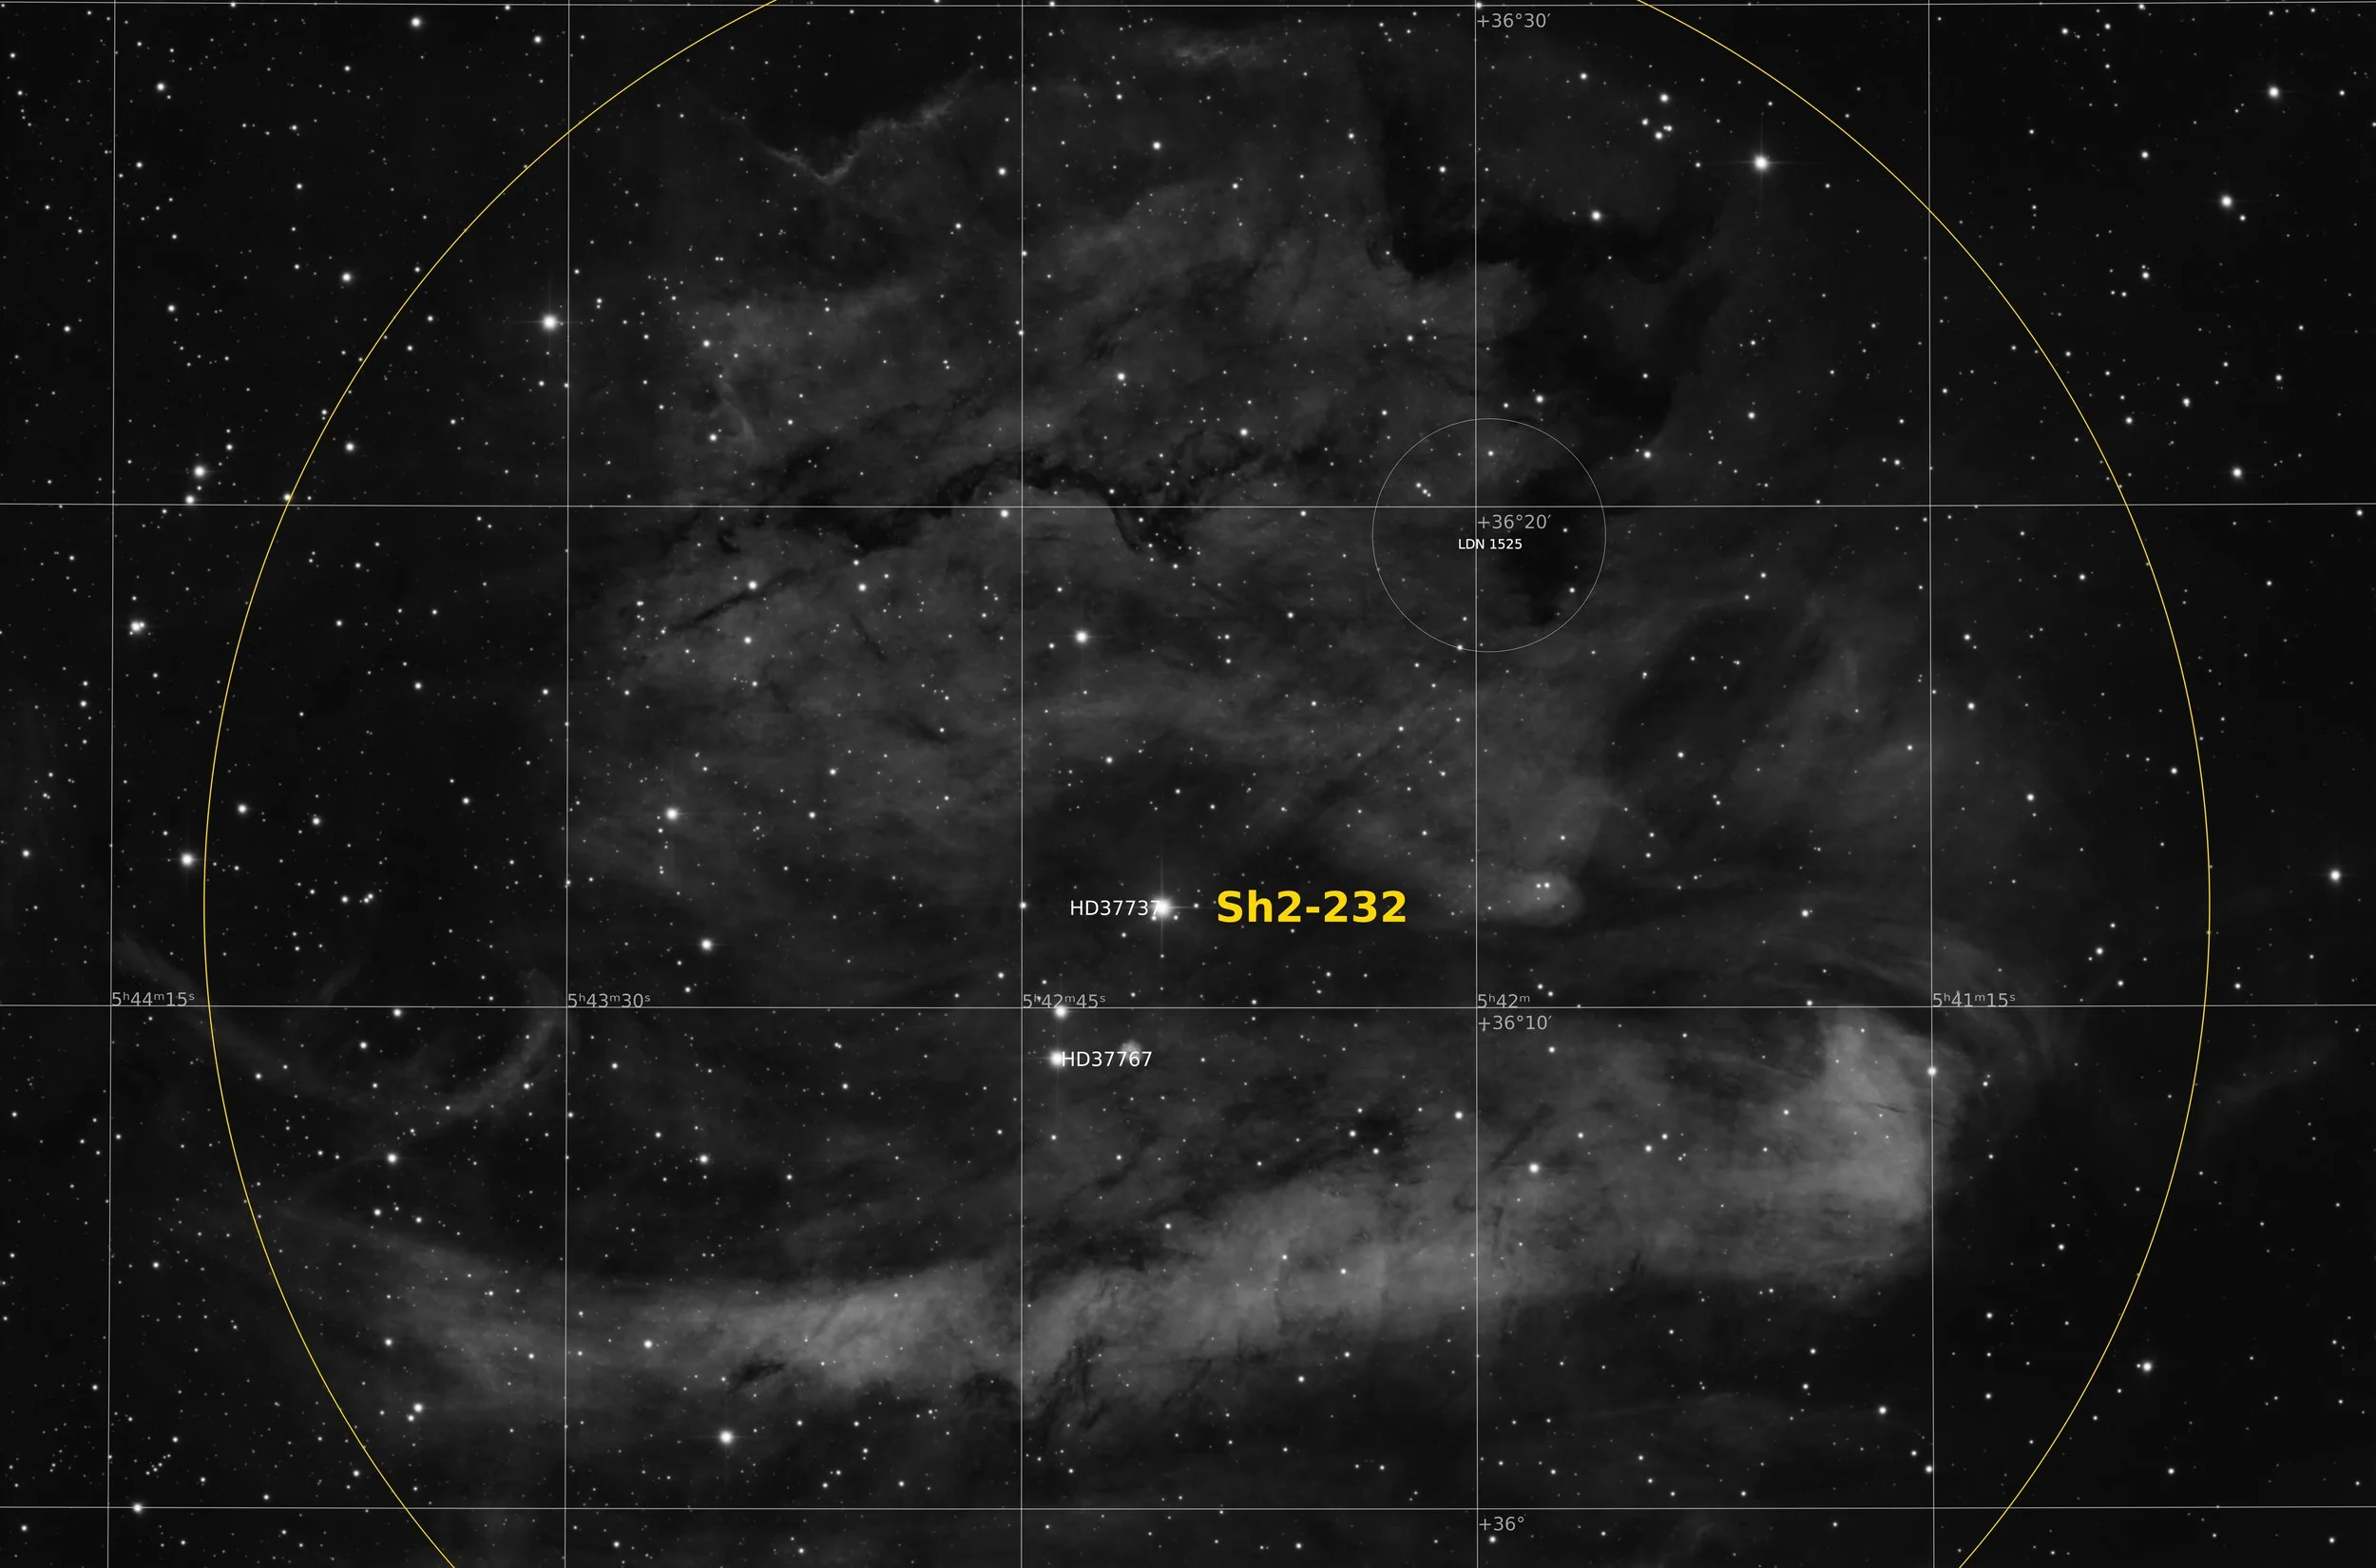
Sh2-232
Pumpkin Nebula
47’ x 31’ | 0.3”/px | 9436 × 6227 px | full resolution
Auriga
RA 05h 42m 29s Dec +36° 14’ 28” | 0°
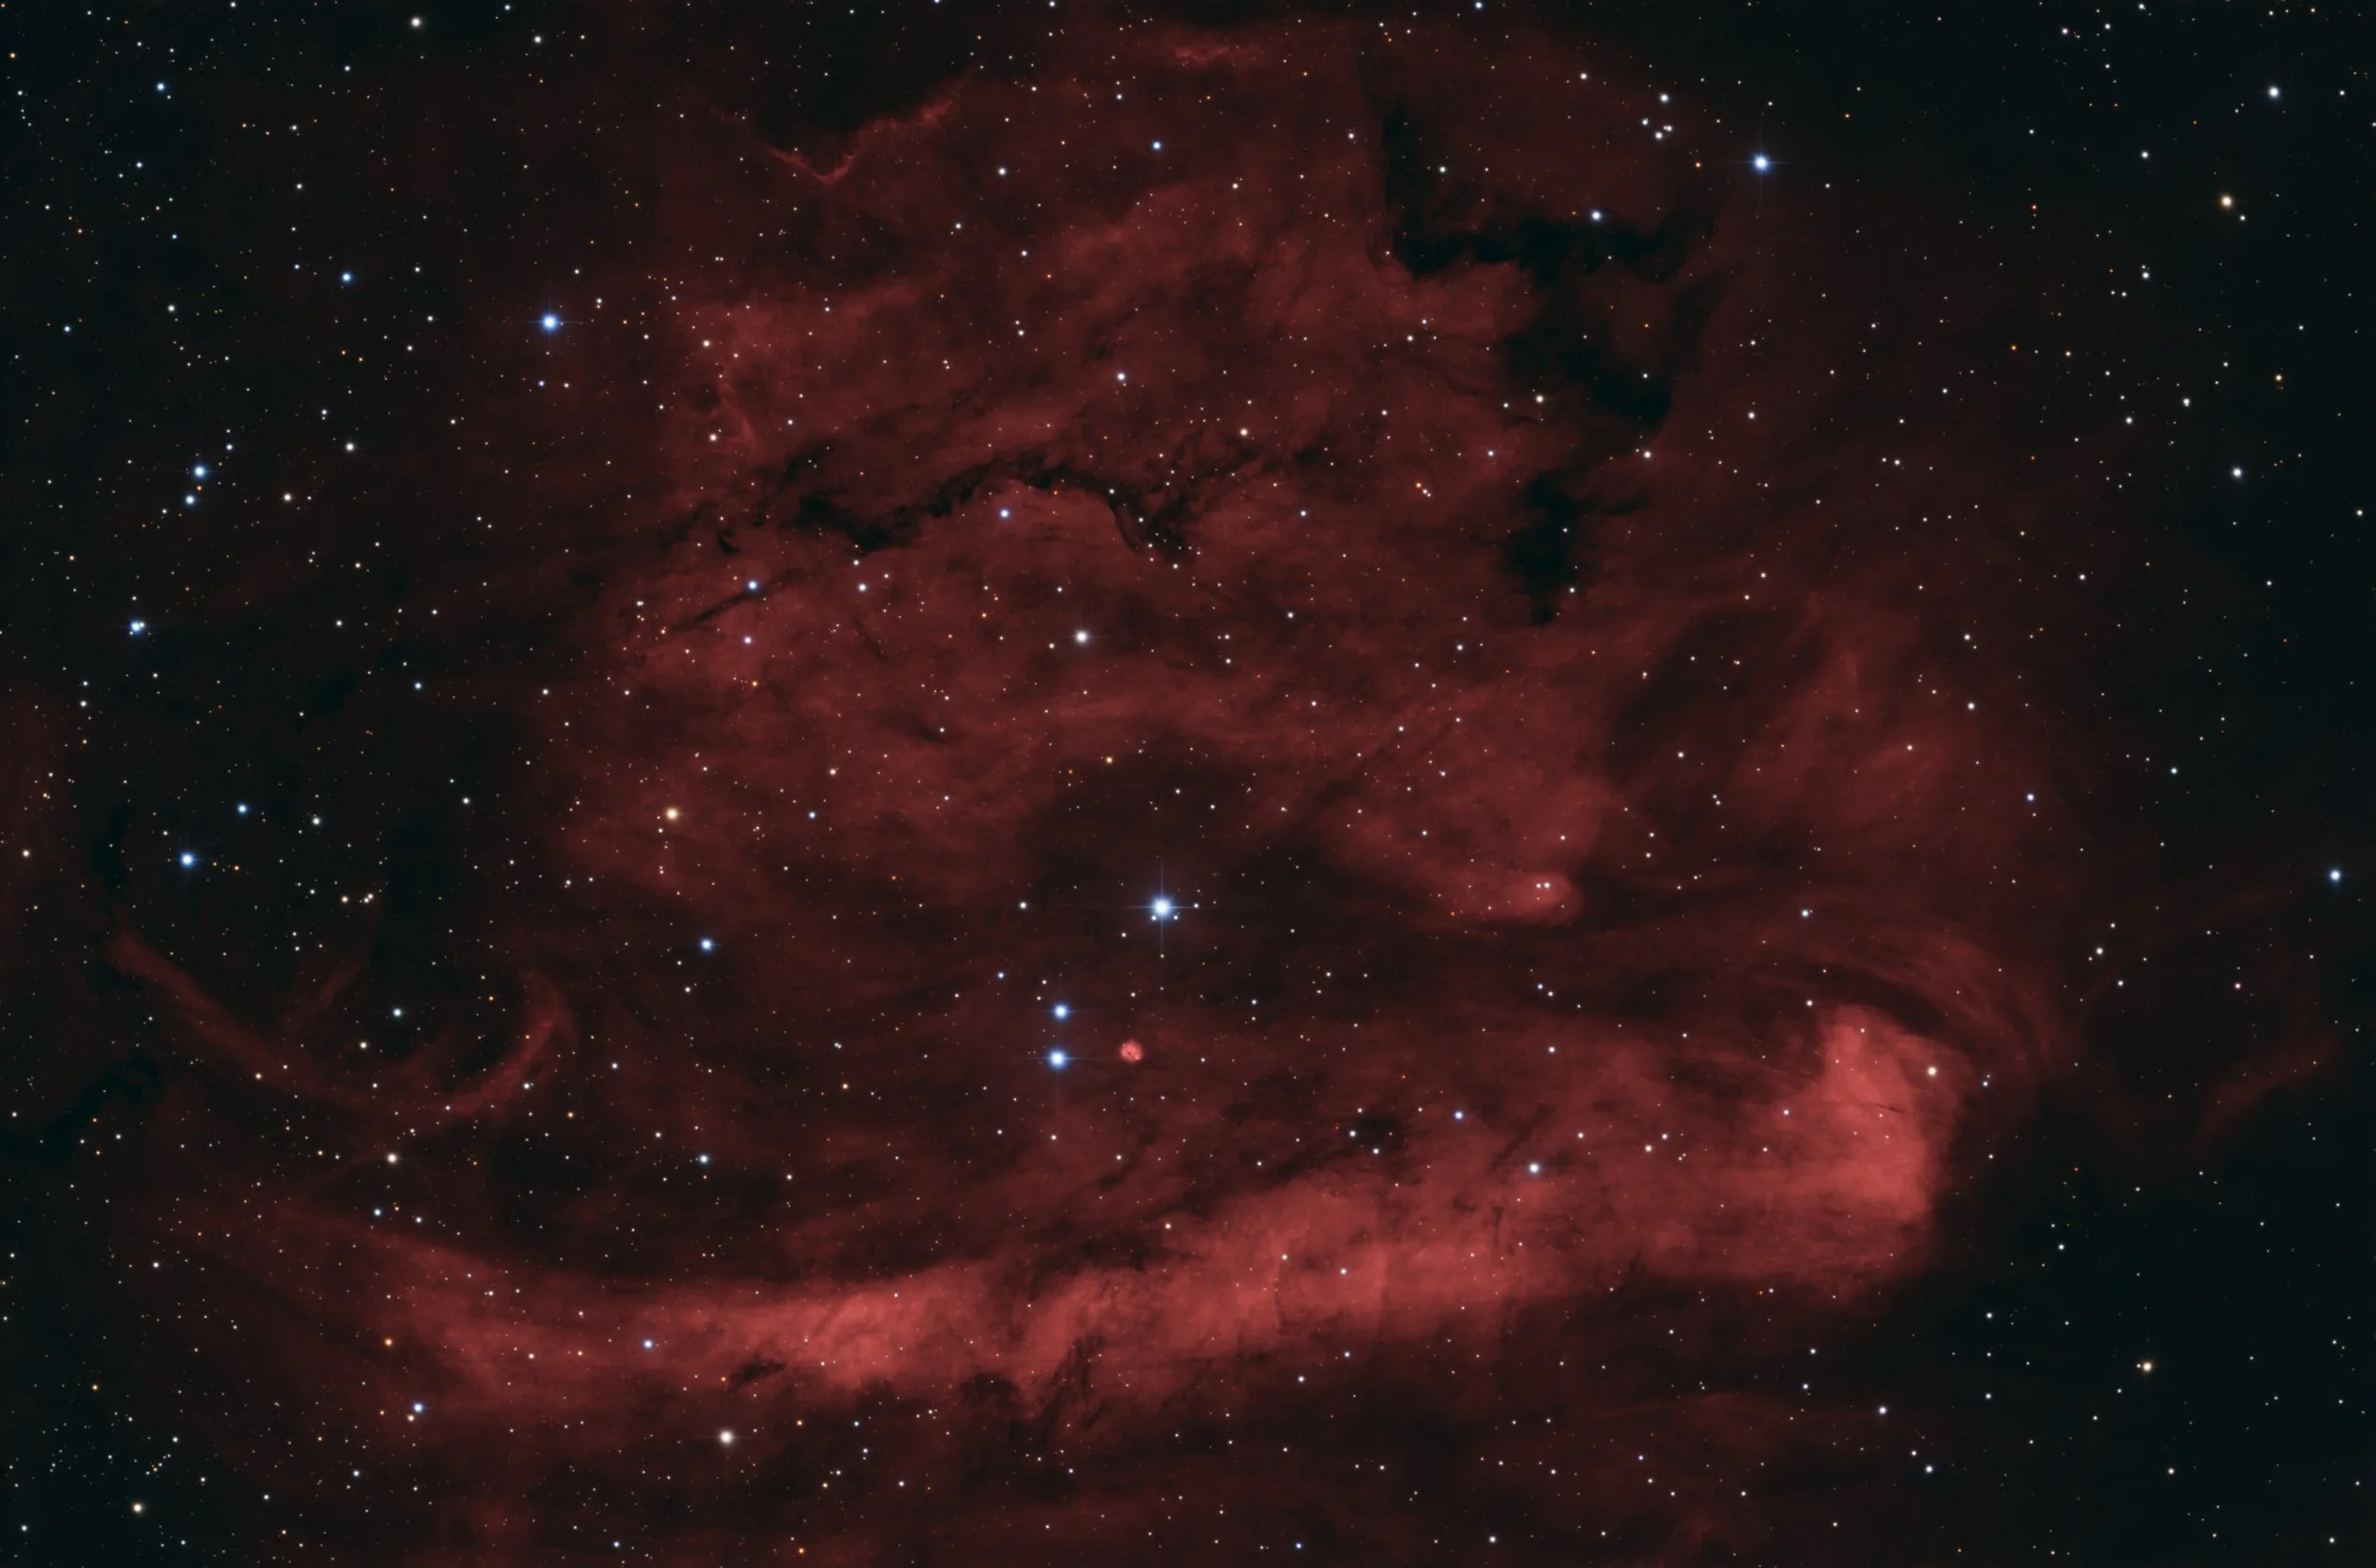

Sh2-232, also known as the Great Pumpkin Nebula, is a large, faint HII emission nebula located in the constellation Auriga, approximately 5,800 light-years from Earth. It is part of a larger complex of nebulae (including Sh2-235, Sh2-231, Sh2-233) that are star-forming regions. Inside the nebula there is a small planetary nebula (PN G173.5+03.2). The planetary nebula also emits OIII, but Sh2-232 has no OIII signal of any significance.
source: Google search
Asteroids in my image
During processing of Sh2-232, two asteroids were discovered. That is to say, one asteroid was detected during the processing of the main image. The typical red, green and blue trails were visible at different locations during two subsequent nights. This is indicative of a slow moving object, such as a comet or an asteroid, certainly not a satellite. The Tycho tracker software was used to identify this slow moving object, as described here. Tycho did indeed notice the big asteroid and identified it as Lamberta, a main belt asteroid discovered in 1878. But it also identified a much smaller asteroid, 2001 qq70. This was as recently discovered as 2001. And indeed, also this asteroid was visible as a moving object in subsequent frames. Below are zoomed-in GIFs of each asteroid. Sh2-232 also contains a small planetary nebula, Purgathofer 2, shown below as a separate zoomed-in image as well.
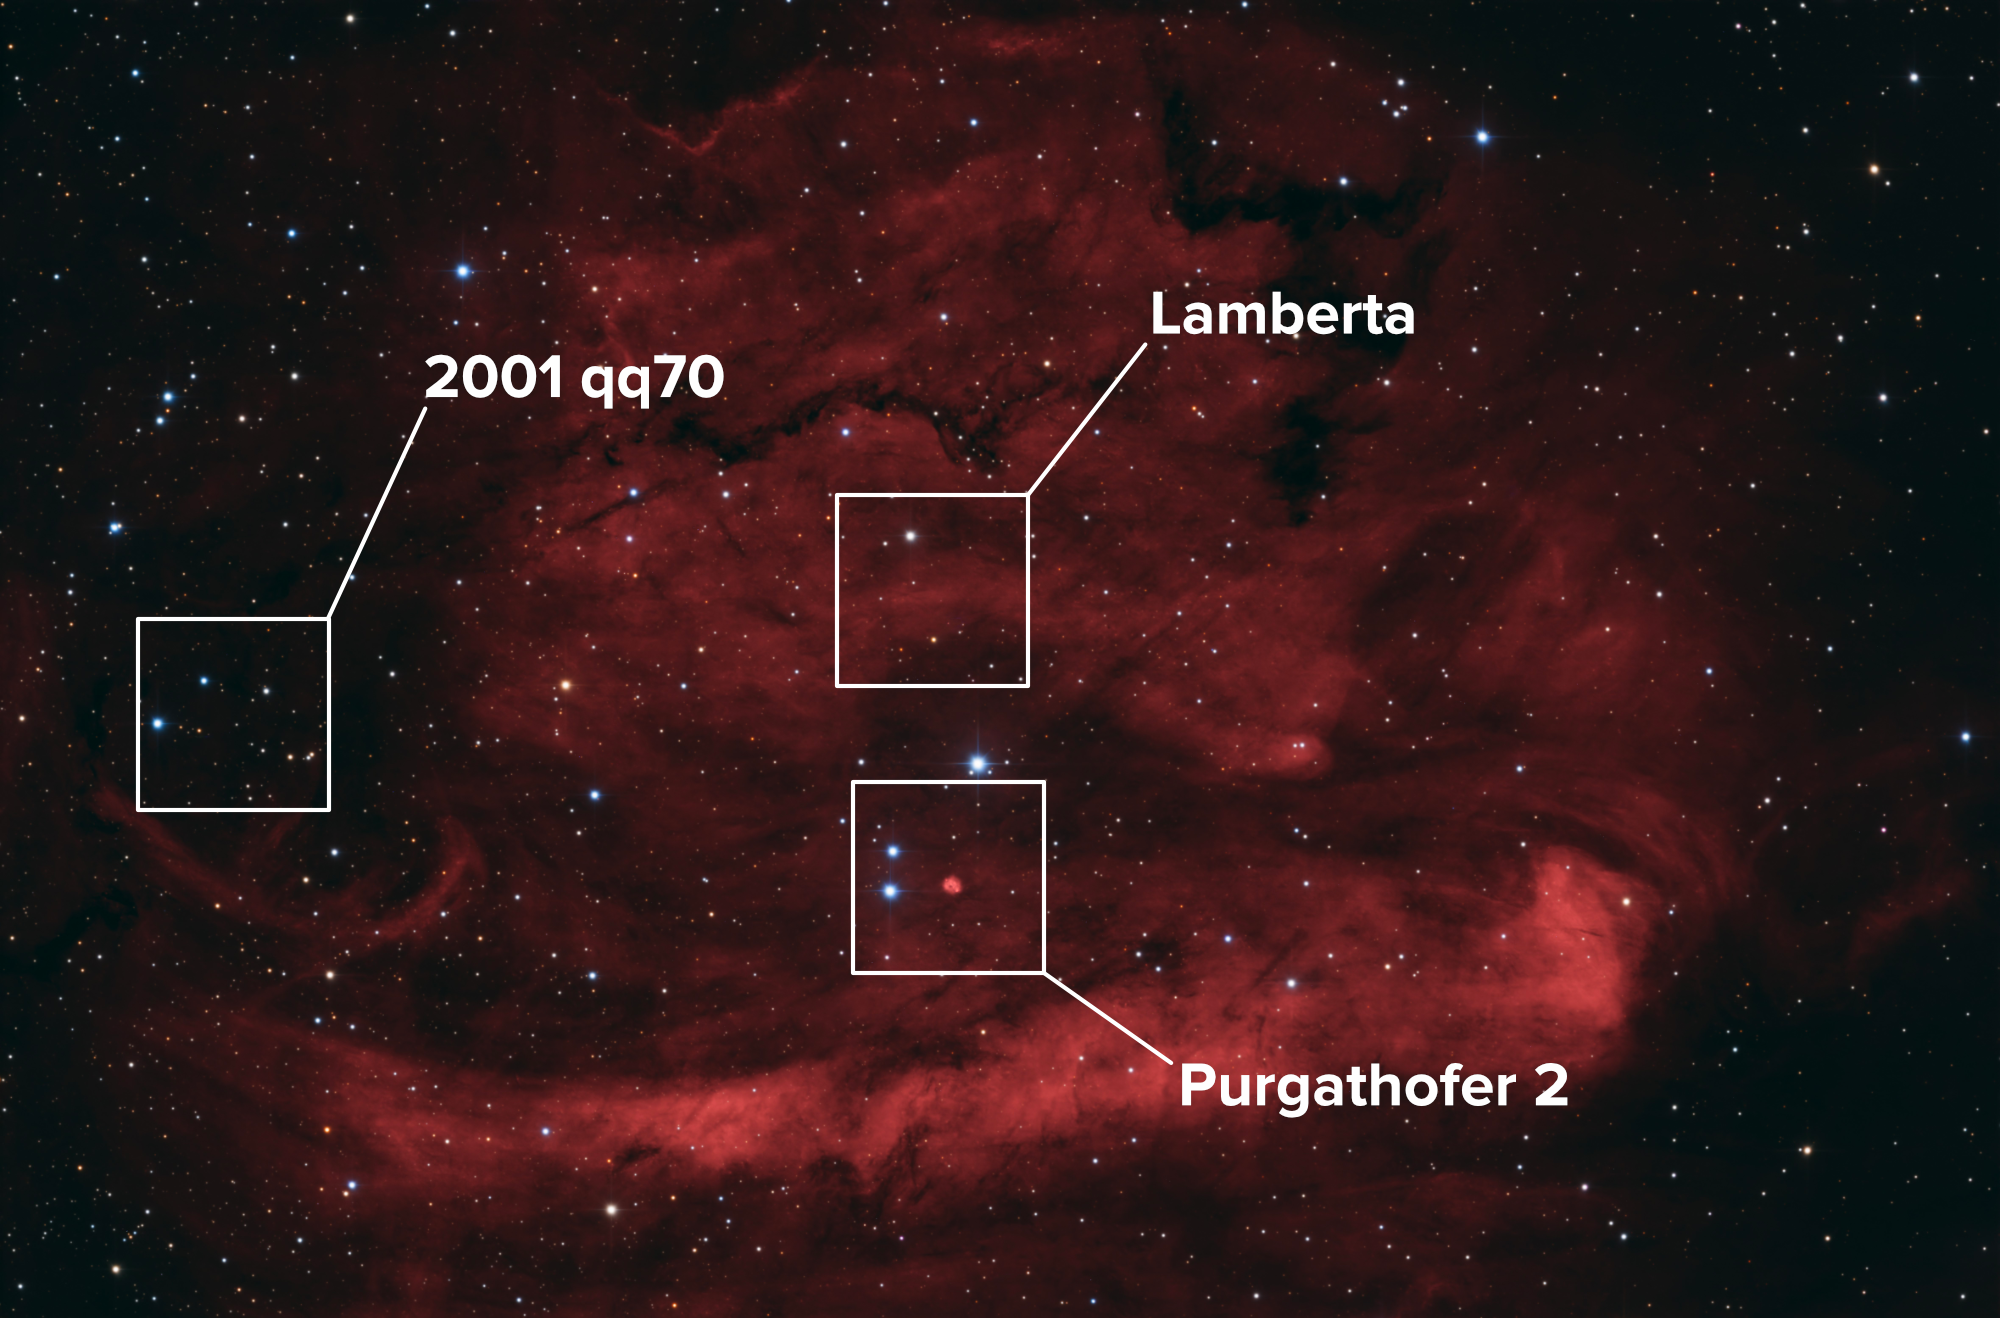
Purgathofer 2
Purgathofer 2, also known as PNG 173.5+03.2, was discovered by the Austrian astronomer Alois Purgathofer in 1980. The small Planetary Nebula was found on spectroscopic images from the 60" telescope of the Leopold-Figl-Observatory. It is interesting that Pu 2 is located behind the gas clouds from Sh2-232. While Sh2-232 shows up in the Ha band, the light of the PN is mostly in the OIII band. When the parallax measurements from Gaia DR3 are correct, the PN is located about 120,000 light years from Earth.
Asteroid Lamberta
187 Lamberta is a main-belt asteroid that was discovered by Corsican-born French astronomer Jérôme Eugène Coggia on April 11, 1878, and named after the astronomer Johann Heinrich Lambert. It was the second of Coggia's five asteroid discoveries. The spectrum matches a classification of a C-type asteroid, which may mean it has a composition of primitive carbonaceous materials. It is a dark object as indicated by the low albedo and has an estimated size of about 131 km.
source: Wikipedia
Asteroid 2001 QQ70
2001 QQ70 was discovered on August 17, 2001 at the Magdalena Ridge Observatory, located in Socorro County, New Mexico (United States), by the Lincoln Near-Earth Asteroid Research (LINEAR) project. It is classified, according to the JPL Small-Body Database, as an object of the main asteroid belt. 2001 QQ70 has an absolute magnitude of 13.1 and an estimated albedo of 0.248, which makes it possible to calculate a diameter of 6,400 km. These results were obtained thanks to the observations of the Wide-Field Infrared Survey Explorer (WISE), an American space telescope put into orbit in 2009 and observing the entire sky in the infrared, and published in 2011 in an article presenting the first results concerning the asteroids of the main belt.
source: Wikipedia
Data Acquisition
Data was collected over 5 nights in November and December 2025, using a 14” reflector telescope with full-frame camera at the remote observatory in Spain. Data was gathered using both standard RGB filters and a 3nm Ha filter. A total of approximately 13 hours of data was finally combined to create the final image.
Location Remote hosting facility IC Astronomy in Oria, Spain (37°N 2°W)
Sessions
Frames
Equipment
Telescope
Mount
Camera
Filters
Guiding
Accessoires
Software
Planewave CDK14 (2563mm @ f/7.2), Optec Gemini Rotating focuser
10Micron GM2000HPS, custom pier
Moravian C3-61000 Pro (full frame), cooled to -10 ºC
Chroma 2” RGB and Ha (3nm) unmounted, Moravian filterwheel L, 7-position
Unguided
Compulab Tensor I-22, Dragonfly, Pegasus Ultimate Powerbox v2
Voyager Advanced, Viking, Mountwizzard4, Astroplanner, PixInsight 1.9.3
Processing
All processing was done in Pixsinsight unless stated otherwise. Default features were enhanced using scripts and tools from RC-Astro, SetiAstro, GraXpert, CosmicPhotons and others. Images were calibrated using 50 Darks, 50 Flats, and 50 Flat-Darks, registered and integrated using WeightedBatchPreProcessing (WBPP). The processing workflow diagram below outlines the steps taken to create the final image.
The regular image processing followed a fairly standard workflow. Adding Ha to the RGB image was done using NBColourMapper. The Ha was given a hue of 3 and a saturation of 0.85. Later on in the process, the red seemed a bit too dark and brownish. To make that a bit more vibrant, so some additional tweaking to the contrast and saturation was done using CurvesTransformation, some even under a mask that specifically highlighted the red colours.
Across the image there were some strange specks, like 2-3 pixel dots, sometimes with a very distinct colour, sometimes white. I did not further investigate where these came from, but removed them using the CloneStamp tool.
The rest of the processing workflow followed pretty standard procedures.
Processing workflow (click to enlarge)
Making an animated GIF
The above shown animated GIFs are ideal to show relatively fast moving objects such as asteroids. Several times now I have come across situations where an animated GIF is very helpful in showing the movement of celestial objects across their background. It combines a compact file-size with generic playback capabilities across browsers, file managers, operating systems, etc. But making them has not always been as straightforward. Photoshop offers a possibility to create animated GIFs, but as soon as you want to change something, e.g. adding text or graphical elements, the process quickly becomes quite cumbersome. Keynote can export slides as animated GIFs, but getting images loaded as individual slides takes a lot of manual work. There are on-line GIF tools, but they require you to upload the images, and often it is hard to save intermediate results to finish off later. Most apps on the App Store are designed to convert video, not a bunch of PNG files, into a GIF. A screen recording for example is an ideal target to convert into a GIF. So after trying out several options, for the animated GIFs in this image I used Final Cut Pro. It may seem overkill, but the flexibility does come in handy, and I think I will keep this as my default workflow. The overall process is split between preparations in PixInsight and GIF making in Final Cut Pro
Preparations in PixInsight
Load an image container with all images that will make up the GIF, and specify an output directory
Open one of the images and select the area of interest using the DynamicCrop tool
With the tool still active, drag the Image Container onto the bottom bar of the DynamicCrop tool > cropped fits images
If you want to create inverted images, create an Invert Icon on the desktop.
Load the cropped images in an Image Container and specify an output directory
Drag the Image Container over the Invert Icon > inverted cropped fits images
Open the inverted images in the Blink tool
Run the ‘Create Video’ button. If no ffmpeg app is installed it will throw an error, but that is no problem. We are interested only in the stretched PNG images that are created. > PNGs
GIF making in Final Cut Pro
Load the PNGs that were just created into the media section of a Final Cut Pro Library
Create a new project and drag the PNGs on the project timeline
Select all PNGs, and change duration (right mouse click).
Type the number of frames you want each image to be visible for. As an example, 5 in a 30fps timeline will mean each image will be visible for 5/30, or 0.16s. Or stated a different way, effectively 30/5=6 images will be shown per second. So a total of 20 images would make a GIF animation of 20/6=3.3s.
Add titles, graphical elements etc to taste
Export as Animated image. If that option is not visible in the sharing menu, create a new preset based on Compressor presets.
This image has been published on Astrobin.