
Caldwell 16
NGC 7243
46’ x 31’ | 0.3”/px | 9345 × 6185 px | full resolution
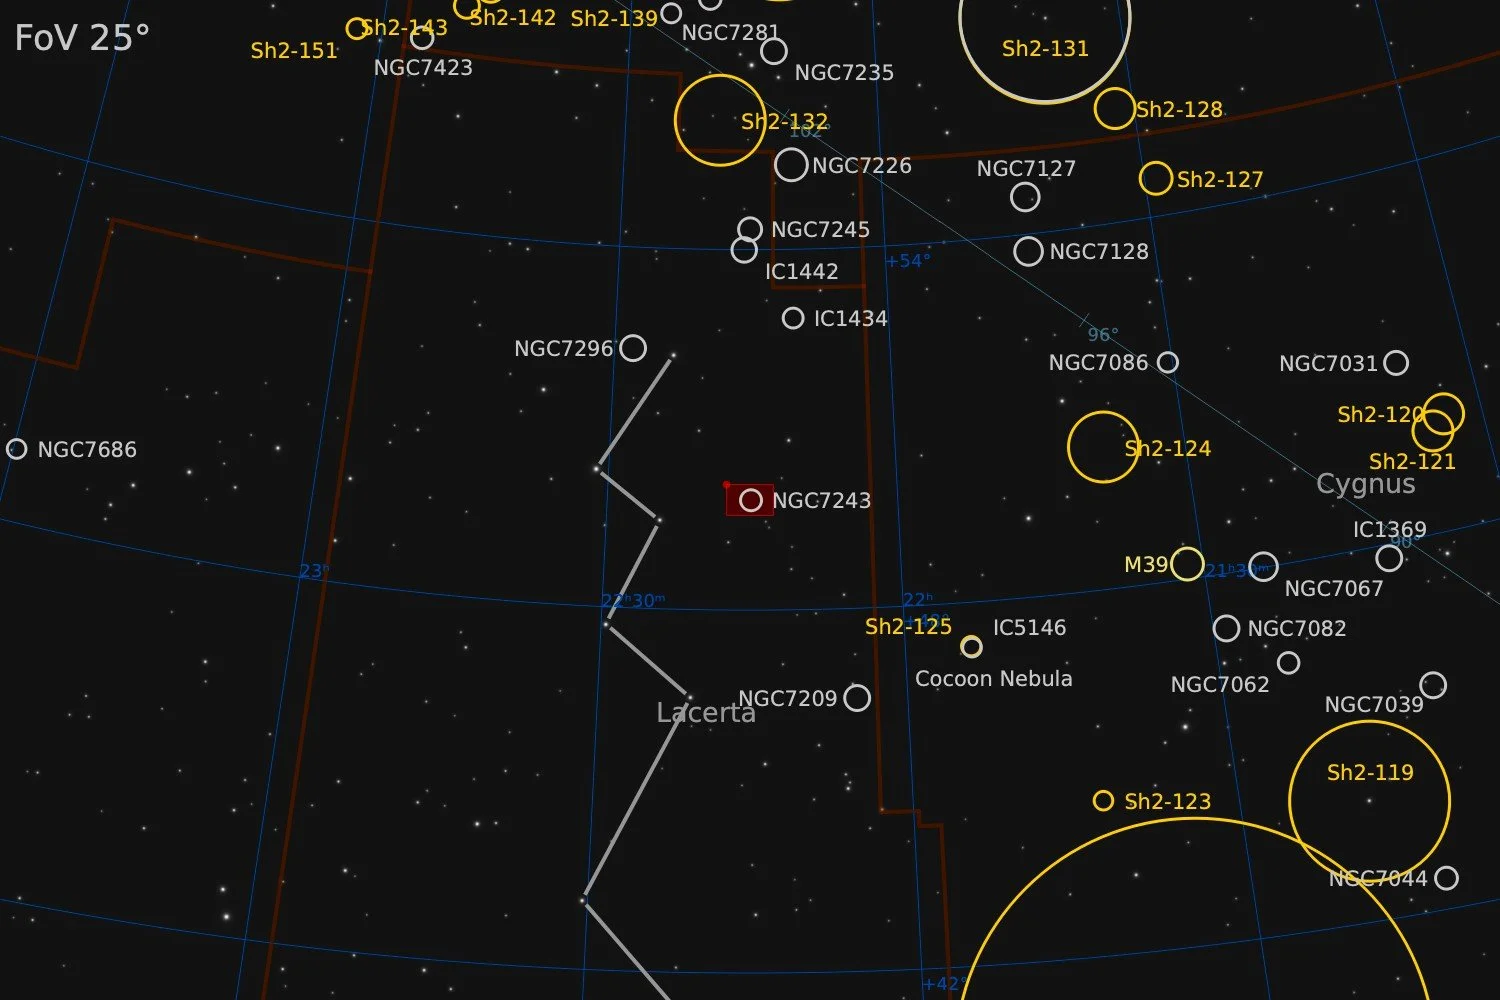
Lacerta
RA 22h 15m 16s Dec +49° 50’ 04” | 0°
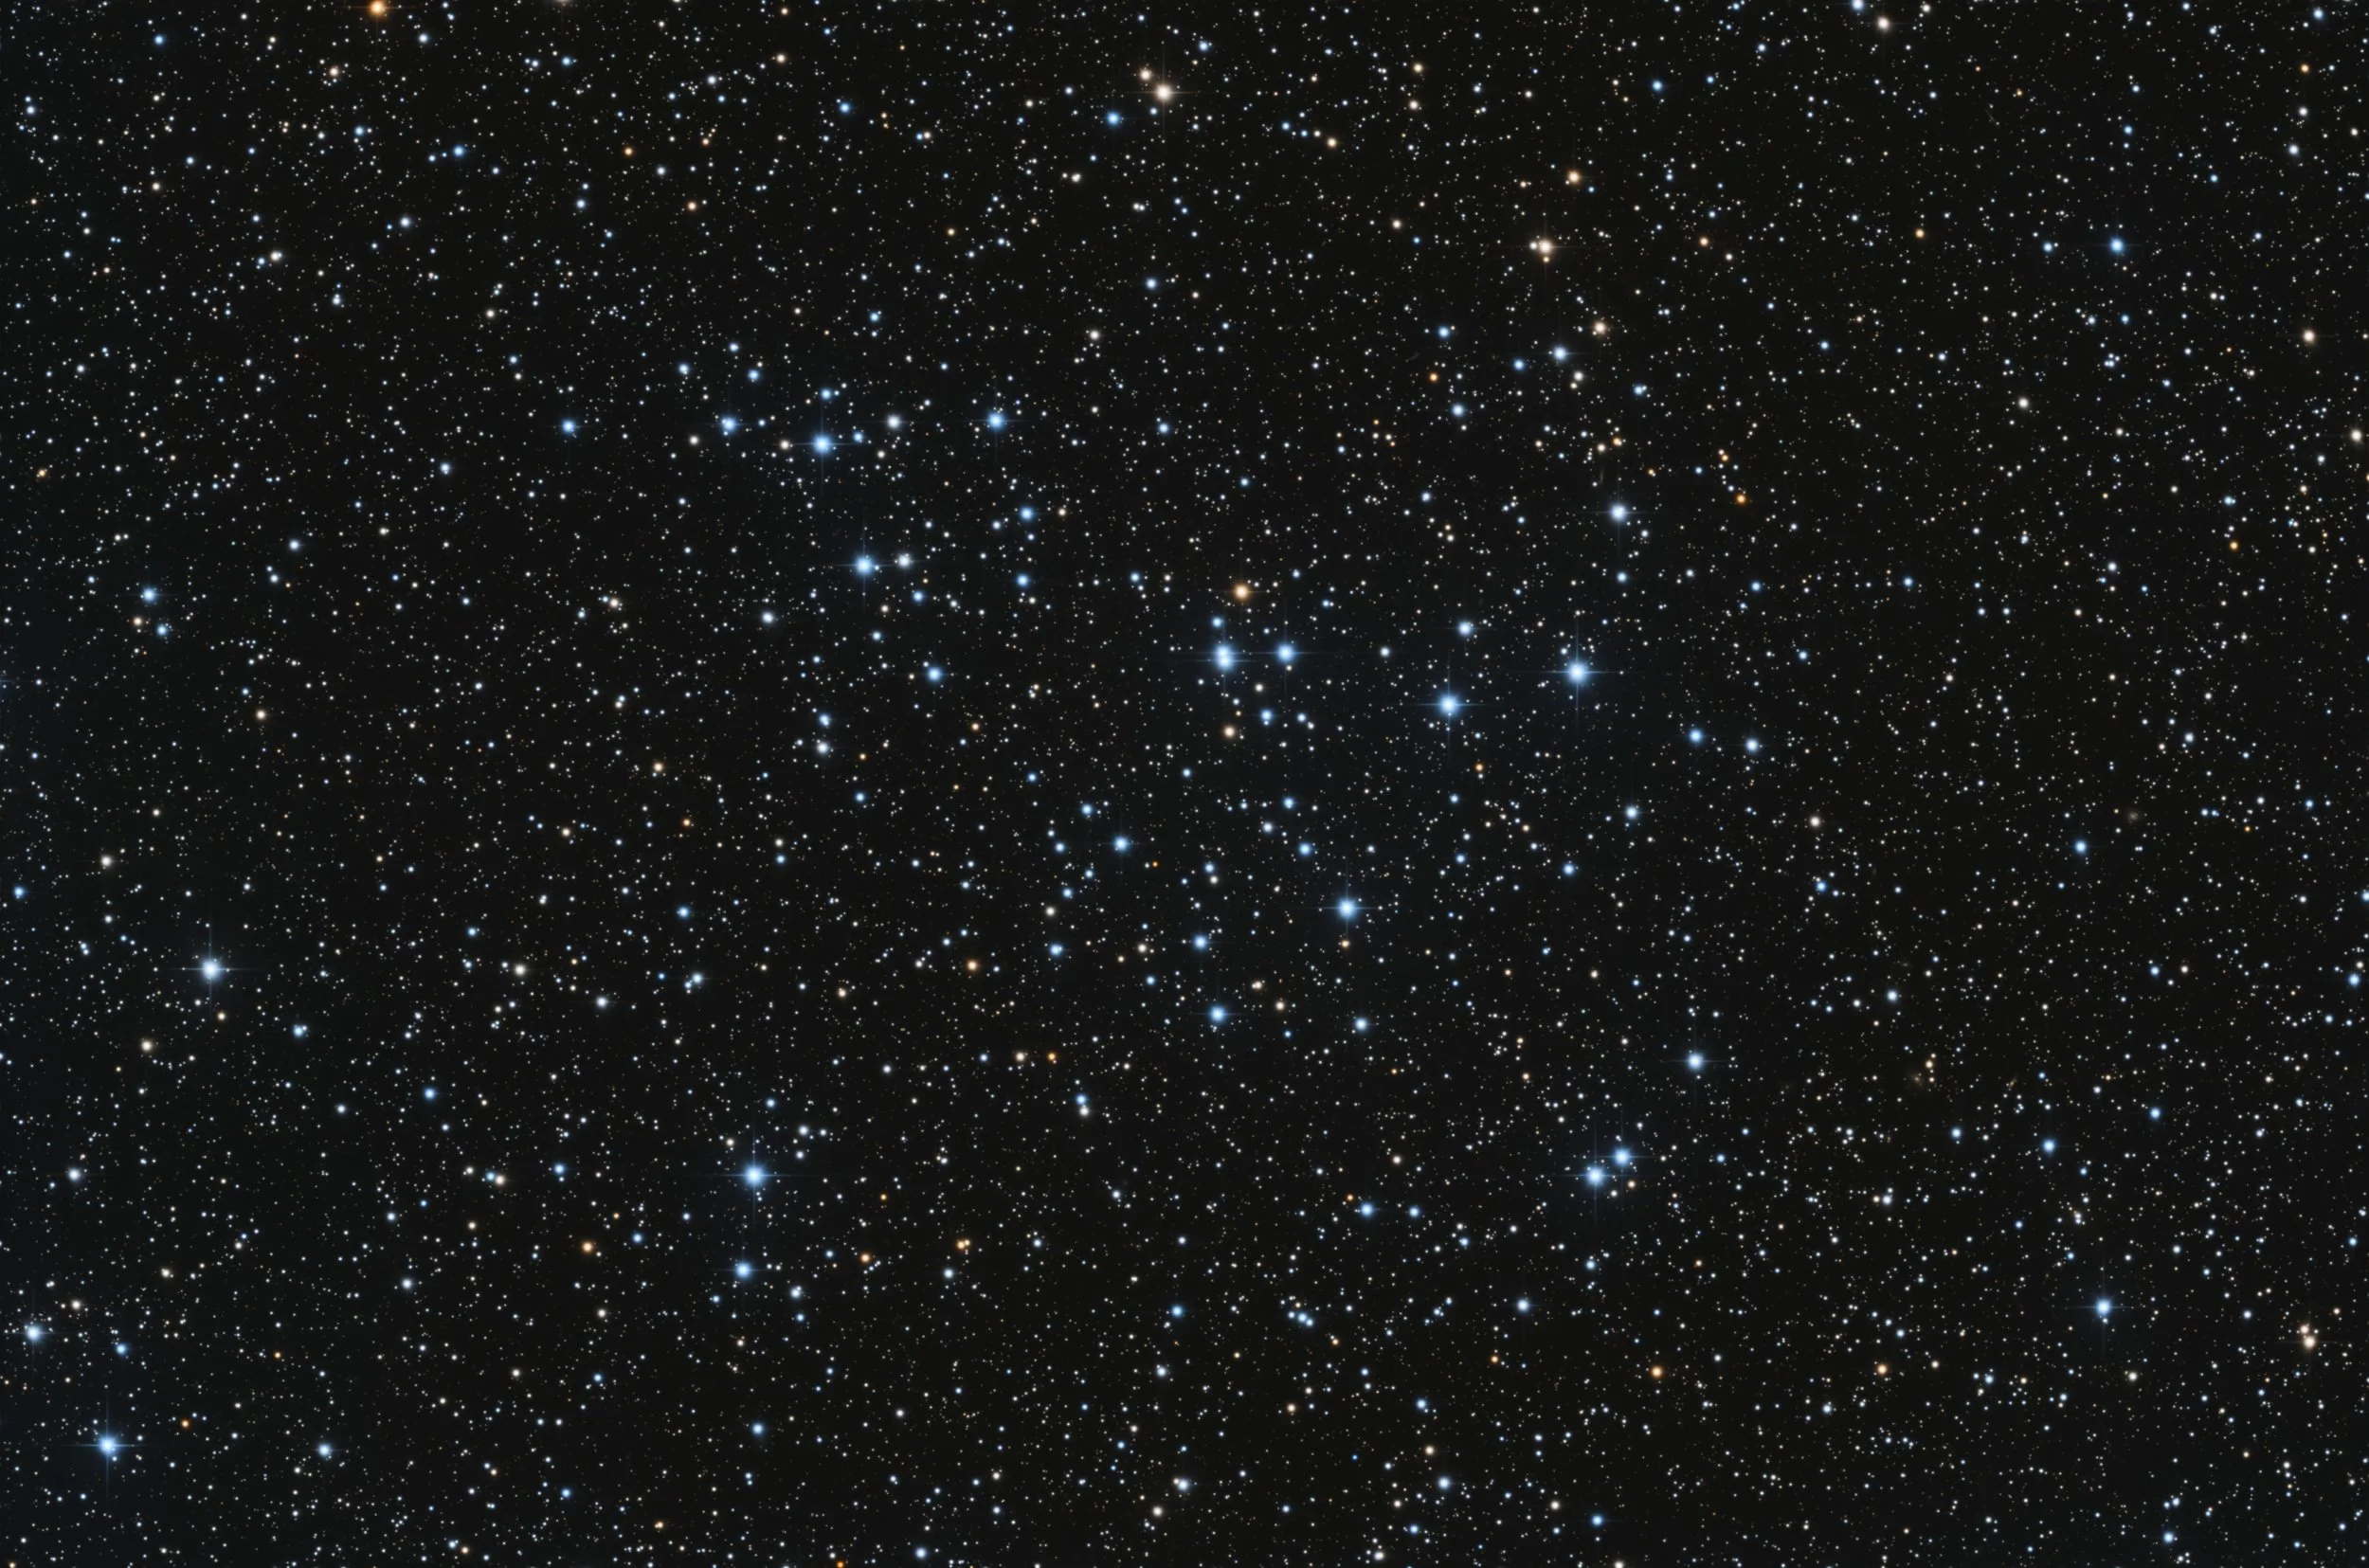
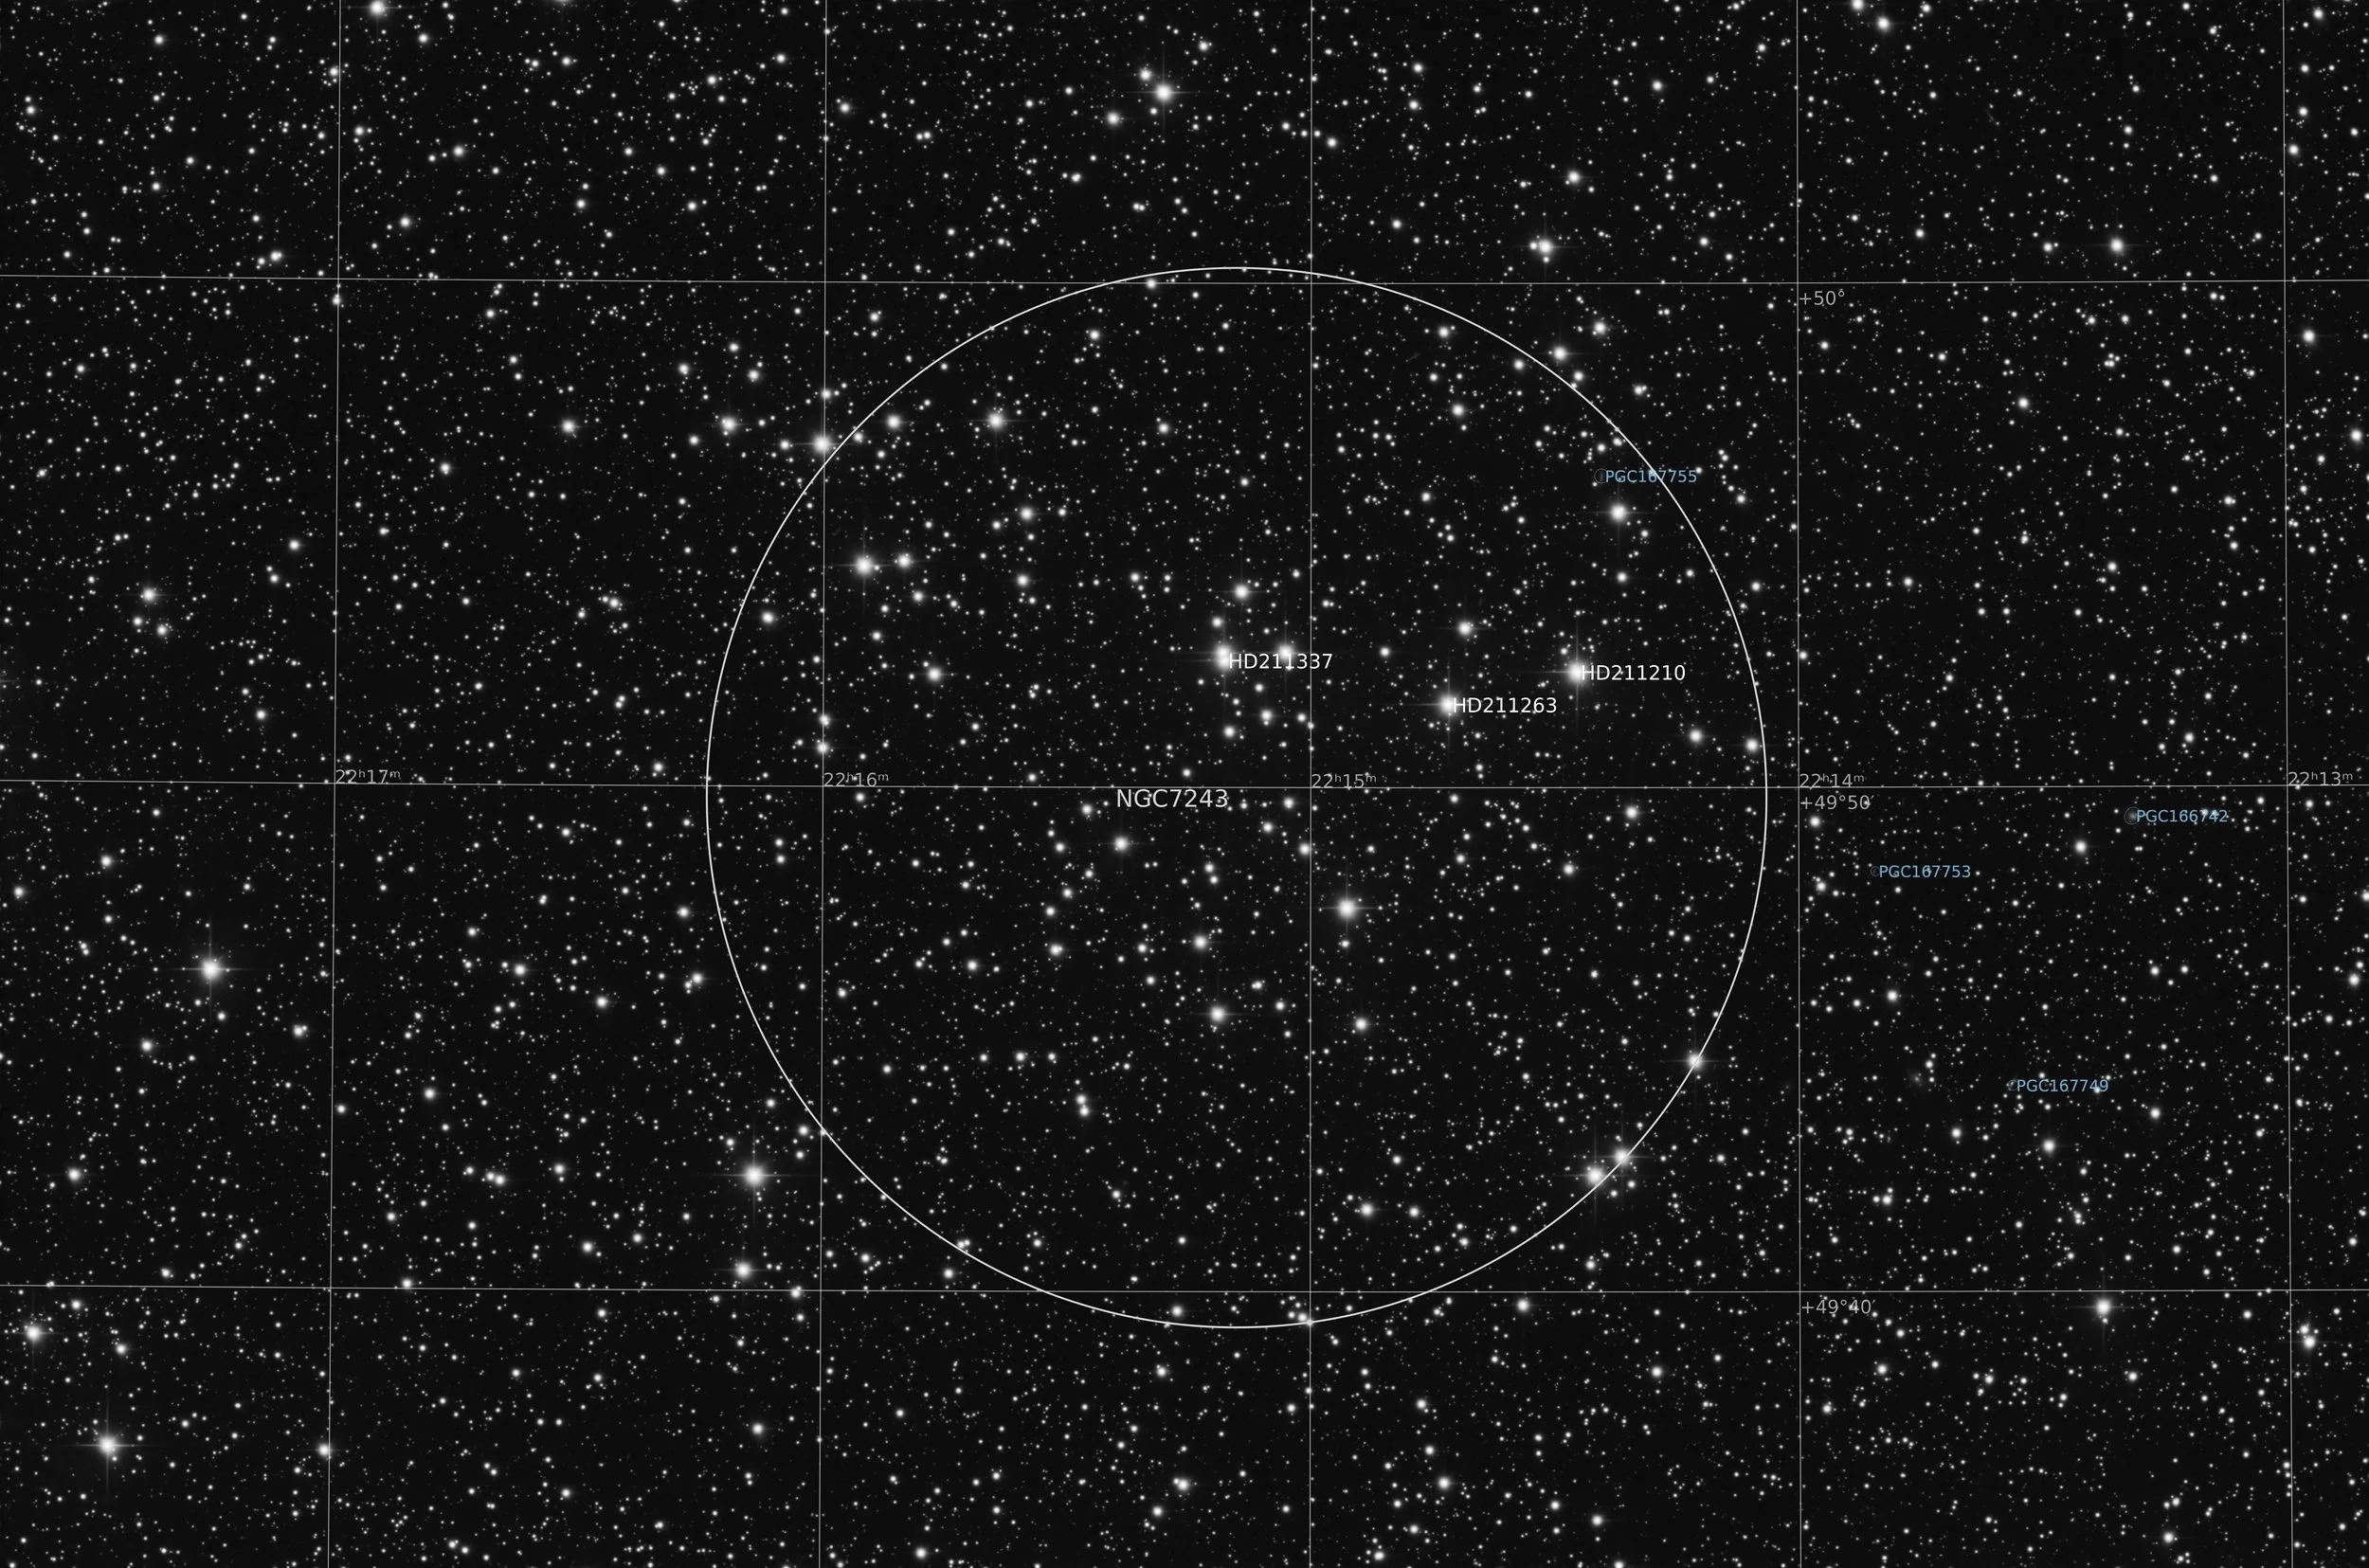
Caldwell 16, also known as NGC 7243, is an open cluster located 2,300 light years from Earth in the constellation of Lacerta. It was discovered in 1788 by William Herschel. It has an estimated 211 stars and has an angular diameter of about 21 arc minutes. The age of this cluster is estimated at about 250 million years. The cluster is fairly bright, with an apparent magnitude of 6.4 making it visible with the naked eye. There has been some scientific discussion about whether Caldwell 16 is a single or a double cluster, or just a group of bright stars without a physical connection to one another. In a 2003 paper in Astronomy and Astrophysics, Jilinski e.a. seem to have settled this discussion and confirmed that Caldwell 16 is a single cluster.
Source: Deep Sky Companions - The Caldwell objects
Data Acquisition
Data was collected during 3 nights in November and December 2025, using a 14” reflector telescope with full-frame camera at the remote observatory in Spain. Data was gathered using standard RGB filters. A total of approximately 6 hours of data was finally combined to create the final image.
Location Remote hosting facility IC Astronomy in Oria, Spain (37°N 2°W)
Sessions
Frames
Equipment
Telescope
Mount
Camera
Filters
Guiding
Accessoires
Software
Planewave CDK14 (2563mm @ f/7.2), Optec Gemini Rotating focuser
10Micron GM2000HPS, custom pier
Moravian C3-61000 Pro (full frame), cooled to -10 ºC
Chroma 2” RGB unmounted, Moravian filterwheel L, 7-position
Unguided
Compulab Tensor I-22, Dragonfly, Pegasus Ultimate Powerbox v2
Voyager Advanced, Viking, Mountwizzard4, Astroplanner, PixInsight 1.9.3
Processing
All processing was done in Pixsinsight unless stated otherwise. Default features were enhanced using scripts and tools from RC-Astro, SetiAstro, GraXpert, CosmicPhotons and others. Images were calibrated using 50 Darks, 50 Flats, and 50 Flat-Darks, registered and integrated using WeightedBatchPreProcessing (WBPP). The processing workflow diagram below outlines the steps taken to create the final image.
The green channel had some bad frames in it. Normally I would just run those frames in the WBPP process and have pixel rejection and weighting algorithms deal with it. But somehow, the stars came out with some strange artefacts. So instead I opted to analyse the images taken with the green filter and analyse them with SubframeSelector. Ten images had severely bad FWHM values. They were rejected from further processing. After re-integrating the smaller set of green images, the results looked markedly better. So it is probably a good idea into the future to at least analyse the frames with SubframeSelector and delete some of the obvious outliers.
Repairing burnt out Star Cores
Bright stars can easily have their cores get burnt out during the stretching process. So much so, that typical highlight protection measures are not sufficient. If it’s just one or a few stars, this may not pose such a problem. And if the main subject of the image is a galaxy or nebula, it is possible to stretch the stars a bit less and still have a great image. But for images where individual stars are the main object, such as star clusters, burnt out cores can become annoying. For this image of Caldwell 16, I decided to pay some extra attention to this issue. Using a proper mask and some convolution, I came up with a technique that is very successful in repairing burnt out star cores.
The image below (1) shows the typical problem after the first stretch. That stretch is designed to keep color. The ArcSinh stretch, either as separate process, or as part of the GHS tool works well for that. Unfortunately, the round bright patch over the star shows at least one of the channels is blown out. Here the blue channel is clipped, but for other stars the same can happen to the red channel.
To make sure the correction works for both blue and red stars, the next step is to create a luminance channel. This is done using the straightforward ‘Extract Lightness’ option in PixInsight. Often this is a default icon in the toolbar. The luminance values in the bright cores are often high, but not clipped. In this case it was around 0.85. We now write a PixelMath script that assigns 1 (white) to any value above 0.85 and 0 (black) to all other pixels. In PixelMath language, this looks as:
iif($T>0.83,1,0)When taken a value just a tad under 0.85, a slightly large patch is captured, just to make sure nothing is missed. The image below (2) shows the output of that PixelMath script. The spots are now enlarged (Morphological Transformation) and smoothed out (convolution). This creates a proper star mask with gradual transition from the core to the rest of the star as shown in the image below (3). Alternatively, the StarMask tool can be used instead, but it can be challenging to find the right parameters to select only the stars you want in exactly the size you want.
The final step in the process is to apply the newly created mask to the starry image and smoothen out the image using the Convolution process. In preview-mode, move the StDev slider such that the burnt out area disappears and a natural star core appears. The resulting image should look something like in the image below (4).
Four images describing the steps taken in the technique to repair blown out star cores. Image 1 shows the typical problem that occurs when bright stars are stretched. Image 2 shows the mask that is created using a simple PixelMath script applying a threshold lightness value. In image 3, the mask has been enlarged and softened, to ensure the coverage of the full star core. Image 4 shows the final image when convolution is applied with the mask in place.
So in summary the steps are as follows:
First stretch with focus on maintaining colour (e.g. ArcSinhStretch)
Extract a luminance channel
Turn luminance channel in binary mask to only select burnt out star cores
Enlarge star cores in the mask using Morphological Stransformation
Smoothen the edges of the star cores in the mask using Convolution
With mask applied, apply Convolution to the RGB image and adjust StDev to a pleasing result
The special attention to some bad green frames and the burnt out stars were the most tricky parts of processing Caldwell 16. The rest of the processing used a fairly standard approach, outlined below.
Processing workflow (click to enlarge)
This image has been published on Astrobin.