
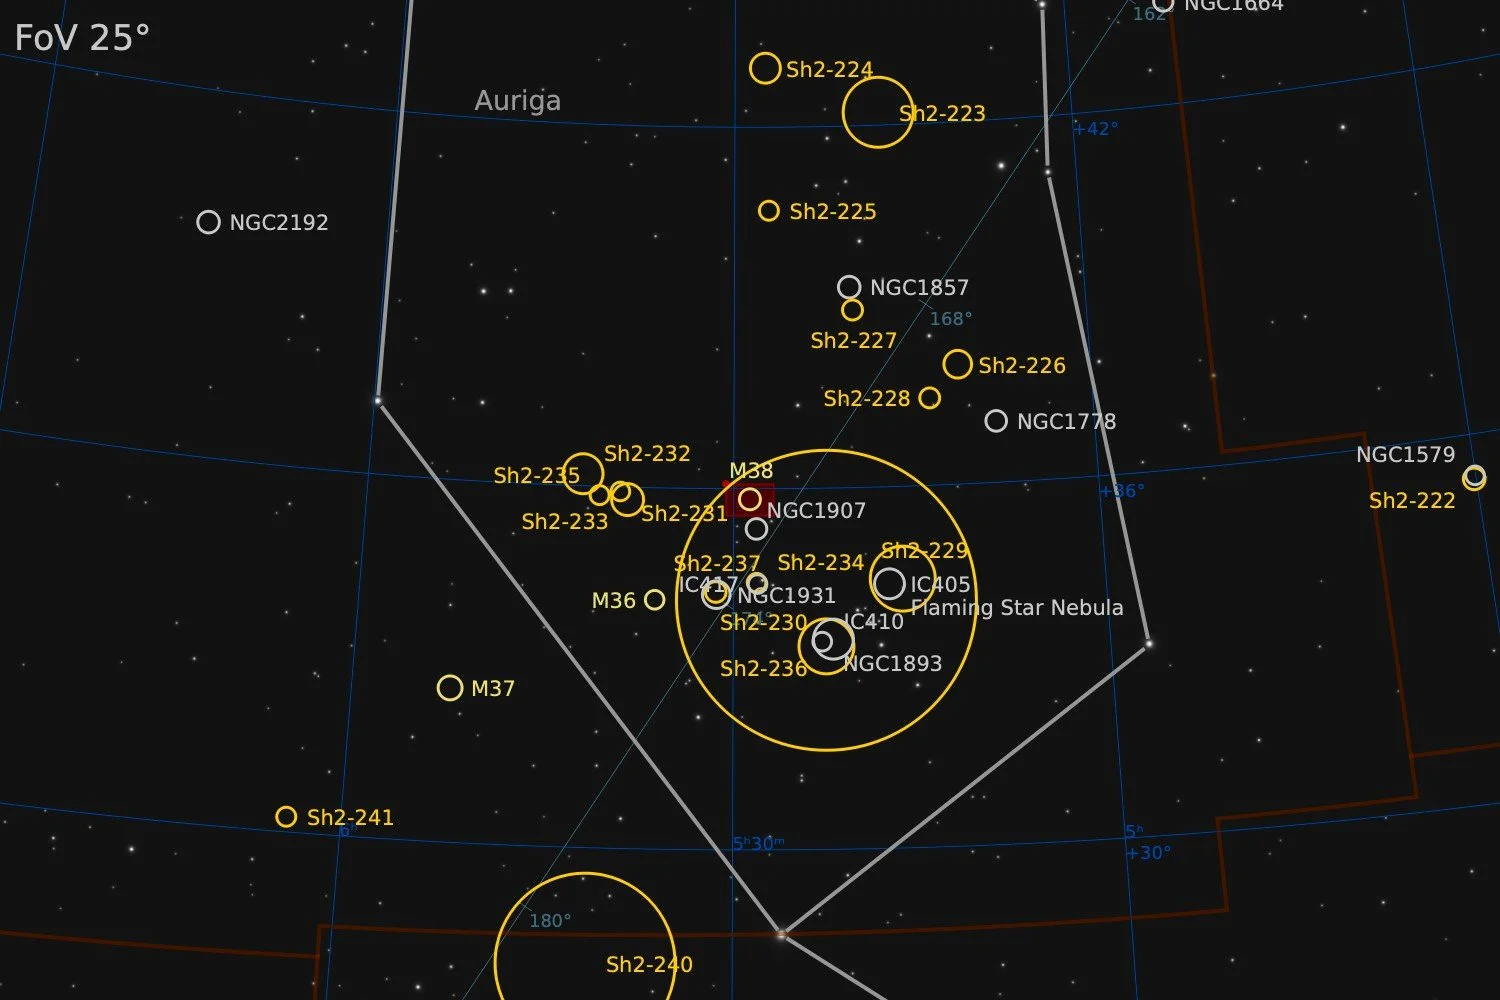
M38
NGC 1912, Starfish Cluster
48’ x 32’ | 0.3”/px | 9576 × 6388 px | full resolution
Auriga
RA 05h 28m 40s Dec +35° 48’ 44” | 0°

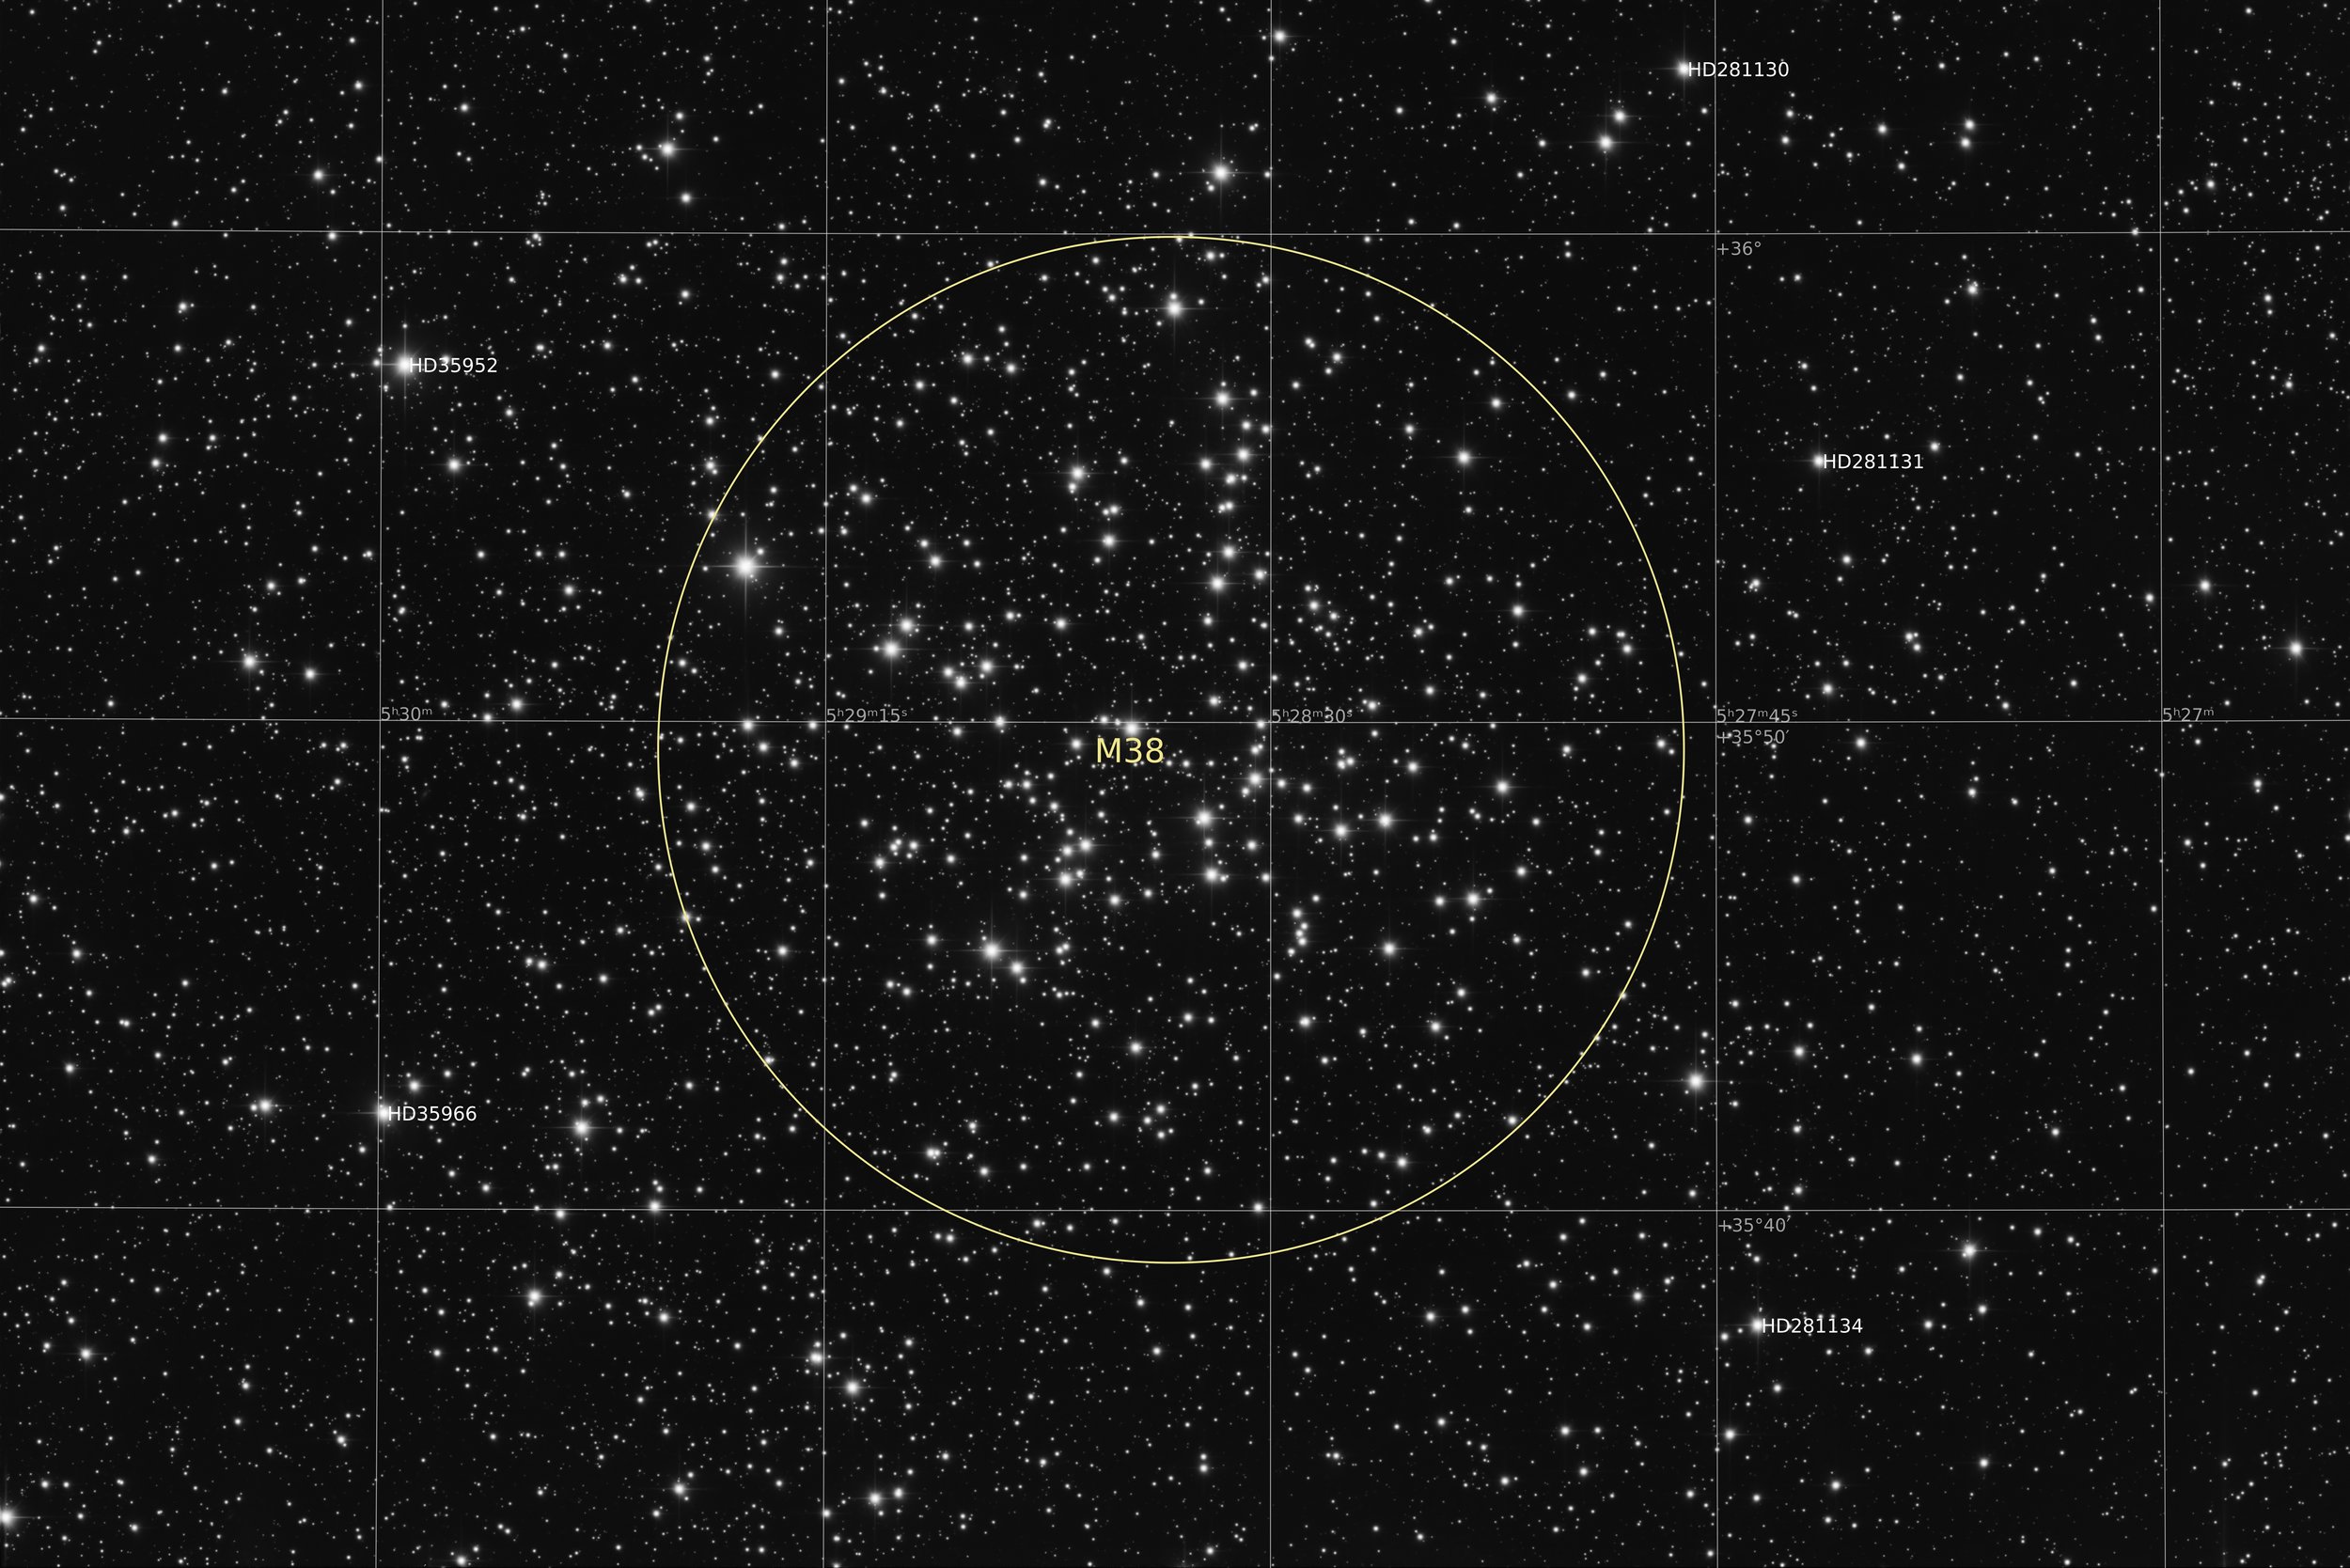
Messier 38, also known as NGC 1912, is an open cluster located in the constellation Auriga, at a distance of approximately 4,200 light-years from Earth. It was first recorded by Guillaume Le Gentil in 1749 and later catalogued by Charles Messier in 1764. The cluster spans around 21 arcminutes on the sky, corresponding to a true diameter of roughly 25 light-years, and has an apparent magnitude of 6.4. The cluster contains around 100 confirmed member stars and is estimated to be approximately 220 million years old. Its most luminous member is a yellow giant of magnitude 7.9, indicating that the most massive stars have already evolved off the main sequence. The brighter stars form a loose oblique or cross-shaped pattern, which gives rise to the informal nickname "the Starfish Cluster." While not visible on this image, the small open cluster NGC 1907 is located roughly half a degree to the south, making it a good target for a ‘double-cluster’. Despite appearing close together in projection, the two clusters are separated by an estimated 2,500 light-years in space. NGC 1907 is considerably older, at around one billion years.
Source: Claude.ai
Data Acquisition
Data was collected during 2 nights in February 2026, using a 14” reflector telescope with full-frame camera at the remote observatory in Spain. Data was gathered using standard RGB filters. A total of approximately 7 hours of data was finally combined to create the final image.
Location Remote hosting facility IC Astronomy in Oria, Spain (37°N 2°W)
Sessions
Frames
Equipment
Telescope
Mount
Camera
Filters
Guiding
Accessoires
Software
Planewave CDK14 (2563mm @ f/7.2), Optec Gemini Rotating focuser
10Micron GM2000HPS, custom pier
Moravian C3-61000 Pro (full frame), cooled to -10 ºC
Chroma 2” RGB unmounted, Moravian filterwheel L, 7-position
Unguided
Compulab Tensor I-22, Dragonfly, Pegasus Ultimate Powerbox v2
Voyager Advanced, Viking, Mountwizzard4, Astroplanner, PixInsight 1.9.3
Processing
All processing was done in Pixsinsight unless stated otherwise. Default features were enhanced using scripts and tools from RC-Astro, SetiAstro, GraXpert, CosmicPhotons and others. Images were calibrated using 50 Darks, 50 Flats, and 50 Flat-Darks, registered and integrated using WeightedBatchPreProcessing (WBPP). The processing workflow diagram below outlines the steps taken to create the final image.
After the three colour channels had been combined and calibrated, there was a little bit of a gradient left in the background that had not come out when doing gradient removal on the individual channels. A second run of GraXpert corrected this nicely.
For stretching the relatively new stretch process was used that comes natively with PixInsight, MultiscaleAdaptiveStretch (MAS). It is a nice middle-ground as being simple enough to act somewhat automatic, with just the right amount of flexibility to tweak the results to your liking. A target background value can be selected, but you can also define what should be considered background by selecting a specific preview area. The aggressiveness works as a standard stretch tool and is a kind of combination between the black point and midpoint slider in HistogramTransformation. For this particular image I find the dynamic compression very helpful. The many bright stars normally have a tendency to clip when stretched too far. And when applying the contrast at lower intensity levels, such as is done in GHS, bright stars can become small strange white dots in a big halo. The Dynamic compression slider in MAS can produce the former when set to zero or the latter when set to maximum. Finding a middle-value that is a good balance between the two is remarkably easy. Finally the Colour Saturation section in the MAS tool can make sure that even when stretching to relatively high brightness values, colour intensity remains intact. This is something otherwise achieved by an initial ArcSinhStretch before HistogramTransformation, or, when using GHS, run the first stretch in colour mode rather than RGB mode. No need for separate stretches in MAS. Just tick the Colour Saturation box and dial in the required amount using the applicable slider.
Other than these changes to normal, the rest of the processing used a fairly standard approach, outlined below.
Processing workflow (click to enlarge)
This image has been published on Astrobin.